Category: Guides

  • How to Reduce Image File Size for Email and Forms

    How to Reduce Image File Size for Email and Forms

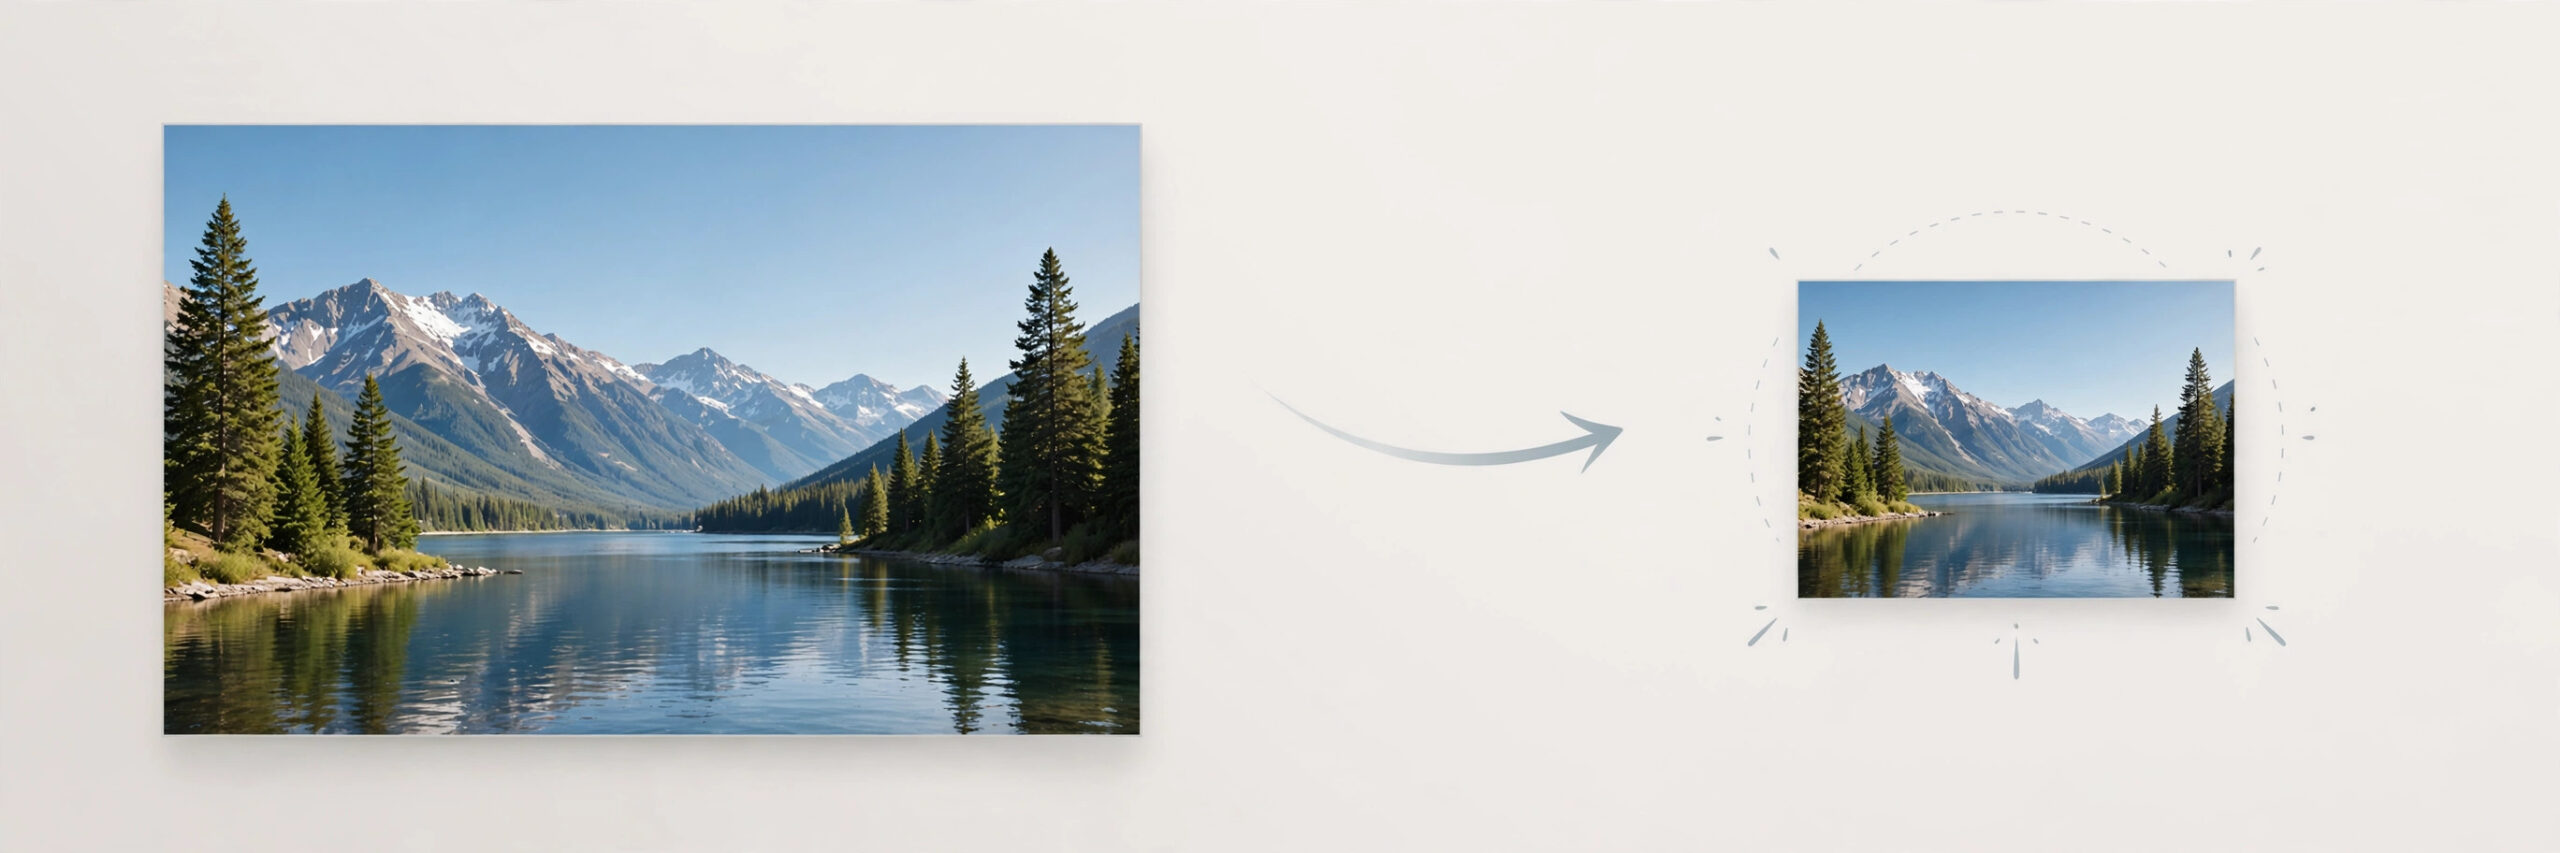
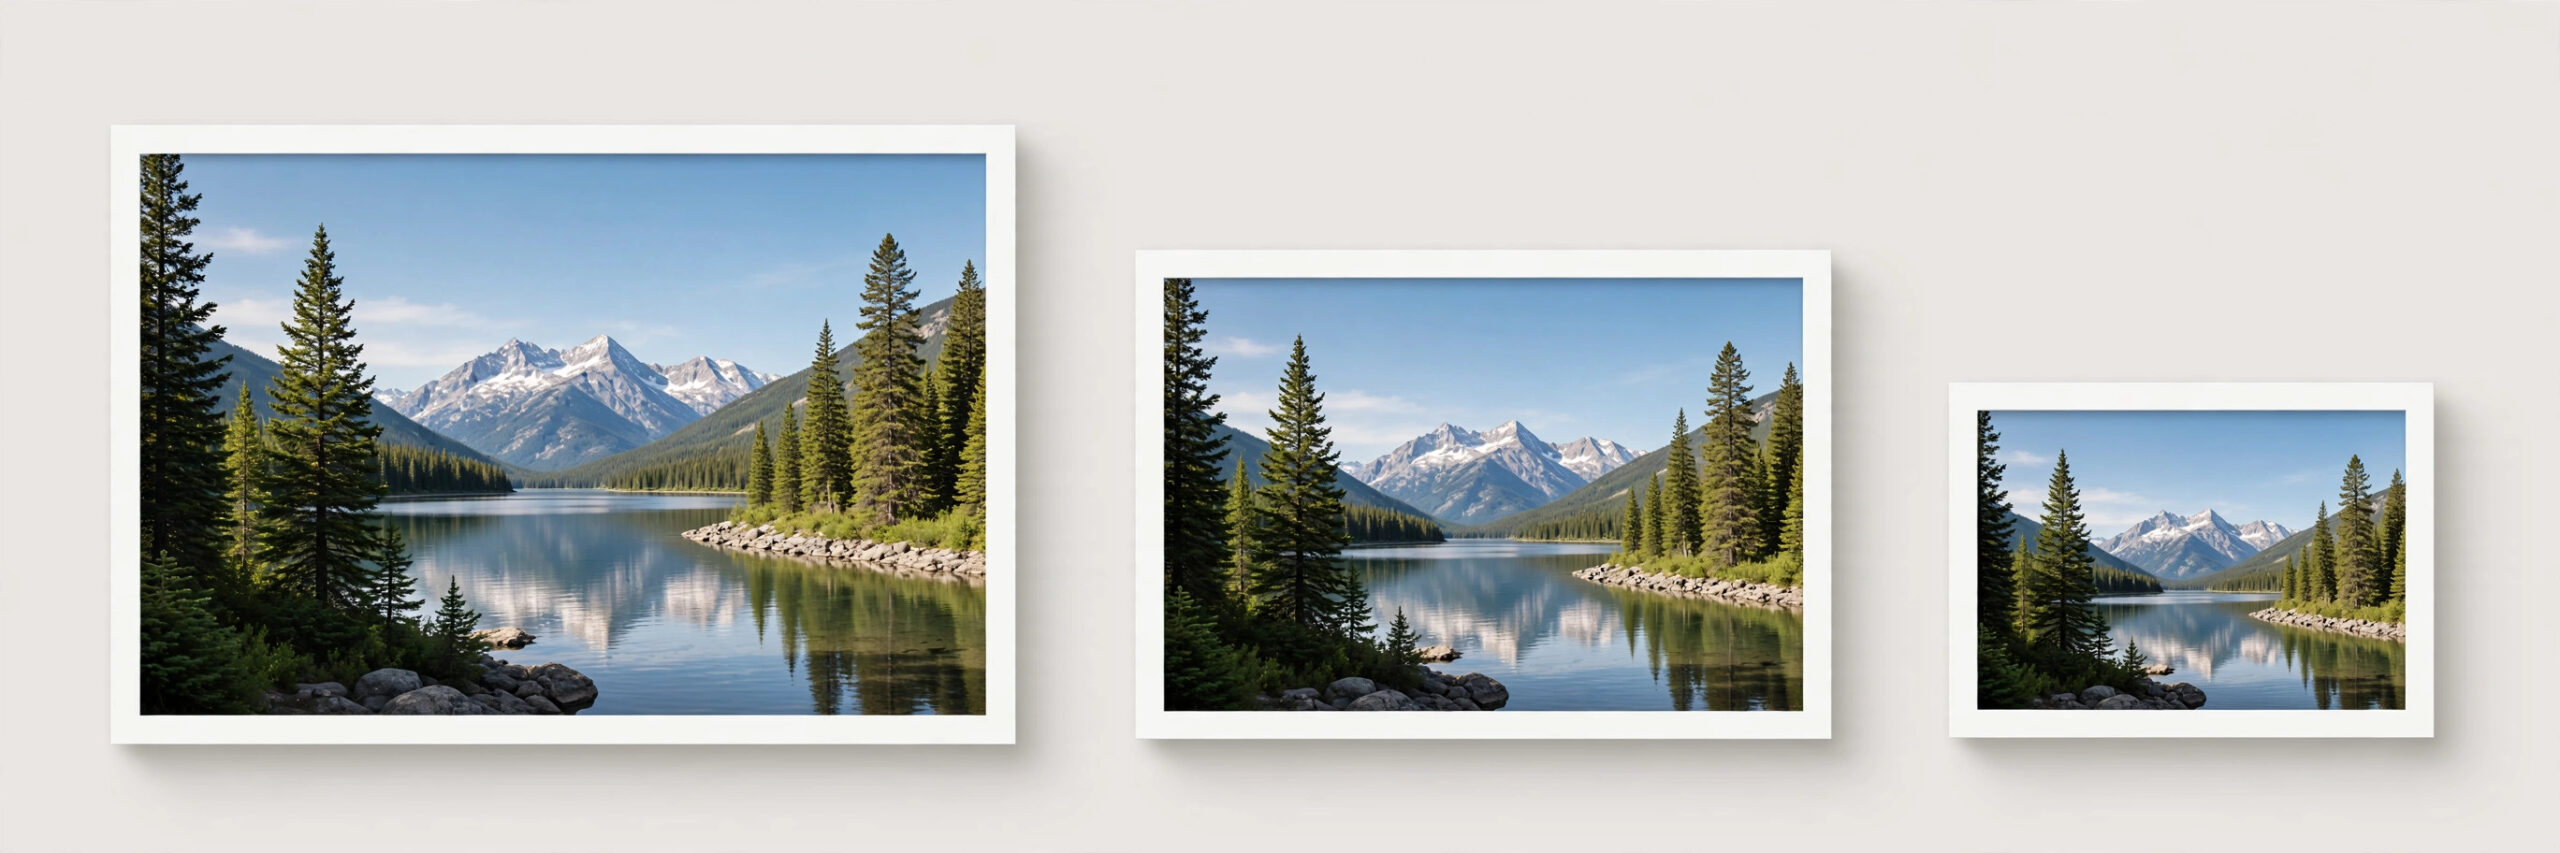
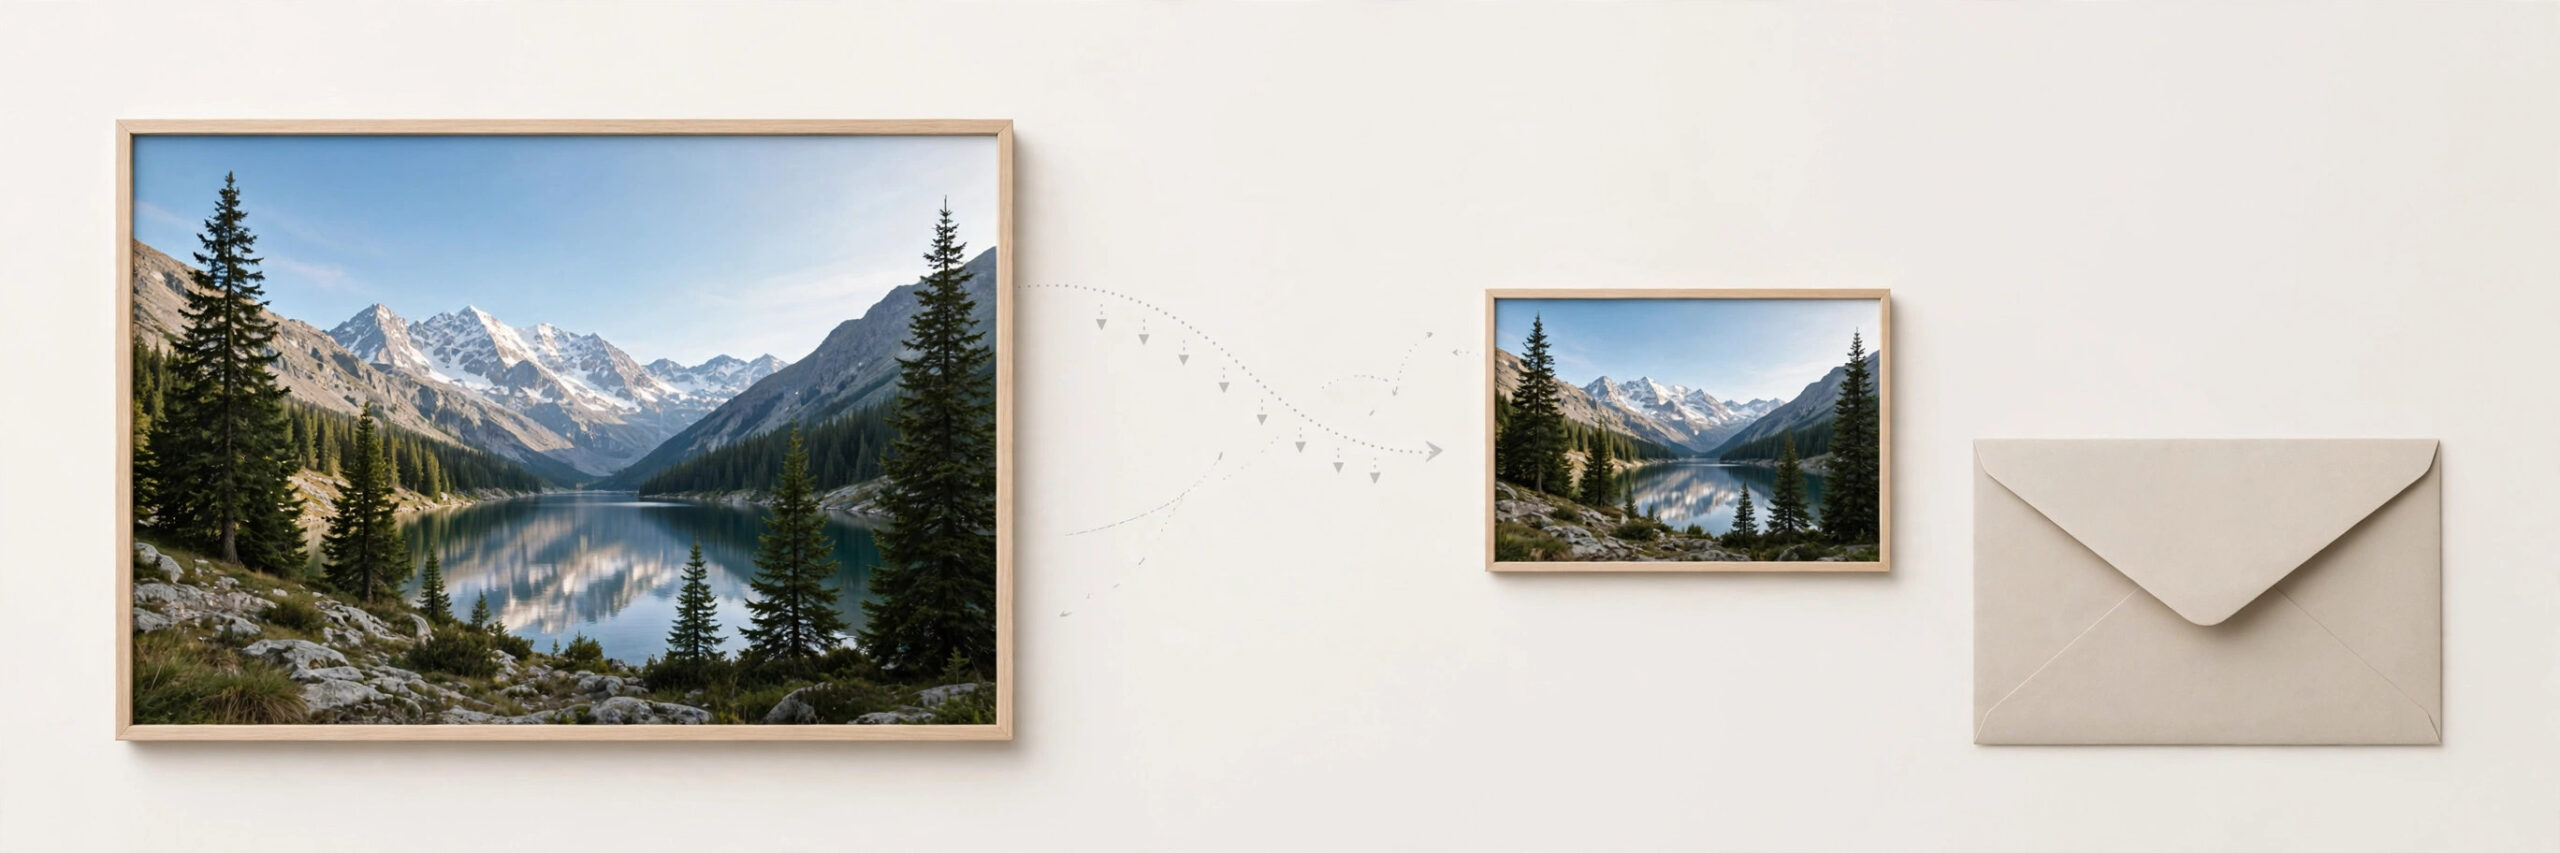
    You attach a photo to an email, hit send, and get an error: file too large. Or you try to upload an image to a job form, an admission portal or a government website, and the upload fails. Modern phone cameras take beautiful photos, but those photos are often several megabytes each, and many email services and online forms cap attachments at just a few megabytes. The good news is that you can usually shrink an image to a fraction of its size without any visible loss of quality.
    Why images are so large

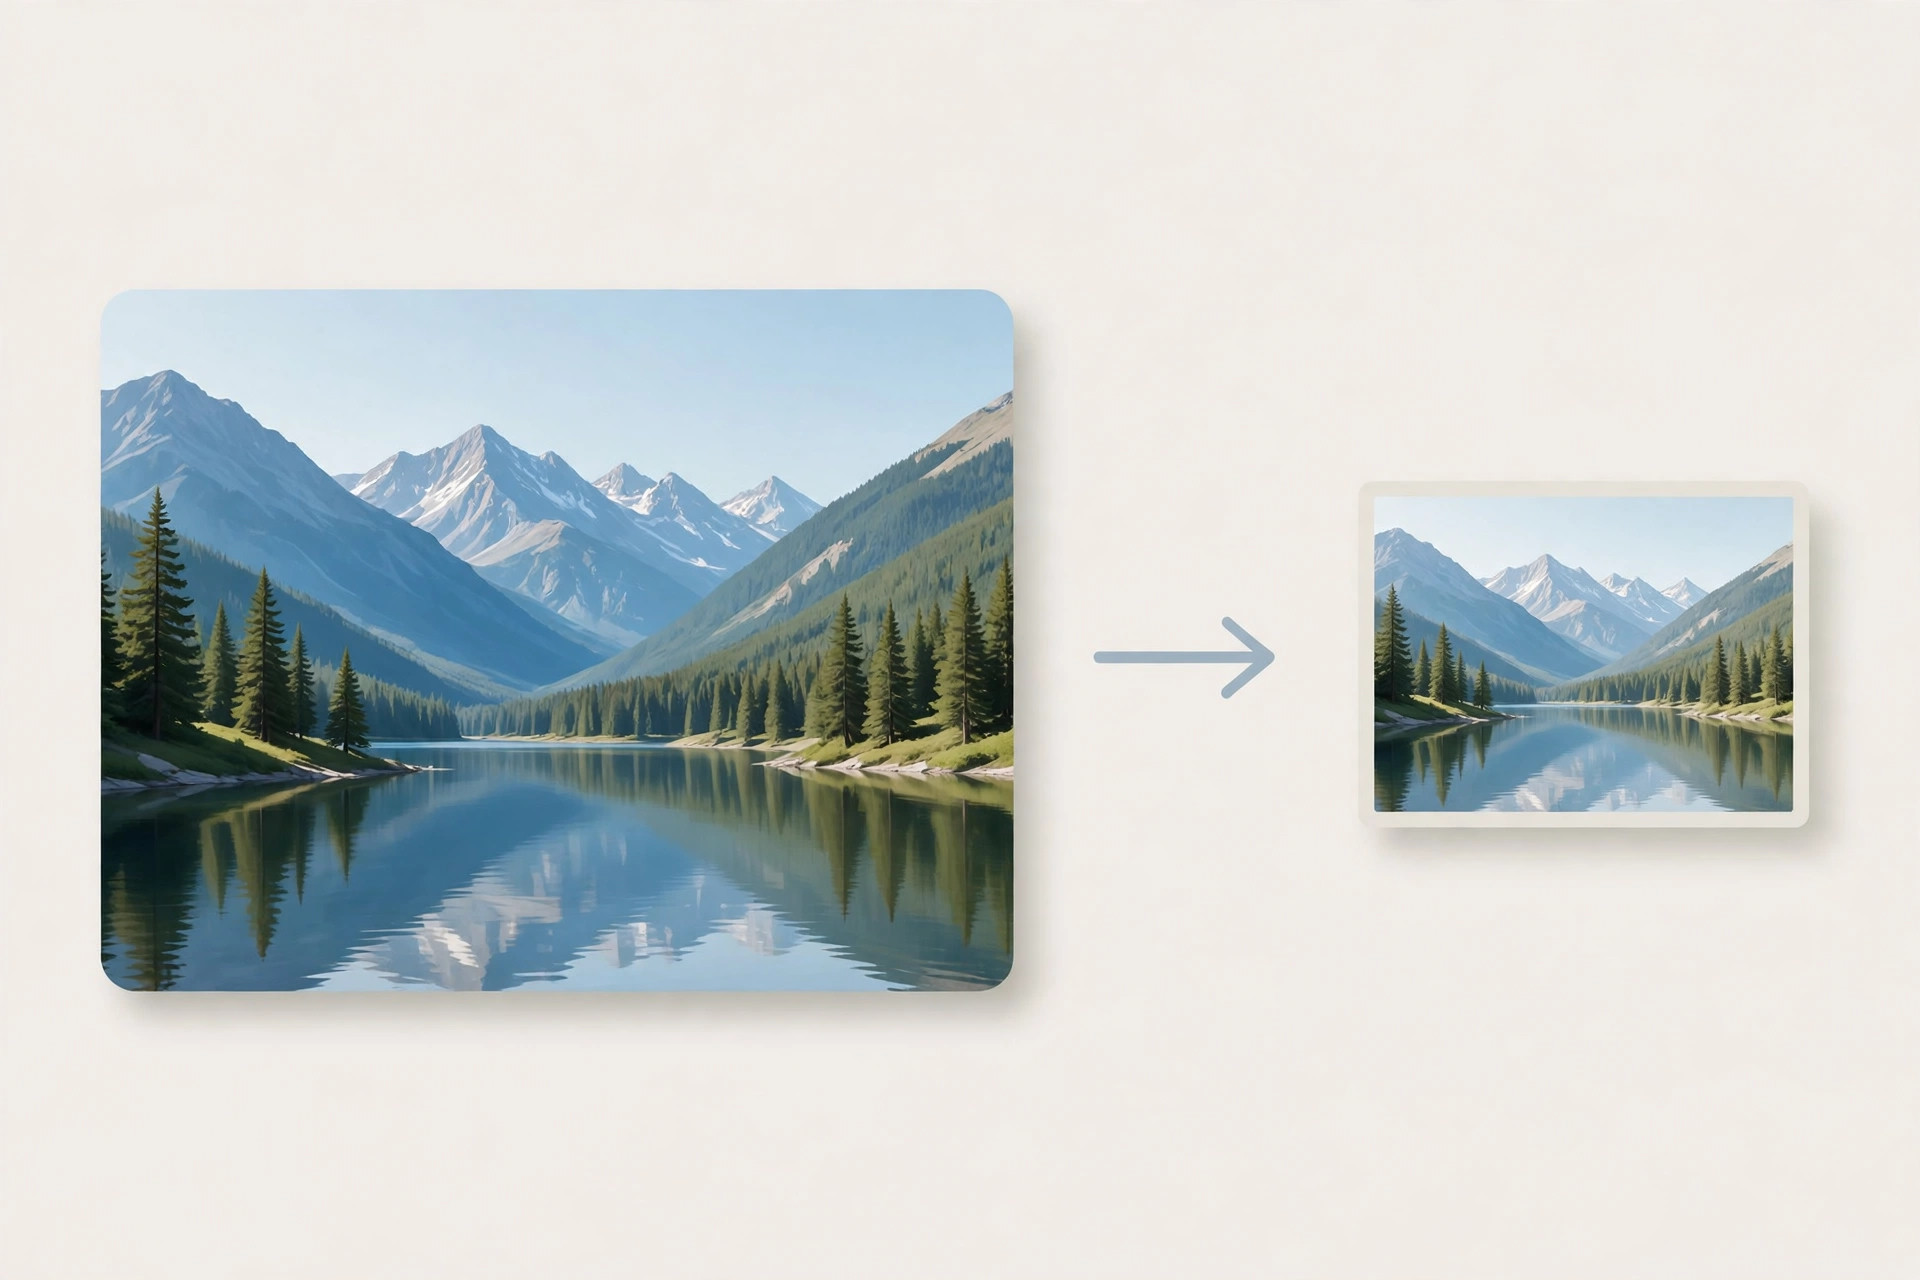
    A phone camera today captures 12 megapixels or more, which means every photo contains millions of pixels. Most of those pixels are unnecessary for an email or a form. A photo displayed on a screen rarely needs to be wider than 1200 to 1600 pixels — anything wider is extra data the recipient never sees. File size is also affected by the format: JPG uses compression to stay small, PNG keeps more detail but is usually much larger, and newer formats like WebP and HEIC can be smaller still, although not every form accepts them. The final factor is quality: a photo saved at 100% quality can be several times larger than the same photo saved at 75% quality, with almost no visible difference.

    Step-by-step: reduce an image file size

    1. Check the current size first. On your phone or computer, look at the file details to see how big the image is now and how small you need it to be.
    2. Resize the dimensions. If the photo is 4000 pixels wide and you only need it for an email or a form, shrink it to 1200 to 1600 pixels wide. This step alone can cut the file size by more than half.
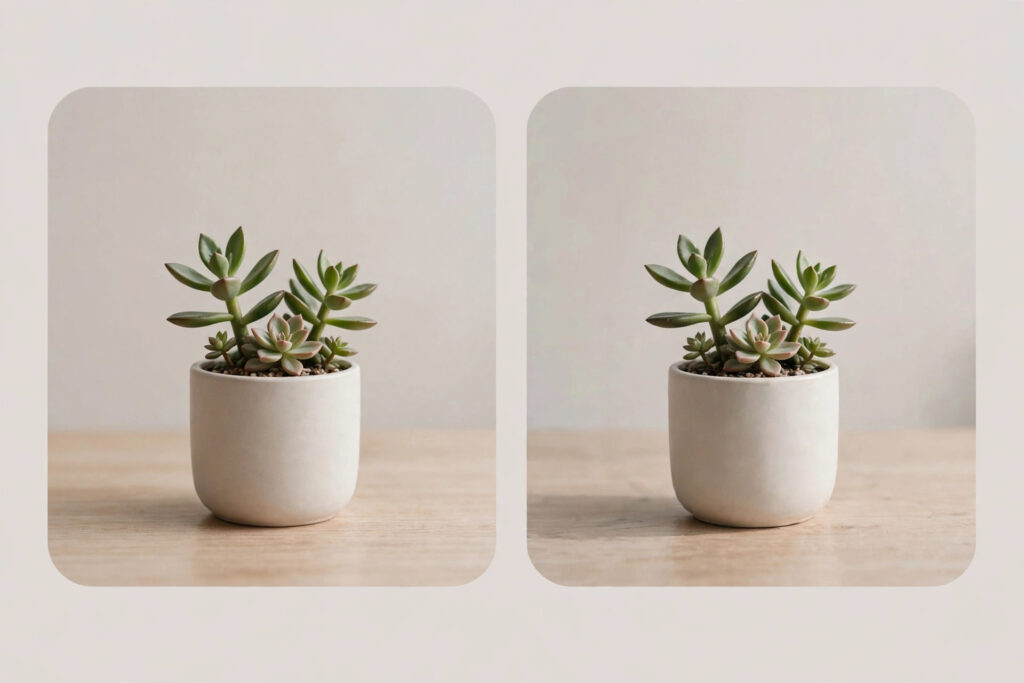
    3. Compress the image. Compression removes data your eyes barely notice. A quality setting around 75% is a good balance: the image stays sharp on screen, but the file becomes much smaller. Try iboxseo.org’s free Image Compressor, Compress Image to 2MB, or Compress Image to 500KB tools for this.
    4. Pick the right format. For photos, JPG is almost always the smallest practical choice. PNG files are much larger — use them only when you need transparency or sharp text and graphics.
    5. Save as a new file. Always keep your original photo untouched and save the smaller version separately, so you can go back if the quality is not good enough.
    6. Check the result before sending. Open the smaller image, zoom in, and confirm it still looks clear. If the text in it is unreadable or faces look blurry, raise the quality slightly and export again.

    Tips for the best results

    Resize before you compress, not the other way round. Resizing first gives the compressor less data to work with and produces a cleaner result. Avoid screenshots of documents when you can: a photo of a certificate scanned properly is far clearer than a screenshot of it at low resolution. And never crop out important parts of a photo just to make it smaller — resizing and compression shrink a file without removing anything from the picture.

    Common mistakes to avoid

    The most common mistake is sending the original camera photo without checking its size. Another is shrinking a photo so far that faces or text become unreadable — if the recipient cannot read it, the small file size does not help. Do not use a file size with image dimensions mixed up: 500 KB is a file size, while 1500 px is a width — the two are related but not the same thing. And keep an eye on the format: some government portals and old email systems do not accept HEIC or WebP files, so JPG is still the safest choice.

    Final tip

    Reducing an image for email or a form takes less than a minute once you know the steps: resize to about 1200–1600 pixels wide, compress to around 75% quality, and save as a JPG. If the file is still too large after that, lower the quality a little more or resize it slightly smaller — and remember, keeping a copy of your original photo means you can always start again.
  • Screenshot to PDF on Mobile: A Simple Guide

    Screenshot to PDF on Mobile: A Simple Guide

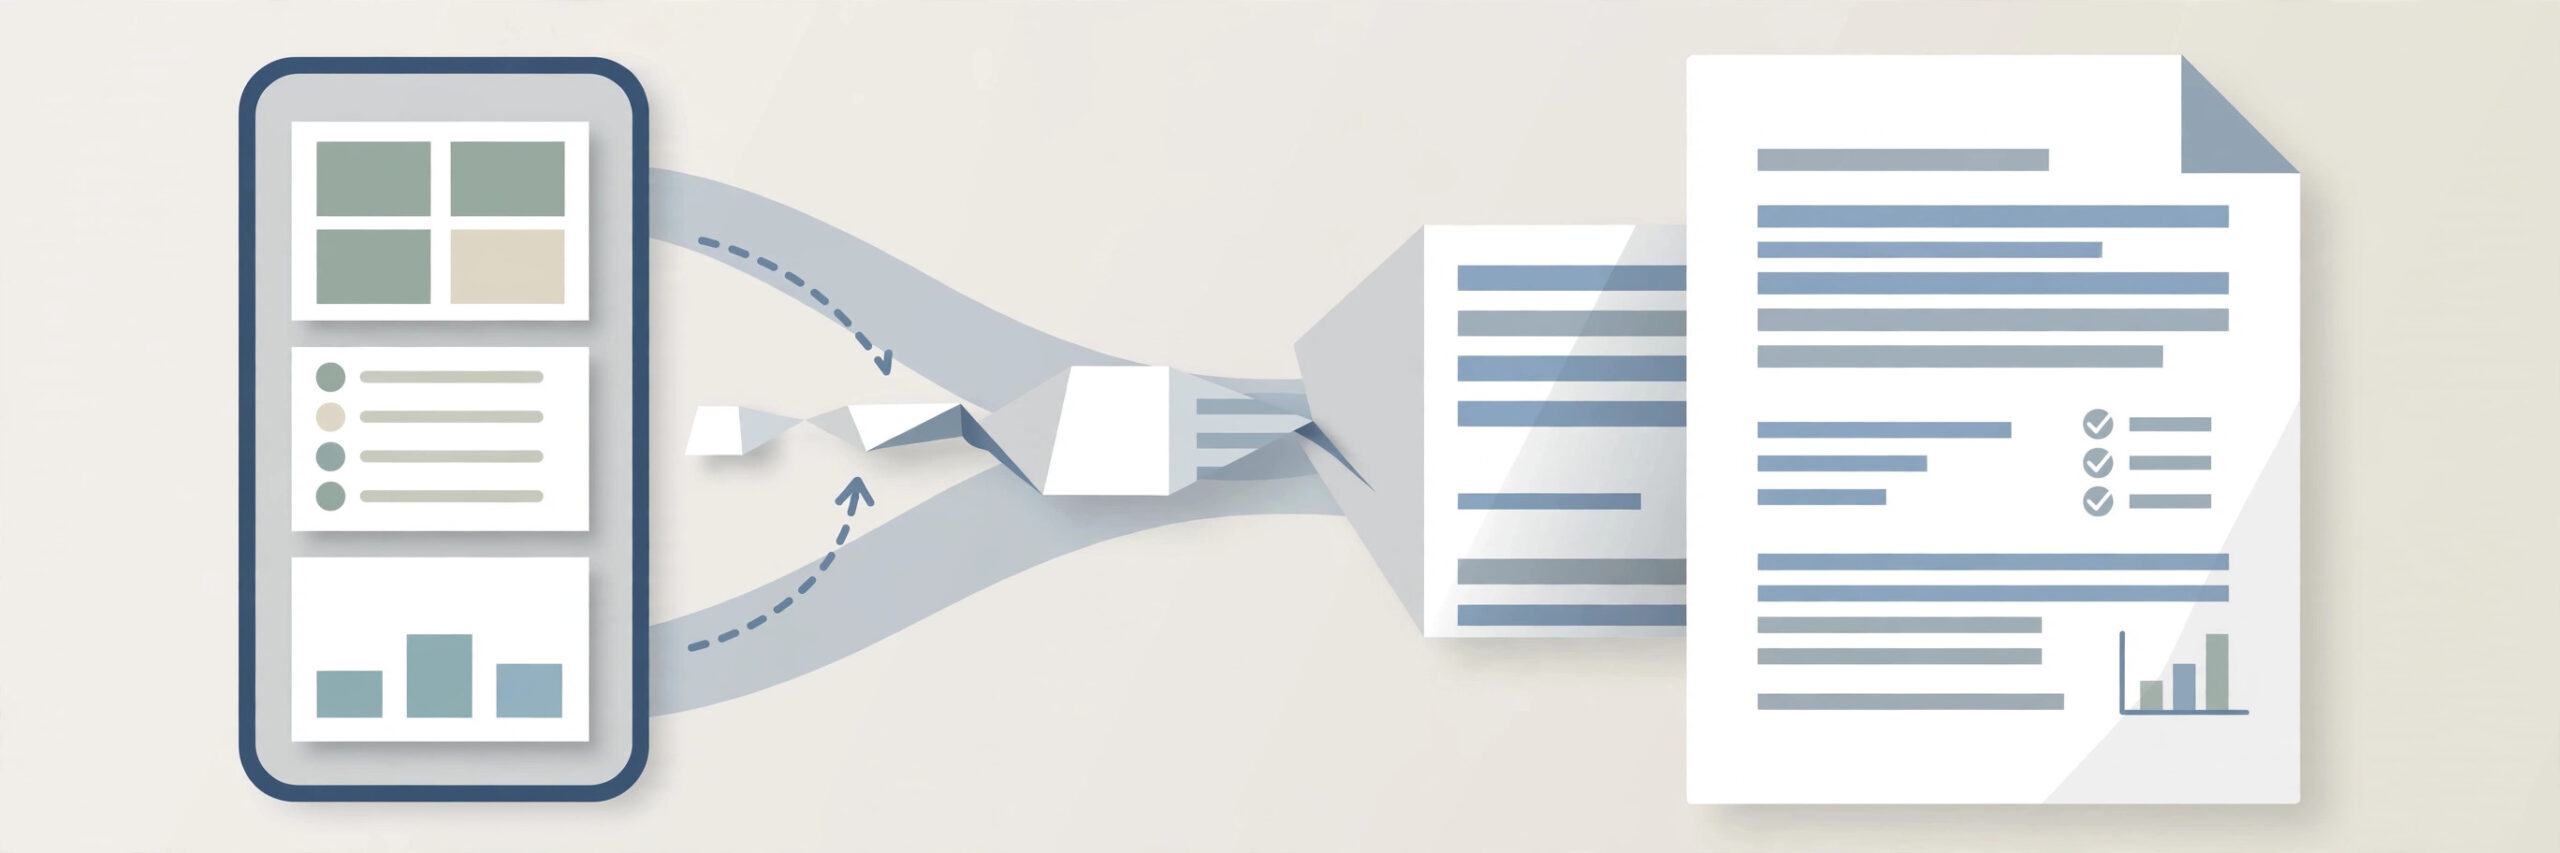
    Screenshots pile up fast: receipts, forms, tickets, chats, and payment confirmations. Sharing them one by one is messy, and a dozen loose images are easy to lose track of. A single PDF is easier to share, print, and store, and it keeps everything in the right order. You can turn screenshots into a PDF right on your phone, with no new app to install. This guide shows the built-in way on iPhone and Android, plus a browser method that puts your screenshots on clean A4 pages.

    Screenshot to PDF on Mobile

    On iPhone: screenshots to PDF

    The most reliable built-in method uses the Print menu:

    1. Open the Photos app and select the screenshots you want in the PDF. Tap Share, then scroll down and tap Print.
    2. On the print preview screen, pinch outward on the preview image with two fingers. This opens a full PDF preview of your selected screenshots.
    3. Tap the Share button in the preview, then choose “Save to Files”. Pick a folder, give the file a clear name, and tap Save.

    If your screenshots are of a web page in Safari, there is an even quicker route: take a screenshot, tap its preview, switch to the “Full Page” tab, and save it directly to Files as a PDF. This captures the whole page in one document without needing the Print menu.

    On Android: screenshots to PDF

    1. Open your gallery or Google Photos app and select the screenshots you want to include.
    2. Tap Share, then choose Print from the share options.
    3. At the top of the print screen, tap the printer dropdown and select “Save as PDF”.
    4. Tap the PDF button or Save icon, choose a folder, name the file, and tap Save.

    Menu names vary slightly between phone brands, but the Share, then Print, then Save as PDF path works on most Android phones. If your gallery app does not show a Print option, open the screenshots in Chrome or your Files app and use the Print option from there instead.

    The browser method: screenshots on clean A4 pages

    If you want a neater result, especially for several screenshots in one document, use the Screenshot to A4 PDF tool on iboxseo.org. Open it in your phone’s browser, upload your screenshots, and it arranges them on proper A4 pages that you can download as a single PDF. There is no login and nothing to install, and the result looks far tidier than a stack of raw phone screenshots — handy for receipts, application documents, or anything you need to send officially.

    Tips for a clean PDF

    Put your screenshots in the right order before converting, since reordering pages afterwards is extra work. Crop out the status bar, notification icons, or unrelated content at the edges if they are not needed. Check that every image is upright, because a sideways screenshot in the middle of a PDF looks careless. If the finished PDF is too large to email, shrink the screenshots first or share the file through a cloud drive link instead. Finally, name the file clearly, for example “rent-receipts-march-2026.pdf”, so you can find it again months later.

    Frequently asked questions

    Can I combine screenshots from different days into one PDF? Yes. The built-in Print method lets you select any screenshots together, regardless of when they were taken, and they will appear in the PDF in the order you selected them.

    Why is my PDF so large? Phone screenshots are full-resolution images, so a PDF with many of them adds up quickly. Cropping screenshots to the relevant part before converting, or resizing them, keeps the file much smaller.

    Can I edit the PDF after creating it? The Photos and Print route creates a finished file, not an editable one. If you need to add, remove, or reorder pages afterwards, a PDF merge or split tool is the way to do it.

    Final word

    Turning screenshots into a PDF on your phone takes about a minute once you know the path: select, Share, Print, Save as PDF. For a single quick document, the built-in method is all you need. For a neat, multi-page document with proper A4 layout, the Screenshot to A4 PDF tool on iboxseo.org does the arranging for you. Either way, you end up with one tidy file instead of a scattered camera roll.

  • How to Take a Full-Page Screenshot on Any Device

    How to Take a Full-Page Screenshot on Any Device

    A normal screenshot only captures what is visible on your screen. For a long article, a full receipt, or an entire web page, that means several screenshots and a lot of stitching. A full-page screenshot solves this by capturing the whole page from top to bottom in a single image. The good news is that every major device can already do this built in — the option is just hidden in different places. This guide covers Chrome and Firefox on computers, plus Android and iPhone.

    How to take a full-page screenshot on any device

    On Windows or Mac with Chrome

    1. Open the page you want to capture in Chrome, and wait for it to finish loading, including images further down the page.
    2. Open DevTools by pressing Ctrl+Shift+I on Windows or Cmd+Option+I on Mac.
    3. Open the command menu by pressing Ctrl+Shift+P on Windows or Cmd+Shift+P on Mac.
    4. Type “Capture full size screenshot” and press Enter when that option appears.
    5. Chrome downloads a PNG of the entire page. You will find it in your Downloads folder, ready to share or save.

    On Windows or Mac with Firefox

    1. Open the page in Firefox and let it load completely.
    2. Right-click on an empty part of the page and choose “Take Screenshot” from the menu.
    3. Click “Save full page” in the toolbar that appears at the top right.
    4. Firefox captures the whole page. Click “Download” to save the image to your device.

    On Android

    1. Open the page in Chrome and take a normal screenshot by pressing the power button and volume-down button together.
    2. Look for a “Capture more” or scroll-capture option in the preview that appears. On Samsung phones this is called “Scroll capture”. The exact name varies by brand, and some phones do not offer it in every app.
    3. Drag the selection handles to include the full page, then tap Save.
    4. If your phone has no scroll-capture option, use Chrome’s Share menu, choose Print, and save the page as a PDF instead. You get the full page in one document, just in PDF form.

    On iPhone with Safari

    1. Open the page in Safari and take a screenshot by pressing the side button and volume-up button together.
    2. Tap the screenshot preview in the bottom-left corner before it disappears.
    3. At the top of the preview, switch from the “Screen” tab to the “Full Page” tab. You will see the entire page as one long image.
    4. Tap Done and save it to Files. Note that iPhone saves a full-page capture as a PDF, not an image. If you need it as an image, the PDF to Image tool on iboxseo.org can turn its pages into images in the browser.

    Tips for clean full-page screenshots

    Close pop-ups and cookie banners before capturing, or they will appear in the middle of your screenshot. Scroll through the page once first, so images that only load when they scroll into view are actually loaded. Remember that very long pages produce very tall images, which can be awkward to share — in that case, converting the capture to a PDF, for example with the Screenshot to A4 PDF tool on iboxseo.org, gives you a neater document with proper pages.

    Frequently asked questions

    Why is my full-page screenshot blurry in places? The usual cause is images that had not finished loading when the capture ran. Scroll through the page once first and wait a few seconds, then capture again.

    Can I take a full-page screenshot inside an app, not a browser? The built-in browser options only work on web pages. Inside apps, use your phone’s scroll-capture feature where it is offered, or capture in sections and combine them.

    What format are full-page screenshots saved in? Chrome and Firefox save them as PNG images. iPhone saves a full-page capture as a PDF, which you can turn into images afterwards with the PDF to Image tool on iboxseo.org if you need image files.

    Final word

    Once you know where the built-in option lives, full-page screenshots take seconds and need no extra app or manual stitching. Use Chrome or Firefox on a computer, scroll capture on Android, or the Full Page tab in Safari on iPhone, and you will have the whole page in one clean file.

  • How to Convert JPG to PNG With Transparency

    How to Convert JPG to PNG With Transparency

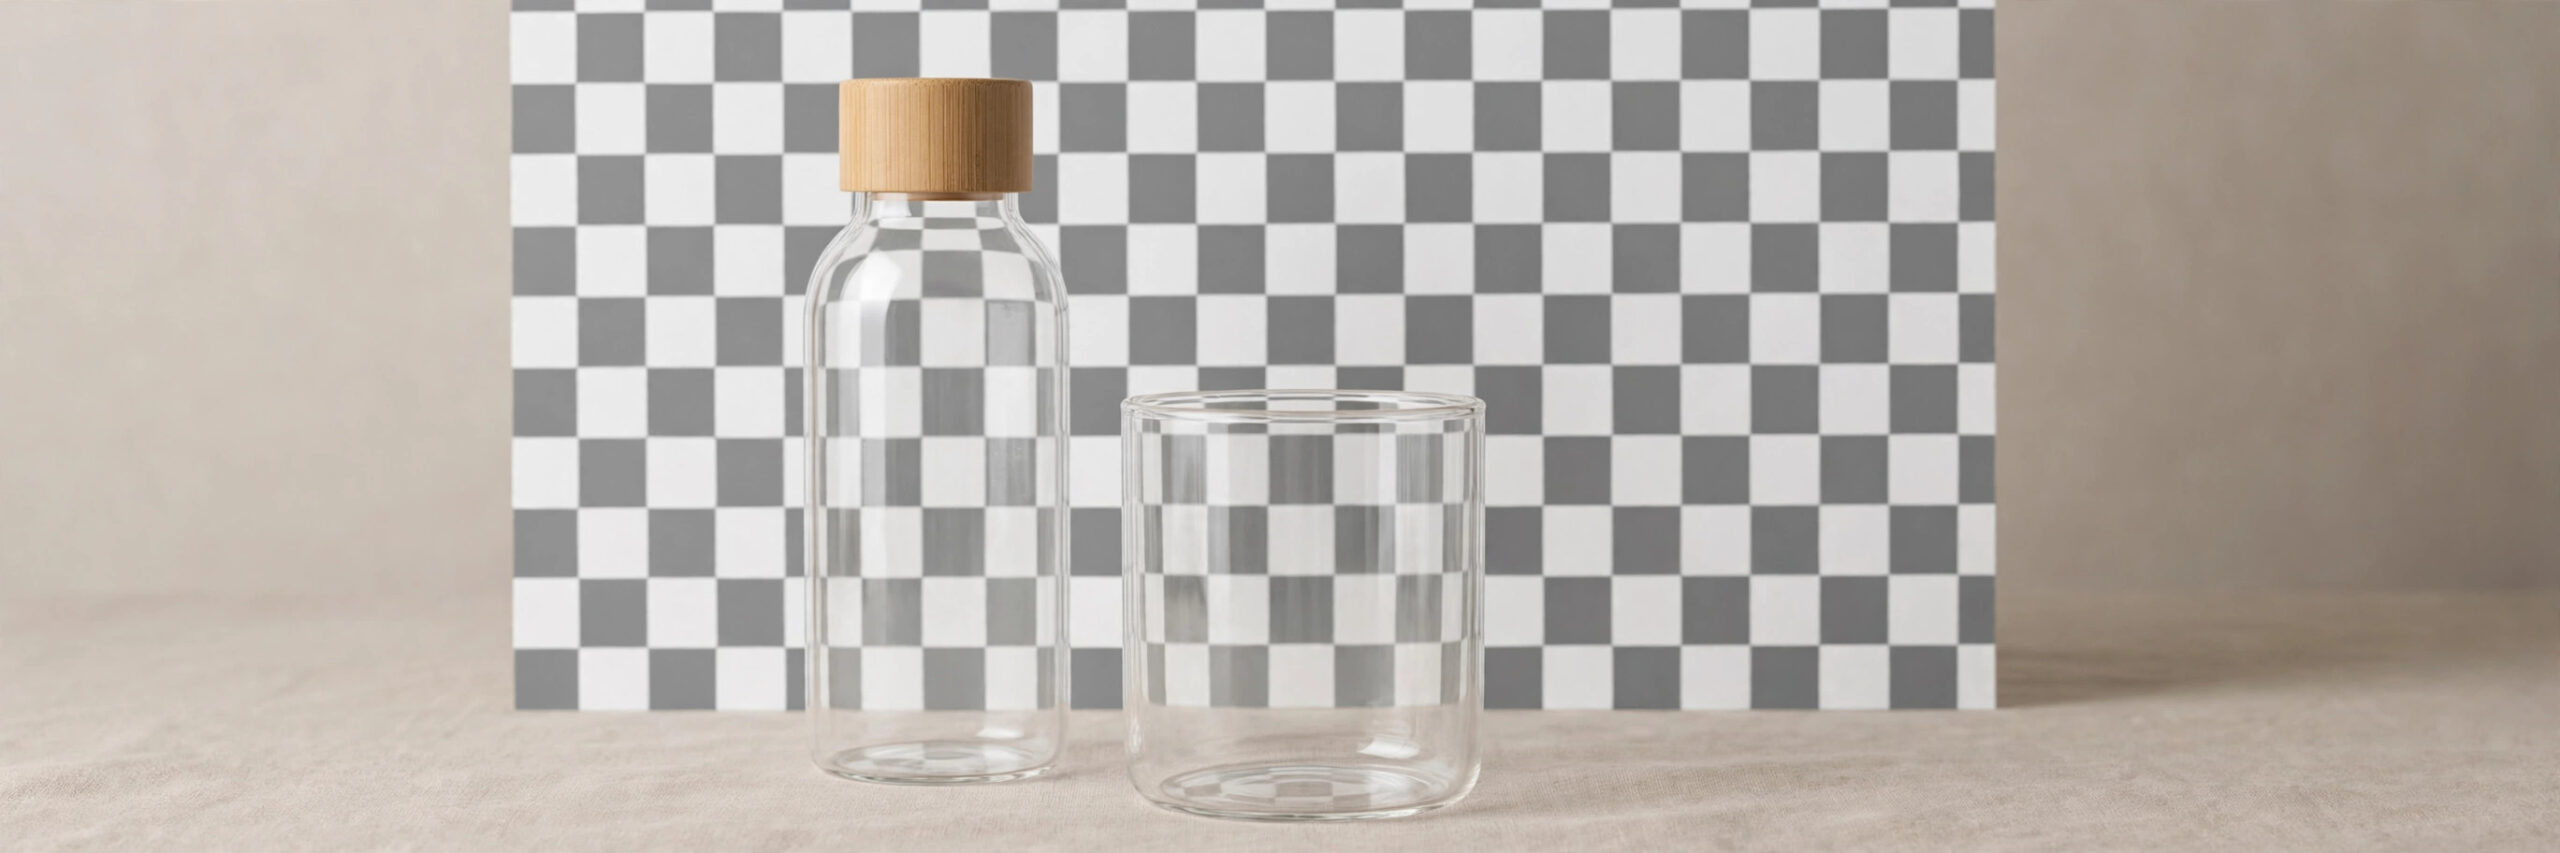
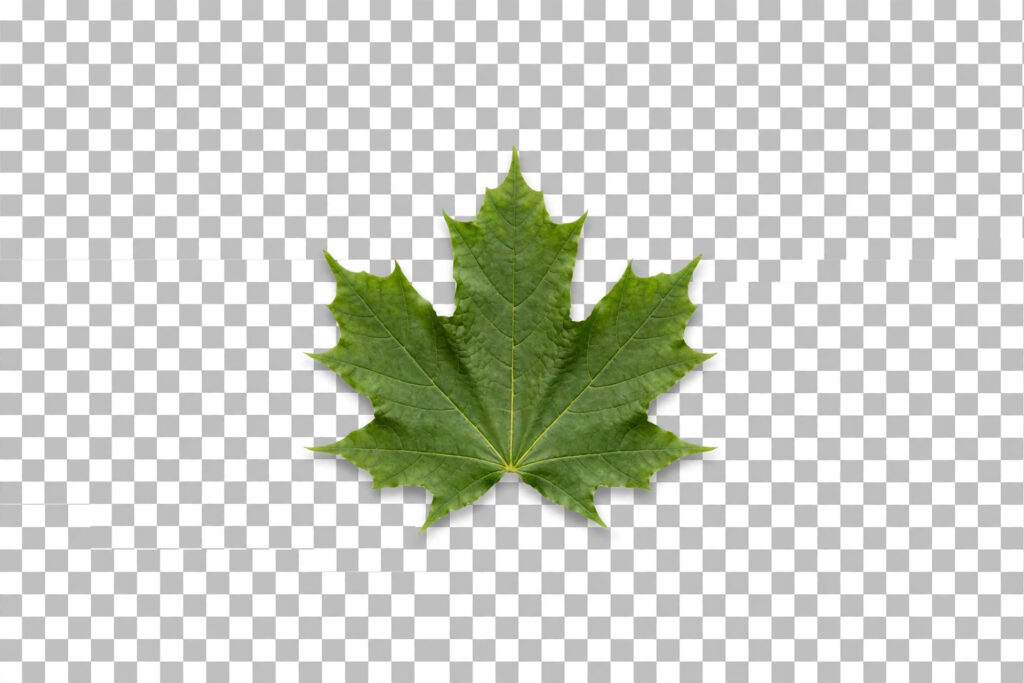
    Many people search for how to turn a JPG into a transparent PNG, for a logo, a product photo, or a profile picture. Here is the honest truth first: simply changing the file format does not create transparency. A JPG has no transparency information at all, so a straight conversion just gives you the same image in a bigger PNG file, background and all. To get a genuinely transparent PNG, you need to remove the background first, and then save the result as PNG. This guide walks through both steps, so you end up with a file that actually works.

    Why a straight conversion is not enough

    Image formats store different kinds of information. JPG stores only colour, with no way to mark any part of the image as see-through. PNG, on the other hand, supports an alpha channel, which is the data that tells software which pixels are transparent. Converting a JPG to PNG adds the ability to hold transparency, but it does not invent that data. The background that was baked into the JPG stays there. So if your goal is only to change the format, a converter is all you need. If your goal is transparency, background removal has to come first.

    Step 1: Remove the background

    1. Start from the highest-resolution version of your image. Clean edges depend on having enough detail to work with, so avoid a small, already-compressed copy.
    2. Open the image in a background remover tool. Most browser-based removers detect the main subject automatically and erase everything around it.
    3. Check the edges carefully. Zoom in and look for leftover halos, rough outlines, or missing pieces, especially around hair, fur, or thin objects. Clean up any rough spots with the tool’s erase or restore brush.
    4. Preview the result against a coloured background. Transparency is invisible on a white preview, so checking against a dark or coloured backdrop is the only way to confirm the background is really gone.

    Step 2: Save the result as PNG

    1. Export the edited image as PNG. PNG is the format that keeps the transparency you just created, so do not export as JPG, or the background will come back as solid white.
    2. If your edited file ends up in another format, convert it to PNG. The JPG↔PNG Converter on iboxseo.org works in the browser with no login, and converts the file to PNG while keeping its transparency intact.
    3. Verify the final file. Open the PNG in an image viewer or place it over a coloured background in any editor. If the background shows through, the transparency worked. If you see a white box, something went wrong in step 1, and the background was not actually removed.

    Tips for clean transparent PNGs

    Work from the original image whenever possible, not from a screenshot of it. Simple, high-contrast backgrounds are much easier to remove cleanly than busy ones, so if you are photographing a product for this purpose, shoot it against a plain backdrop. Remember that transparent PNG files can be large, so resize the finished PNG to the size you actually need before uploading it. And do not convert JPG to PNG just to gain quality: the conversion cannot add detail that the JPG already lost, it only makes the file bigger.

    Frequently asked questions

    Can I make a JPG transparent without removing the background? No. Transparency has to be created by removing the background first. A format converter alone can only change the file type, not the image itself.

    Why does my transparent PNG show a white background in some apps? Some viewers and social apps flatten transparency to white when displaying or re-saving images. The file itself is still transparent, so test it in an image editor or over a coloured background to confirm.

    Is a PNG always bigger than a JPG? For photos, usually yes, often much bigger. For simple graphics with few colours, a PNG can actually be smaller. Size depends on the image content, not just the format.

    Final word

    A transparent PNG is a two-step job: remove the background, then save as PNG. Skip the first step and you will only have a larger file with the same background. Do both steps properly, check the result against a coloured background, and you will have a clean cut-out that sits neatly on any design, website, or profile.

  • How to Compress Images for Instagram Without Losing Quality

    How to Compress Images for Instagram Without Losing Quality

    Instagram photos often look softer after uploading than they did on your phone. That is not your imagination: Instagram compresses every upload, and if your image is oversized or saved at the wrong settings, that second round of compression costs you visible detail. The trick is to give Instagram a file that is already close to what it wants, so its compression has little left to damage. This guide shows you how to compress images for Instagram while keeping them sharp, for feed posts, stories, and reel covers.

    Why Instagram photos lose quality

    Instagram re-processes every photo you upload. When a file is far larger than needed, the platform shrinks it aggressively, and fine textures like hair, fabric, and skin lose detail. When a file has already been compressed several times — saved, screenshotted, and re-saved — each round adds softness before Instagram even touches it. Oversized images also upload slowly and can fail on weak connections. The goal, then, is not to fight compression but to control it: prepare a sensibly sized, cleanly exported file so Instagram’s processing changes as little as possible.

    Step-by-step: compress for Instagram

    1. Start from the original photo. Never compress a copy that has already been compressed, screenshotted, or heavily edited, because the quality lost in earlier rounds cannot come back.
    2. Resize to Instagram’s display width. For feed posts, 1080 pixels wide is the standard target. Resizing down to this width yourself means Instagram does less shrinking, which preserves detail.
    3. Export as JPG for photos. JPG is the right format for photographs, and it keeps file sizes manageable. Use PNG only for graphics with text or sharp lines, since PNG photo files get very large.
    4. Choose a sensible quality setting. If your editor offers a quality slider, the high-middle range usually keeps photos looking clean while cutting the file size substantially. Avoid the lowest settings, which introduce visible blocks and banding.
    5. Keep the colour profile standard. Exporting in the standard sRGB colour space keeps colours looking the same on Instagram as they did in your editor.
    6. Compress once, then check. Run the resized image through an image compressor if the file is still large, then zoom in at full size and look closely at faces, edges, and fine textures. If it looks clean, it is ready to upload.

    Feed, story, and reel cover settings

    Different Instagram surfaces want different shapes, and using the right one avoids extra cropping. Feed square posts work best at 1080 x 1080 pixels, while portrait feed posts suit 1080 x 1350 pixels. Stories and reel covers both use the tall 1080 x 1920 format, but for reel covers keep important text and faces near the centre, because the edges get trimmed in some views. The same compression rules apply everywhere: resize to the target dimensions first, export as JPG for photos, and compress only once. A story image that starts at the right size uploads faster and looks noticeably sharper than a huge original left for Instagram to shrink on its own.

    Tips for consistently sharp uploads

    Do not upscale a small photo to reach 1080 pixels wide — enlarging invents pixels and causes blur, so use the best original you have. Avoid saving a JPG over and over; keep a master copy and export a fresh Instagram version from it each time. Skip heavy filters and extreme sharpening before upload, since Instagram’s own processing can exaggerate both. If a photo still looks soft after uploading, check whether the original was sharp in the first place, and try uploading on a stable connection, which avoids the app falling back to a lower-quality upload. Finally, compare your post on another device after publishing. What looks fine on your phone screen may show softness on a larger display, and that check tells you whether your settings need adjusting.

    Final word

    Sharp Instagram photos come from preparation, not luck: resize to the right width, export cleanly, compress once, and let Instagram do as little work as possible. Start from your original, aim for 1080 pixels wide on feed posts, and check the result before you move on. If you need a simple way to shrink files, iboxseo.org offers a free Image Compressor tool that works right in your browser, with no login needed. Prepare it properly once, and every post will look the way you intended.

  • How to Choose the Right Image Size for Social Media Posts

    How to Choose the Right Image Size for Social Media Posts

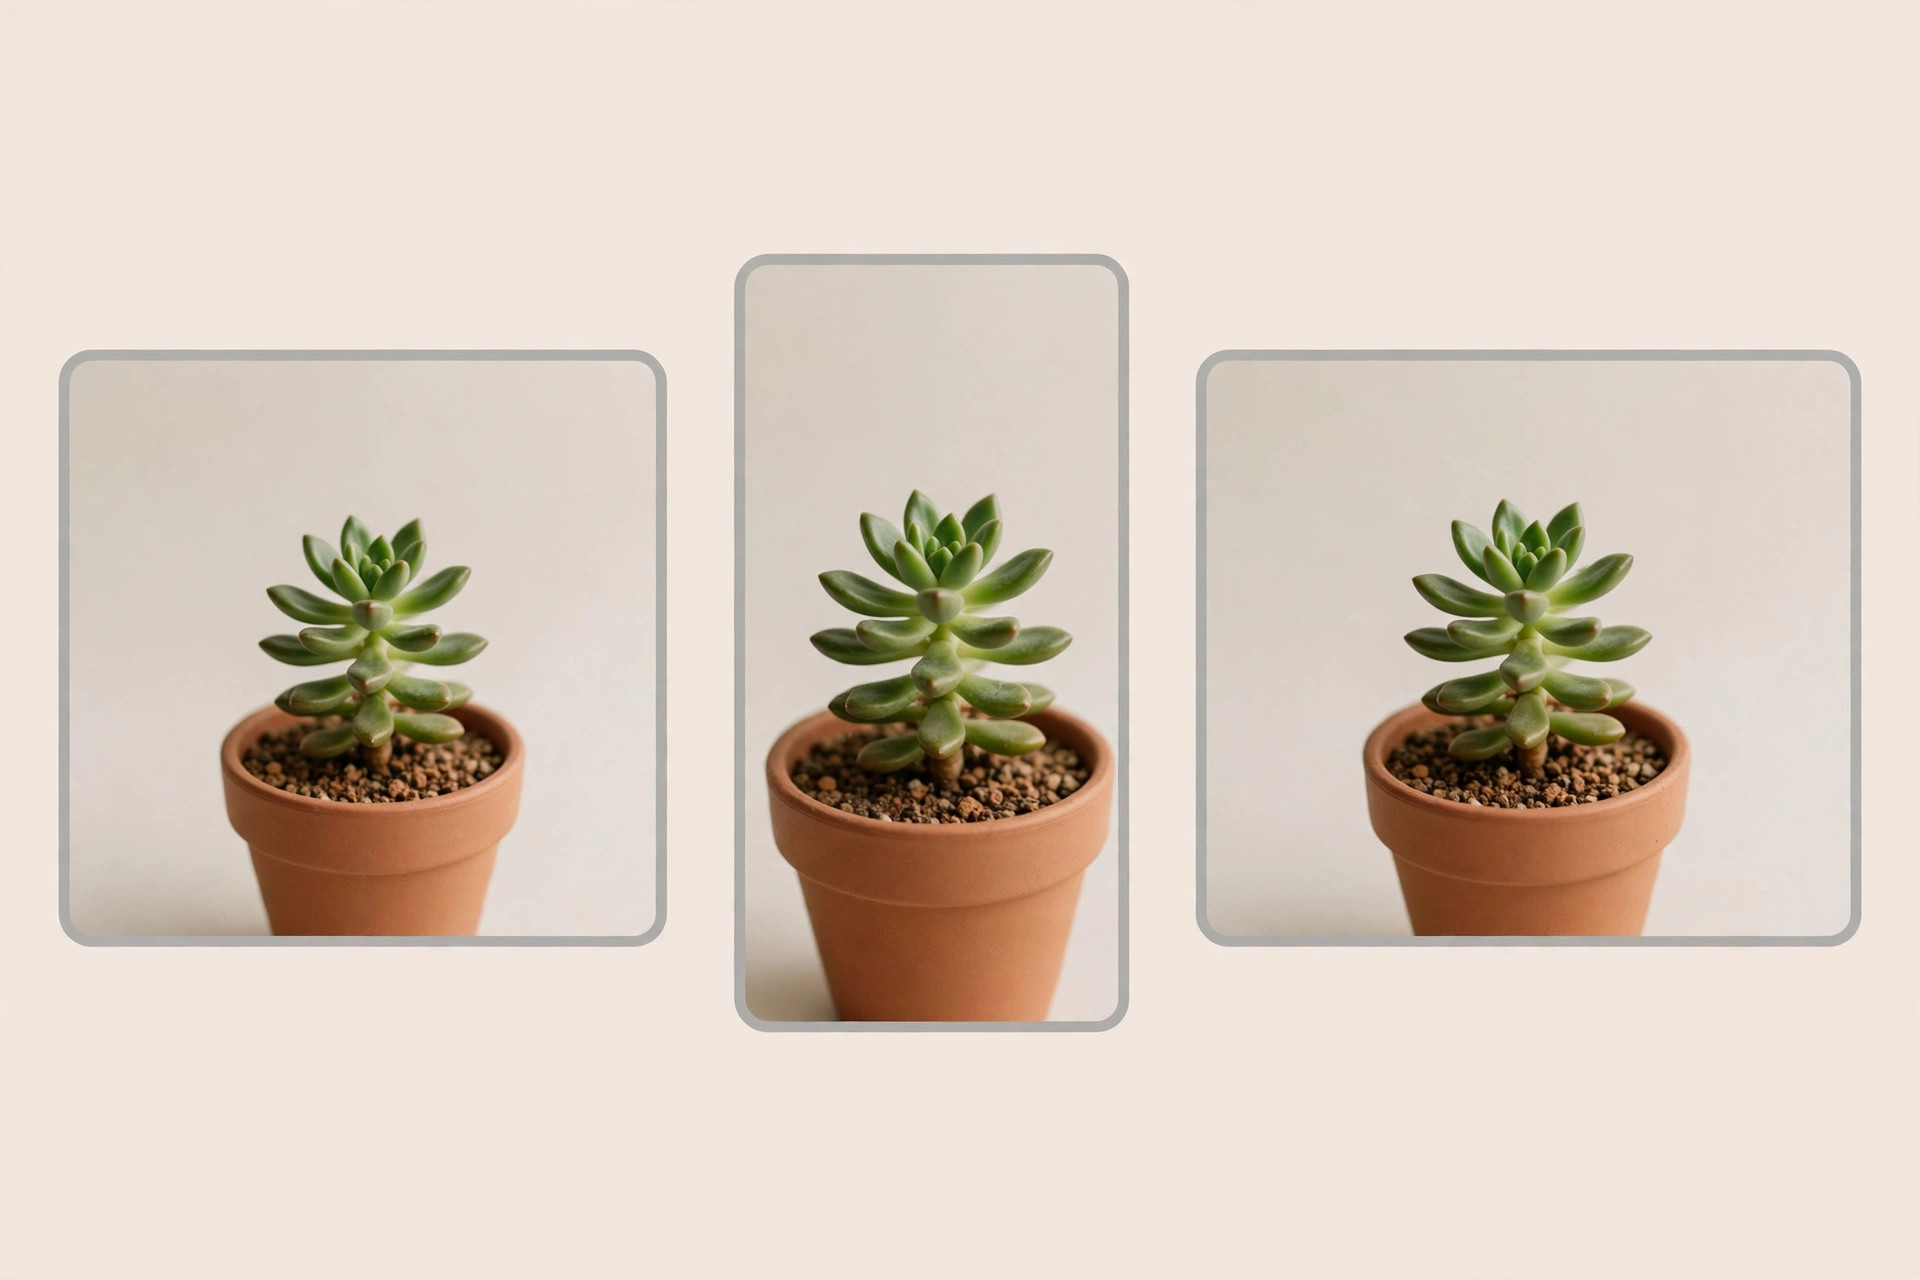
    You post a photo, and the platform crops the edges, blurs the details, or squeezes it into a shape you never intended. The photo itself was fine — the size was wrong. Every social platform displays images at its own dimensions, and using the right size is the simplest way to make your posts look professional. This guide explains why size matters, gives you the commonly recommended sizes for the major platforms, and shows you how to prepare an image for each one.

    Social media image sizes

    Why the right size matters

    When an image is much larger than the platform needs, the platform compresses it, which can soften fine detail. When it is much smaller, it gets stretched and turns blurry. And when its shape does not match the display area, the platform crops it automatically — often cutting off heads, text, or the main subject. Starting at the recommended size avoids all three problems: the image is displayed as you designed it, it stays sharp, and nothing important gets cut. Size also affects loading speed, which matters for viewers on slow connections and for how polished your post feels.

    Recommended sizes for the major platforms

    These are the commonly recommended sizes that work well in most cases. Platforms change their layouts from time to time, so treat them as reliable starting points rather than fixed rules.

    • Instagram square post: 1080 x 1080 pixels. Portrait post: 1080 x 1350 pixels. Story and reel cover: 1080 x 1920 pixels.
    • Facebook post image: 1200 x 630 pixels. Profile picture: at least 320 x 320 pixels. Cover photo: 851 x 315 pixels on desktop.
    • X post image: 1600 x 900 pixels for a wide image that displays well in the feed.
    • YouTube thumbnail: 1280 x 720 pixels. Channel art: 2560 x 1440 pixels.
    • LinkedIn post image: 1200 x 627 pixels. Profile photo: 400 x 400 pixels.

    If you only remember one rule, remember this: design at the exact size for the platform you are posting to, instead of uploading one large image everywhere and hoping each platform handles it well.

    How to size an image correctly

    1. Pick the platform and format first. A square Instagram post and a wide X image need different shapes, so decide before you start editing.
    2. Set the exact dimensions. Use an image resizer and type in the width and height in pixels, rather than dragging a corner and guessing.
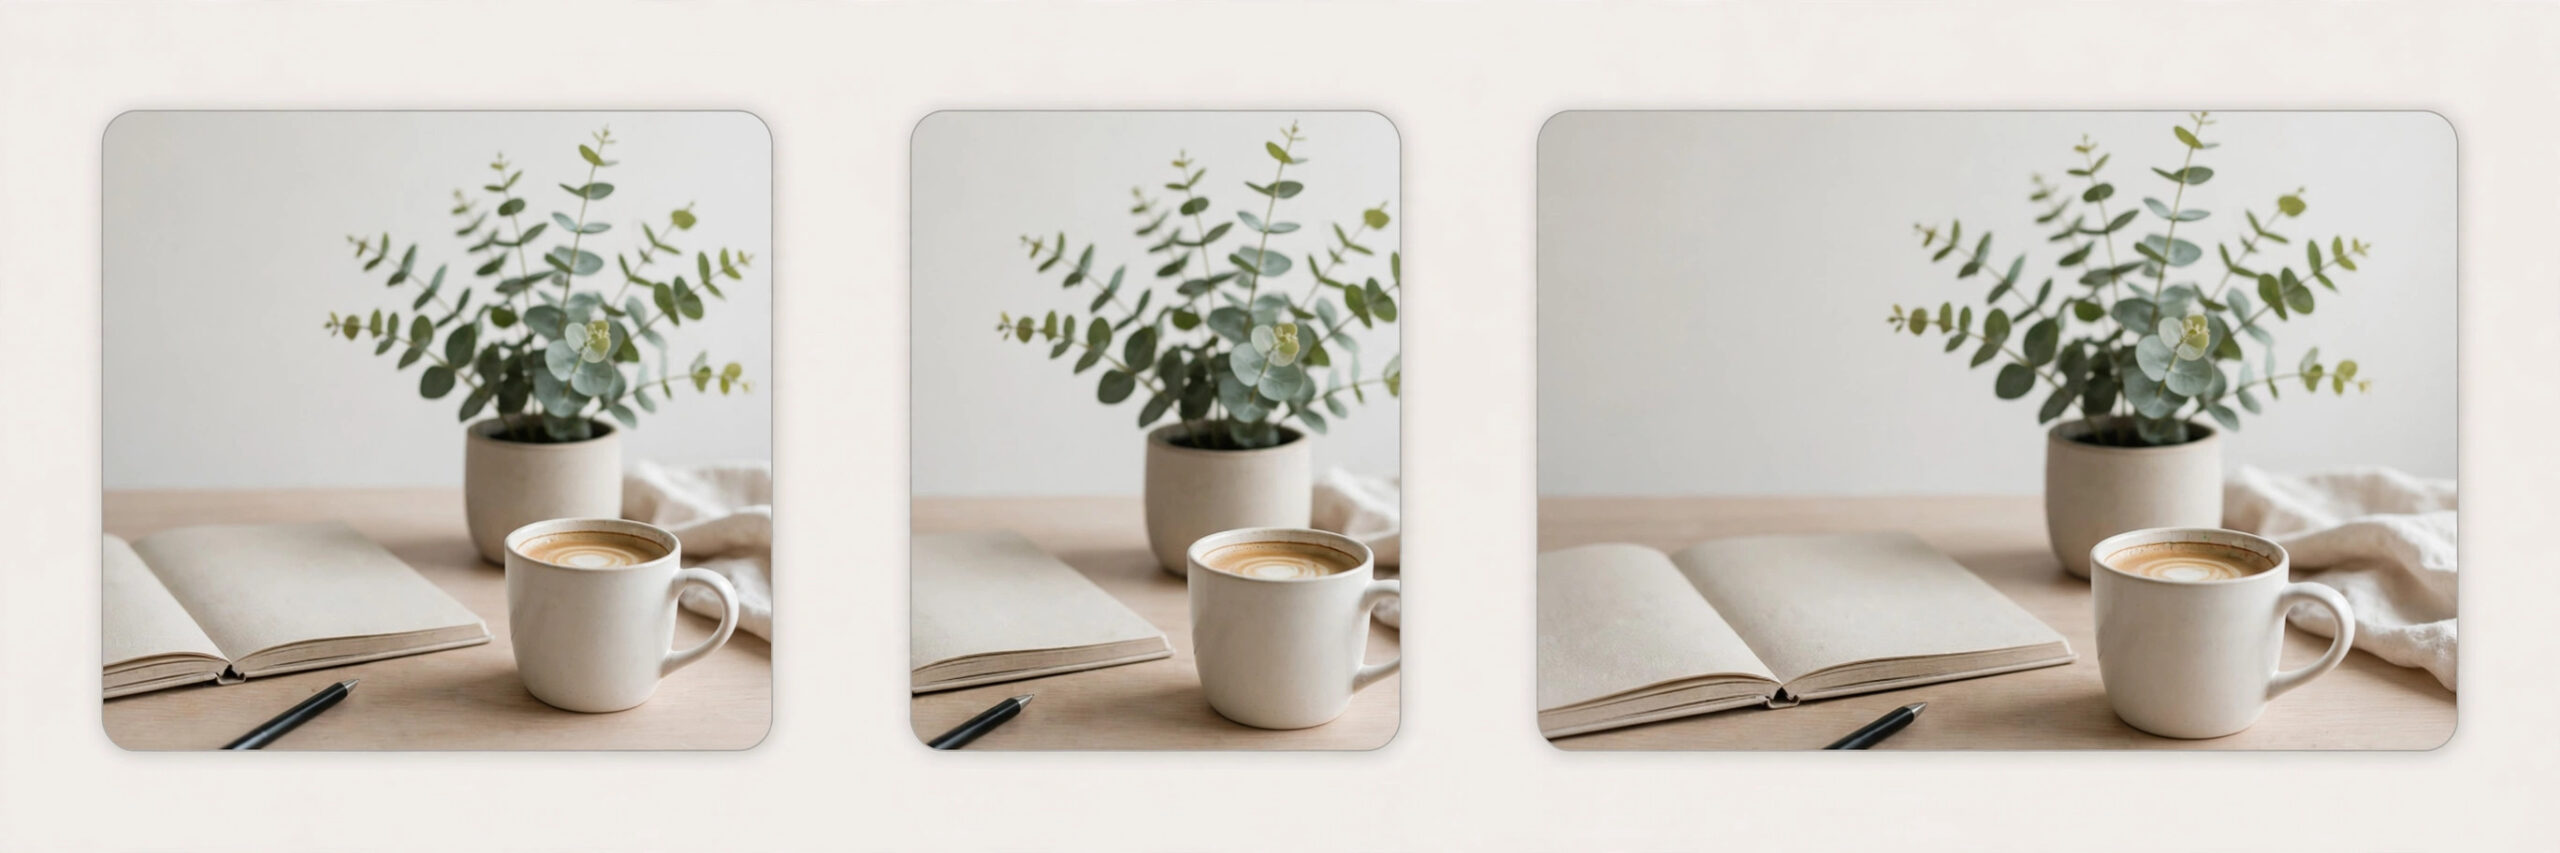
    3. Keep the proportions right. If the new shape differs from the original, crop deliberately — choose what stays in the frame — instead of stretching the image to fit.
    4. Position the subject with room to spare. Keep faces and text away from the edges, because some platforms trim a small border on certain screens.
    5. Export in the right format. JPG suits photos, PNG suits graphics and anything with text or sharp lines.
    6. Check the result at actual size. Open the exported image and look at it at 100 percent zoom. If it looks sharp there, it will look sharp in the post.

    Tips for consistent, sharp posts

    Keep one high-quality master copy of every image, then export a separate version for each platform from that master. Never resize an already-resized copy, because each round loses a little quality. If a platform offers both a square and a portrait option, portrait usually takes up more screen space in the feed and gets noticed more. For graphics with text, leave generous margins so nothing important sits near the edges where cropping happens. After resizing, compress the file if it is very large — a smaller file uploads faster and is less likely to be heavily re-compressed by the platform. Finally, test with one post before rolling out a whole series in a new size, so you can see exactly how it appears to your audience.

    Final word

    The right image size is a small detail with a big payoff: no surprise cropping, no blur, and posts that look the way you designed them. Find the platform’s recommended size, resize from your master copy, crop with intent, and check the result before posting. If you need a quick way to hit exact dimensions, iboxseo.org offers a free Image Resizer tool that works right in your browser, with no login needed. One size per platform, done properly, is all it takes.

  • How to Rotate, Rearrange and Delete Pages in a PDF

    How to Rotate, Rearrange and Delete Pages in a PDF

    Scanned documents and assembled PDFs rarely come out perfect on the first try. A page is upside down, two pages are in the wrong order, or a blank page sneaks in at the end. Sending a PDF like that to a client or a job portal looks careless, and it can also cause real confusion — a missing page is worse than a messy one.

    Rotating, rearranging and deleting pages in a PDF

    The good news is that fixing the order of a PDF is simple and does not need expensive software. Most free PDF tools now show each page as a thumbnail, so you can rotate, move and delete pages the way you would sort photos in a gallery.

    Rotate pages that are upside down or sideways

    Scanned pages are the usual culprit here, because a scanner does not always know which way up a page should be. Here is the fix:

    1. Open your PDF in a PDF page organizer tool that shows pages as thumbnails.
    2. Find the pages that are rotated. Thumbnails make this easy, since you can spot a sideways page at a glance.
    3. Select the page, or several pages at once if they all need the same fix, and use the rotate button.
    4. Check the result in the preview. Text should run left to right and images should sit the right way up.
    5. Save the file. Rotating changes the page itself, so make sure you download the updated version rather than the original.

    Rearrange pages into the right order

    Wrong page order is common when a document is scanned in a hurry or assembled from several files. Fixing it is a matter of dragging pages into place.

    1. Open the PDF in the same thumbnail view and look at the full sequence of pages.
    2. Decide the correct order before you start moving anything. If the document has page numbers, they are your best guide.
    3. Drag each page thumbnail to its correct position. Most tools show a gap or highlight where the page will land.
    4. Work from the front to the back, placing one page at a time, and re-check the sequence after every few moves.
    5. Preview the whole document from start to finish. A quick scroll confirms the story now flows in the right order.

    Delete pages you do not need

    Blank pages, duplicate scans, and draft pages that were never meant to be shared all make a PDF longer than it needs to be. Removing them also makes the file smaller and easier to read.

    1. In the thumbnail view, identify the pages to remove. Blank pages and exact duplicates are the obvious ones.
    2. Select each unwanted page. Be careful with pages that look similar — check the content, not just the thumbnail.
    3. Use the delete option and confirm. The remaining pages close up automatically.
    4. Check the new page count and flip through the document once more. Deleting a page can change how the rest reads, so make sure nothing important is gone.
    5. Save and download the cleaned-up file.

    Tips for fixing PDFs safely

    Always work on a copy of the original file. If you delete the wrong page or rotate something by mistake, you can start again from the copy. And do not skip the final preview — a two-minute check saves you from sending the wrong version to someone who matters.

    Final word

    A few minutes of page cleanup turns a rough scan into a document you can share with confidence. Rotate what is sideways, rearrange what is out of order, delete what does not belong, and your PDF will look like it was put together properly from the start. Once it is clean, try related free tools at iboxseo.org, such as PDF Merge, which combines separate PDFs into one, and PDF to Image, which turns PDF pages into images.

  • How to Merge Multiple Images Into One PDF

    How to Merge Multiple Images Into One PDF

    Photos, scanned documents, receipts, and design drafts often live as separate image files, and sending them one by one is messy. A single PDF keeps everything in order, opens on any device, and looks professional whether you are submitting a form, sharing a portfolio, or sending homework. Merging images into one PDF is easier than most people expect, and you do not need any installed software to do it. This guide walks you through the process step by step, from preparing your images to downloading a clean, correctly ordered PDF.

    Merging multiple images into one PDF

    Get your images ready first

    Before you merge anything, take two minutes to prepare your files. First, decide the order you want the pages to appear in, and rename the files so the order is obvious — for example, 01-front.jpg, 02-inside.jpg, 03-back.jpg. Most tools sort files alphabetically, so numbering saves you from rearranging later. Second, check the orientation of each image. A sideways photo becomes a sideways PDF page, so rotate any image that needs it before you start. Finally, note the formats: JPG and PNG both work well for merging. If an image is in another format, convert it to JPG or PNG first so the tool accepts it without trouble.

    Step-by-step: merge images into one PDF

    1. Gather your images in one folder. Collect every image that belongs in the PDF and remove any duplicates or blurry shots you do not want included.
    2. Open an image-to-PDF tool in your browser. A browser-based tool keeps the job simple because there is nothing to install and it works on phones and computers alike.
    3. Upload or select your images. Add them all at once, then check that the list matches the order you planned. If the tool lets you drag files into place, use that to fix any file that is out of sequence.
    4. Choose the page size. A4 is the safest choice for documents, forms, and anything that may be printed. If the PDF is only meant to be viewed on screen, keeping each image at its original size is also fine.
    5. Set the orientation and margins. Portrait suits documents and most photos, while landscape suits wide shots. Small, even margins give the pages a tidy, consistent look.
    6. Create and download the PDF. Generate the file, open it, and flip through every page before you send it. Check the order, the orientation, and that no image is cut off at the edges.

    Choosing page size and quality

    Page size and quality decide how the PDF looks and how large the file becomes. A4 pages are the standard for anything official or printable, and they make mixed-size images look uniform. Original-size pages preserve photos exactly as they are, which suits portfolios and artwork. On quality, a high setting keeps photos sharp but makes a bigger file, while a medium setting is usually enough for documents and everyday sharing. If the PDF turns out too large to email or upload, compress the images slightly before merging, or merge at a lower quality setting and check that the text and details are still clear.

    Tips for a clean result

    Keep all images in the same orientation where possible, because a mix of sideways and upright pages looks careless. Use clear file names so the page order survives the upload. Always preview the finished PDF — a quick flip-through catches a duplicated page or a wrong order before anyone else sees it. If the file is still too big after merging, an image compressor can shrink the source images, and you can merge again. Finally, keep a copy of the original images. If you later need to add, remove, or reorder a page, starting from the originals is far easier than editing the finished PDF.

    Which images work best in a PDF

    JPG suits photos and scanned documents, because it keeps file sizes small. PNG suits text, diagrams, and screenshots, because it keeps every line sharp. WebP files need converting first, since most PDF tools do not accept them. Our guide to convert WebP to JPG or PNG shows the quick method.

    If your images mix JPG and PNG, that is fine. The PDF keeps each image as it is, so the quality stays the same. Just check that every image is the right way up before you merge. A sideways photo becomes a sideways page.

    Frequently asked questions

    Can I merge JPG and PNG images in one PDF?

    Yes. Most image-to-PDF tools accept both formats in the same file. Add them together, set the order, and download one PDF.

    Will merging images reduce their quality?

    No, if you keep the quality setting high. A medium setting is enough for documents, while a high setting keeps photos sharp. Learn more in our guide to resize an image without losing quality.

    What page size should I use for merged images?

    A4 is the safest choice for documents and forms, because it prints well. For photos and artwork, keeping the original size preserves the image exactly. Our screenshot to A4 PDF guide explains the A4 layout.

    Can I merge images into a PDF on my phone?

    Yes. Browser tools work on phones too. Open the tool, add your images, and download the PDF. The Wikipedia guide to PDF explains the format, and Adobe’s PDF overview covers readers and tools.

    Final word

    Merging images into one PDF is a small task that makes a big difference to how your work is received: one file, in the right order, ready to share or print. If you need a quick way to do it, iboxseo.org offers a free Screenshot to A4 PDF tool that turns images and screenshots into a clean A4 PDF right in your browser, with no login needed. Gather your images, check the order, and your PDF is ready in minutes.

  • How to Reduce PDF File Size Without Losing Quality

    How to Reduce PDF File Size Without Losing Quality

    A PDF that is too big gets rejected by email, job portals and online forms. The fix is usually simple — most of the size comes from a few heavy images or extra pages hiding inside the file. Here is how to shrink a PDF without making it unreadable.

    PDF file icon on a scale going from heavy to light

    Why PDFs become so large

    The biggest reason is images. Scanned pages saved at very high resolution, photos pasted at full size, and embedded fonts all add weight. A single scanned page can be several megabytes on its own, so a 20-page scan quickly becomes a file nobody can email.

    Step-by-step: make your PDF smaller

    1. Compress the images inside the PDF. This gives the biggest saving. For documents read on screen, images at around 150 DPI look perfectly fine — you rarely need 600 DPI.
    2. Remove pages you do not need. Blank pages, duplicates and old drafts often sit inside the file unnoticed.
    3. Use a free PDF compressor tool. Pick one that lets you choose a quality level, and prefer “balanced” over “maximum compression” so text stays readable.
    4. Avoid scanning at maximum resolution. When you scan a document, 200 to 300 DPI is plenty for everyday use.
    5. If you build the PDF from images, compress the images first, then create the PDF. Shrinking images before they go in beats trying to fix a heavy PDF later.

    How small can it go?

    It depends on the file. A scanned document can often drop from 20 MB to 2 or 3 MB with no visible difference on screen. A text-based PDF is usually small already, so do not expect miracles there — the wins come from image-heavy files.

    Mistakes to avoid

    Over-compressing until the text turns blurry. Deleting pages you actually need — always check the page count before and after. And paying for expensive software when a free browser tool does the same job for a one-off file.

    Final tip

    Start with the images, remove the extras, and compress once at balanced quality. And if you work with PDFs often, iboxseo.org has free PDF tools that run right in the browser — merge PDFs or turn PDF pages into images with no login needed.

  • How to Resize an Image Without Losing Quality (Step-by-Step Guide)

    How to Resize an Image Without Losing Quality (Step-by-Step Guide)

    Resizing an image sounds simple — until the result comes out blurry, stretched or pixelated. Whether you are uploading a photo to a website, Instagram or an online form, the right size matters. The good news: resizing correctly is easy once you know a few basics.

    Correct versus stretched and pixelated resizing comparison

    What “without losing quality” actually means

    Shrinking a large image almost always keeps it looking sharp, because you are removing pixels, not inventing new ones. Enlarging a small image is where quality breaks — the software has to guess the missing pixels, which causes blur. So the golden rule is: always start from the largest, original version of your image, and resize down to what you need.

    Step-by-step: resize an image the right way

    1. Start from the original. Never resize a copy that was already compressed or resized before — every round of editing loses a little quality.
    2. Decide the exact size you need. Check where the image will be used (Instagram post, website banner, profile photo) and use those dimensions.
    3. Keep the aspect ratio locked. This stops the image from stretching. If the tool has a lock icon or “keep proportions” option, leave it on.
    4. Resize with a proper tool. Use an image resizer that lets you type exact dimensions instead of guessing by dragging a corner.
    5. Pick the right format. Use JPG for photos, PNG for graphics, logos or anything with transparency, and WebP when you want smaller files for the web.
    6. Compare before and after. Zoom in and check the resized image looks sharp, then download it.

    Best image sizes cheat sheet

    Instagram post: 1080 x 1080 pixels. Instagram story: 1080 x 1920 pixels. Profile photo: at least 320 x 320 pixels. Website hero banner: 1920 pixels wide. Blog article image: around 1200 pixels wide.

    Common mistakes to avoid

    Enlarging a tiny image and expecting it to stay sharp. Stretching an image to fit a space instead of cropping it. Saving a JPG again and again — each save compresses it further. And ignoring file size: a huge image slows down websites, so compress it after resizing if needed.

    Final tip

    Resize from the original, keep the proportions locked, choose the right format, and check the result before you use it. A small habit of checking the size first saves a lot of blurry uploads later.