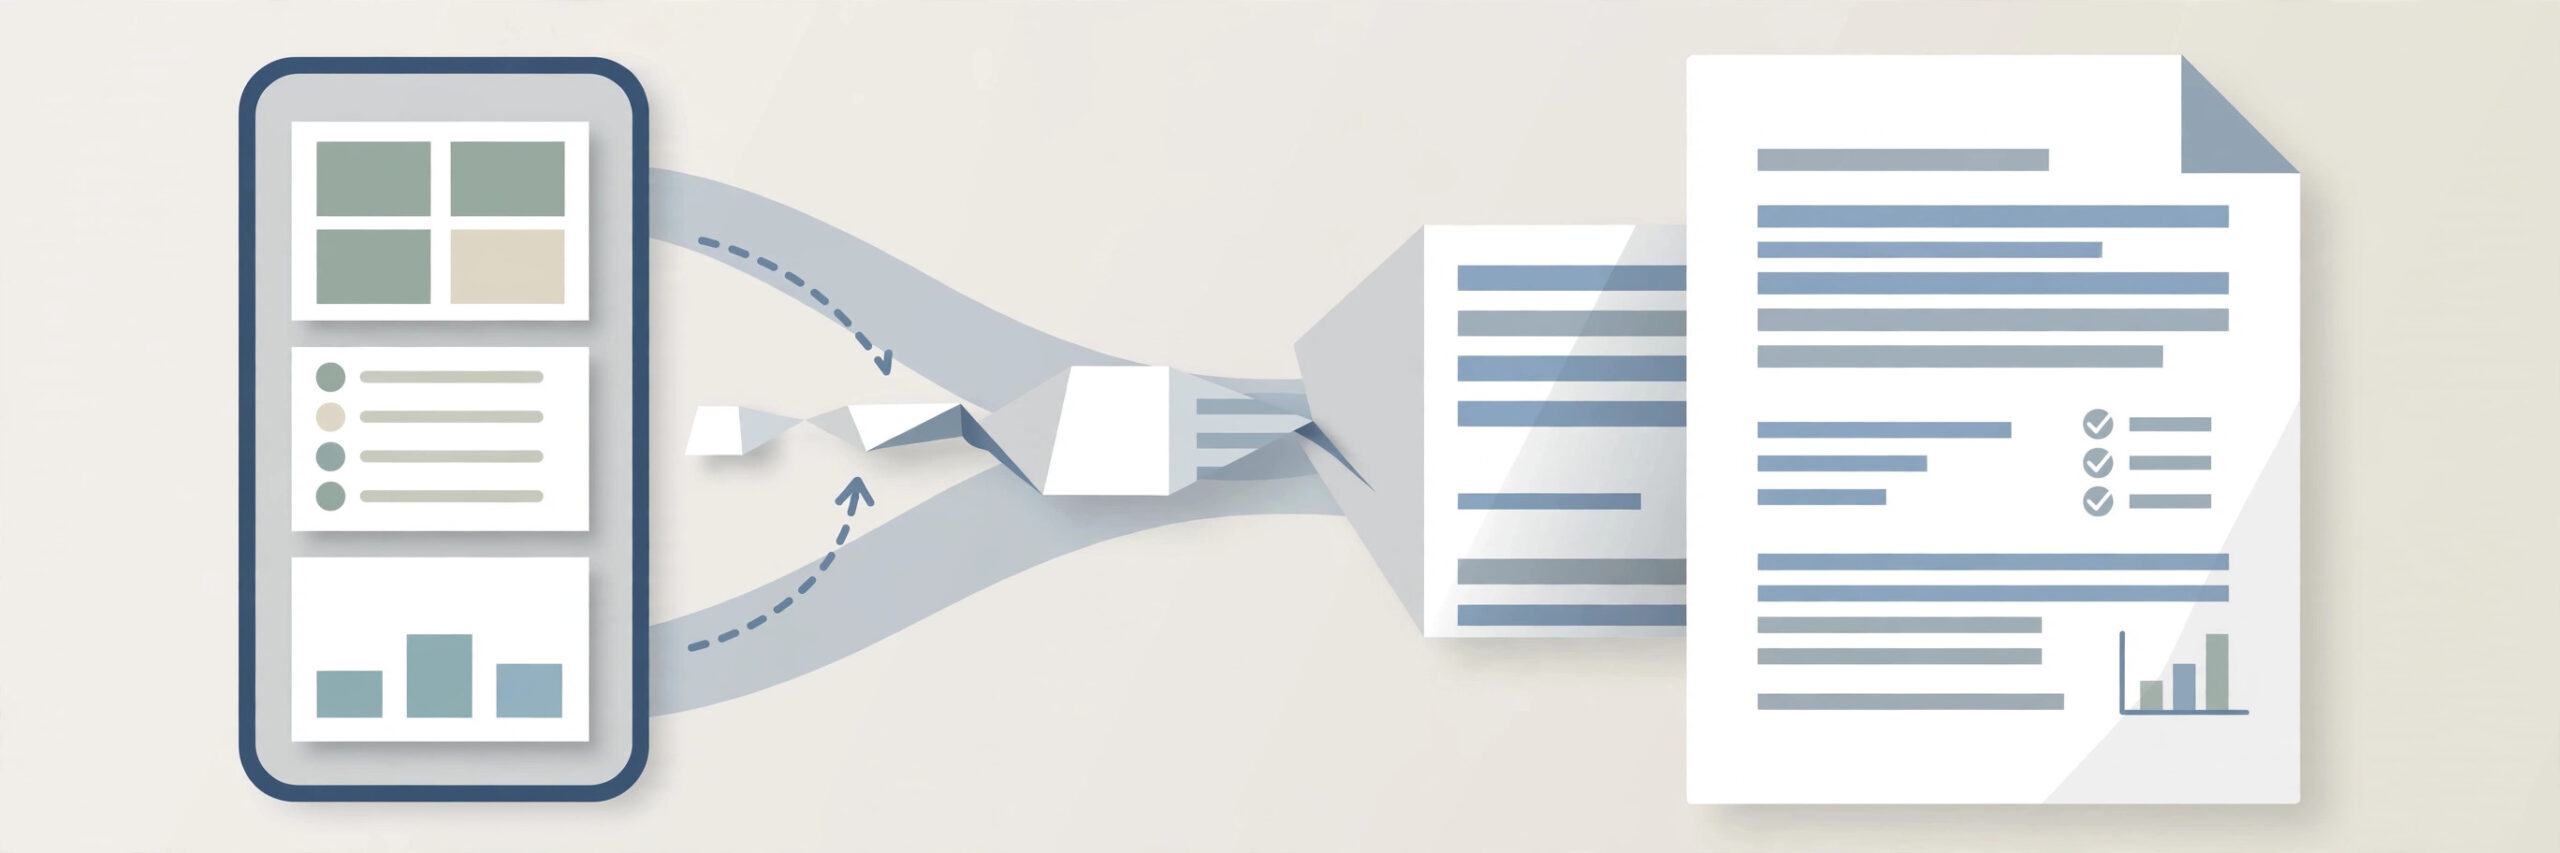
Screenshots pile up fast: receipts, forms, tickets, chats, and payment confirmations. Sharing them one by one is messy, and a dozen loose images are easy to lose track of. A single PDF is easier to share, print, and store, and it keeps everything in the right order. You can turn screenshots into a PDF right on your phone, with no new app to install. This guide shows the built-in way on iPhone and Android, plus a browser method that puts your screenshots on clean A4 pages.
On iPhone: screenshots to PDF
The most reliable built-in method uses the Print menu:
- Open the Photos app and select the screenshots you want in the PDF. Tap Share, then scroll down and tap Print.
- On the print preview screen, pinch outward on the preview image with two fingers. This opens a full PDF preview of your selected screenshots.
- Tap the Share button in the preview, then choose “Save to Files”. Pick a folder, give the file a clear name, and tap Save.
If your screenshots are of a web page in Safari, there is an even quicker route: take a screenshot, tap its preview, switch to the “Full Page” tab, and save it directly to Files as a PDF. This captures the whole page in one document without needing the Print menu.
On Android: screenshots to PDF
- Open your gallery or Google Photos app and select the screenshots you want to include.
- Tap Share, then choose Print from the share options.
- At the top of the print screen, tap the printer dropdown and select “Save as PDF”.
- Tap the PDF button or Save icon, choose a folder, name the file, and tap Save.
Menu names vary slightly between phone brands, but the Share, then Print, then Save as PDF path works on most Android phones. If your gallery app does not show a Print option, open the screenshots in Chrome or your Files app and use the Print option from there instead.
The browser method: screenshots on clean A4 pages
If you want a neater result, especially for several screenshots in one document, use the Screenshot to A4 PDF tool on iboxseo.org. Open it in your phone’s browser, upload your screenshots, and it arranges them on proper A4 pages that you can download as a single PDF. There is no login and nothing to install, and the result looks far tidier than a stack of raw phone screenshots — handy for receipts, application documents, or anything you need to send officially.
Tips for a clean PDF
Put your screenshots in the right order before converting, since reordering pages afterwards is extra work. Crop out the status bar, notification icons, or unrelated content at the edges if they are not needed. Check that every image is upright, because a sideways screenshot in the middle of a PDF looks careless. If the finished PDF is too large to email, shrink the screenshots first or share the file through a cloud drive link instead. Finally, name the file clearly, for example “rent-receipts-march-2026.pdf”, so you can find it again months later.
Frequently asked questions
Can I combine screenshots from different days into one PDF? Yes. The built-in Print method lets you select any screenshots together, regardless of when they were taken, and they will appear in the PDF in the order you selected them.
Why is my PDF so large? Phone screenshots are full-resolution images, so a PDF with many of them adds up quickly. Cropping screenshots to the relevant part before converting, or resizing them, keeps the file much smaller.
Can I edit the PDF after creating it? The Photos and Print route creates a finished file, not an editable one. If you need to add, remove, or reorder pages afterwards, a PDF merge or split tool is the way to do it.
Final word
Turning screenshots into a PDF on your phone takes about a minute once you know the path: select, Share, Print, Save as PDF. For a single quick document, the built-in method is all you need. For a neat, multi-page document with proper A4 layout, the Screenshot to A4 PDF tool on iboxseo.org does the arranging for you. Either way, you end up with one tidy file instead of a scattered camera roll.
Leave a Reply