Category: Guides

  • How to Crop an Image to the Perfect Size

    How to Crop an Image to the Perfect Size

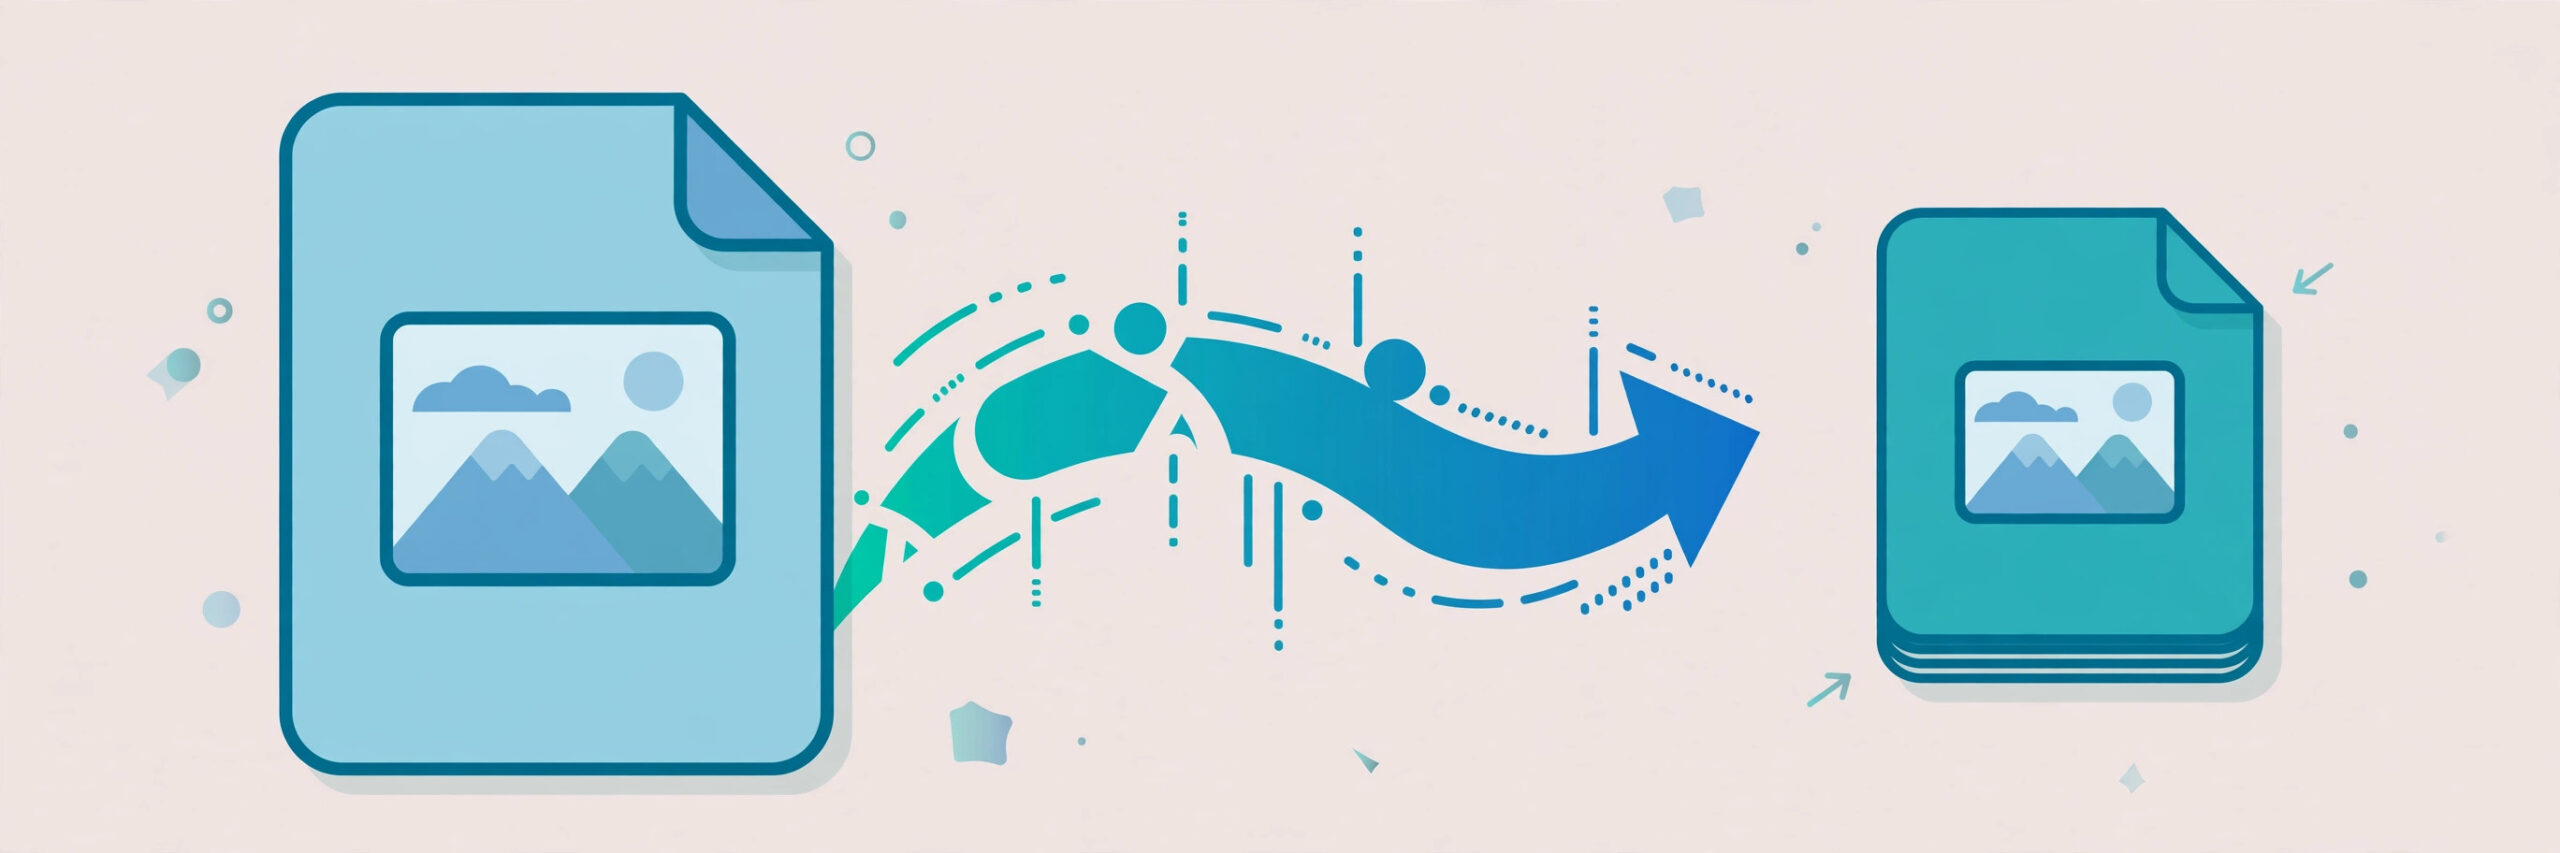
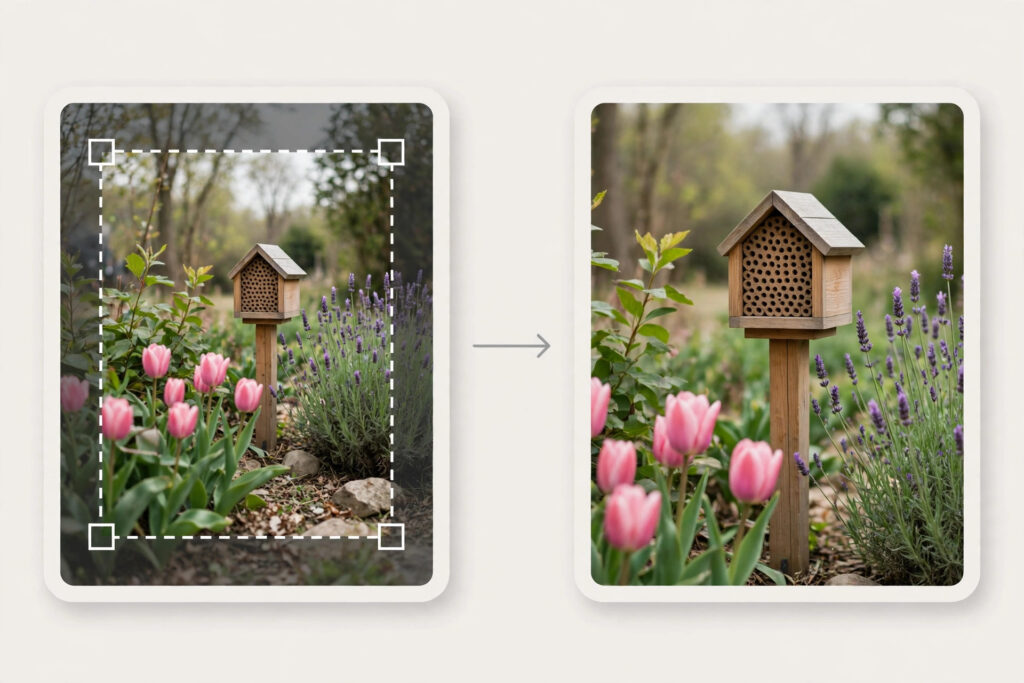
    Cropping is one of the simplest photo edits, and one of the most powerful. It means cutting away the edges of a photo to change its shape, remove distractions and put the focus exactly where you want it. A well-cropped photo fits Instagram, a website banner or a profile circle perfectly, while a badly cropped one can cut off heads, hands or the whole point of the picture. In this guide, you will learn how to crop any image to the perfect size, step by step.
    Cropping vs resizing: what is the difference?

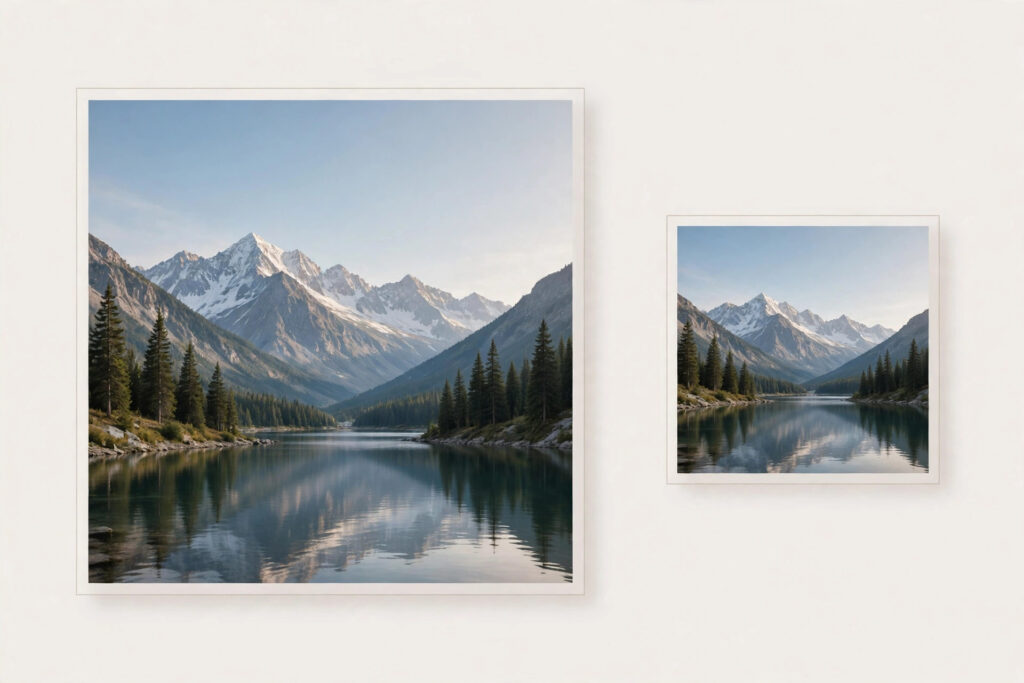
    Cropping and resizing sound similar, but they do different things. Cropping cuts parts of the image away, which changes its shape and what is visible. Resizing keeps the whole picture but makes it bigger or smaller. You usually need both: first crop to get the right shape and framing, then resize to get the exact pixel dimensions. Doing it in that order gives you the sharpest result, because you are only resizing the part of the photo you actually want to keep.

    Step-by-step: crop an image to the perfect size

    1. Decide where the image will be used. An Instagram post, a story, a website banner and a profile photo all need different shapes. Knowing the destination first saves you from cropping twice.
    2. Pick the right aspect ratio. Aspect ratio is simply the shape of the image — its width compared to its height. Square is 1:1, a portrait post is often 4:5, a wide banner is 16:9, and a story is 9:16. Most crop tools let you choose a ratio from a menu, which locks the crop box to that shape.
    3. Place your subject with care. Put the main subject slightly off-centre rather than dead in the middle — this is called the rule of thirds, and it usually makes photos look more natural and interesting. Many crop tools can show a grid to help you line things up.
    4. Leave breathing room. Do not crop tightly against a person’s head, hands or feet. A little space around the subject keeps the photo feeling comfortable, and it also gives you room if a platform crops the edges a little further, as profile circles do.
    5. Crop, then resize. Once the framing looks right, apply the crop. Then, if you need exact pixel dimensions, resize the cropped image to those dimensions. iboxseo.org’s free Image Resizer tool works in the browser with no login and is handy for this final step.
    6. Check the result at full size. Zoom in and look at the edges and the details. Make sure nothing important was cut off and the image still looks sharp. If it looks soft, you may have cropped too tightly from a small original — go back and crop a little less.

    Common aspect ratios and where they are used

    Square (1:1) works for Instagram posts and profile photos. Portrait (4:5) is a popular choice for Instagram feed posts because it fills more of the screen. Wide (16:9) suits website banners, video thumbnails and presentations. Tall (9:16) is the shape for stories and short-form video covers. Classic photos are often 3:2, the shape most cameras produce. When in doubt, check the platform’s own recommendation before you crop, since sizes change over time.

    Tips for better crops

    Always crop from the highest-quality original you have. Cropping a small, already-compressed photo makes it look soft, so start from the largest version. Save a copy before you crop, so you can go back if you change your mind. And avoid cropping the same photo over and over — each round of saving can lose a little quality, so plan the crop once and do it well.

    Common mistakes to avoid

    The biggest mistake is cutting off the subject. Faces, hands and text at the edges are the first things to check before you save. Another is using the wrong ratio — an image cropped for a story will look wrong in a feed post, so match the ratio to where the photo will live. And do not crop a photo just to remove something small: a tiny distraction in the corner can often be covered with a sticker or a caption instead of losing a big part of your picture.

    Final tip

    Cropping is a small edit with a big effect. Choose the right ratio, place your subject well, leave a little space and check the result — that is all it takes to make a photo fit perfectly, wherever you share it.
  • How to Batch Compress Multiple Images at Once

    How to Batch Compress Multiple Images at Once

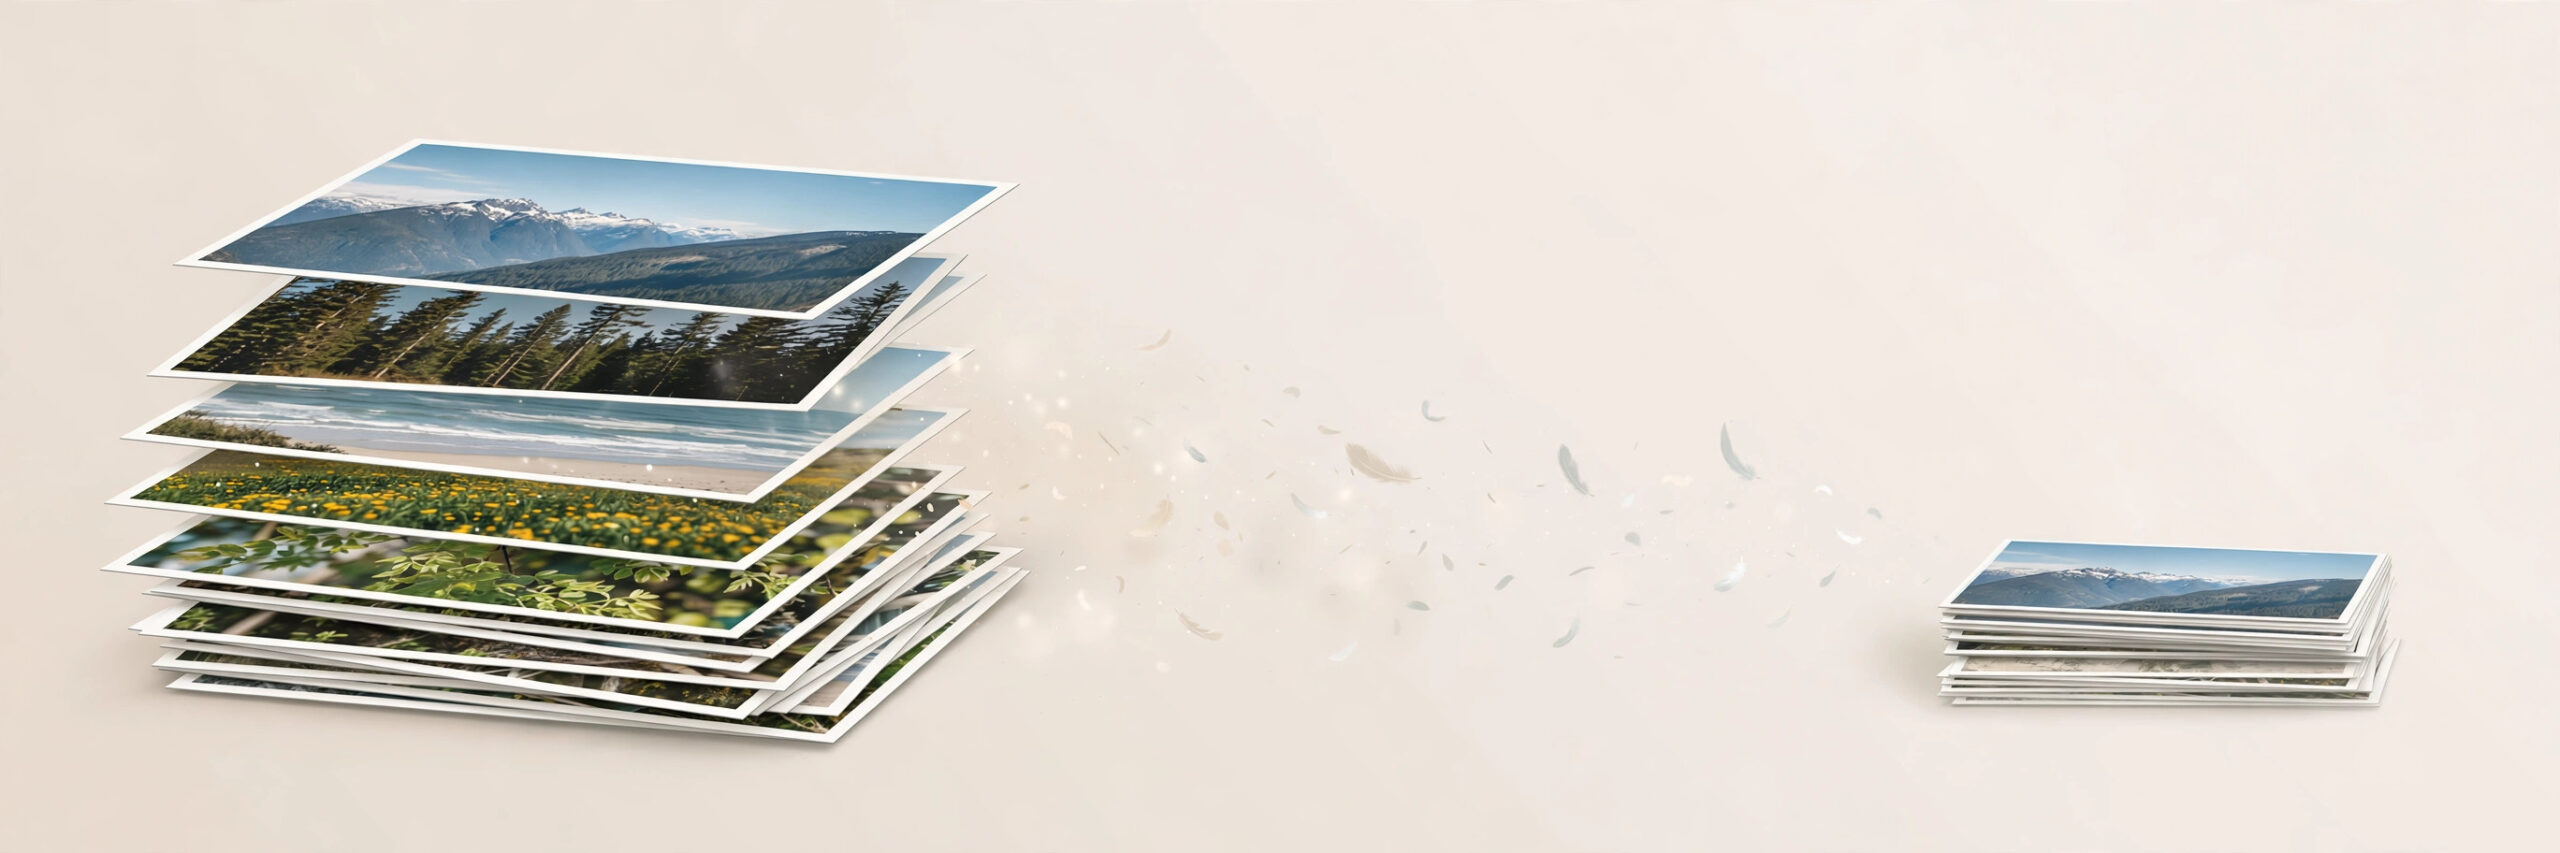
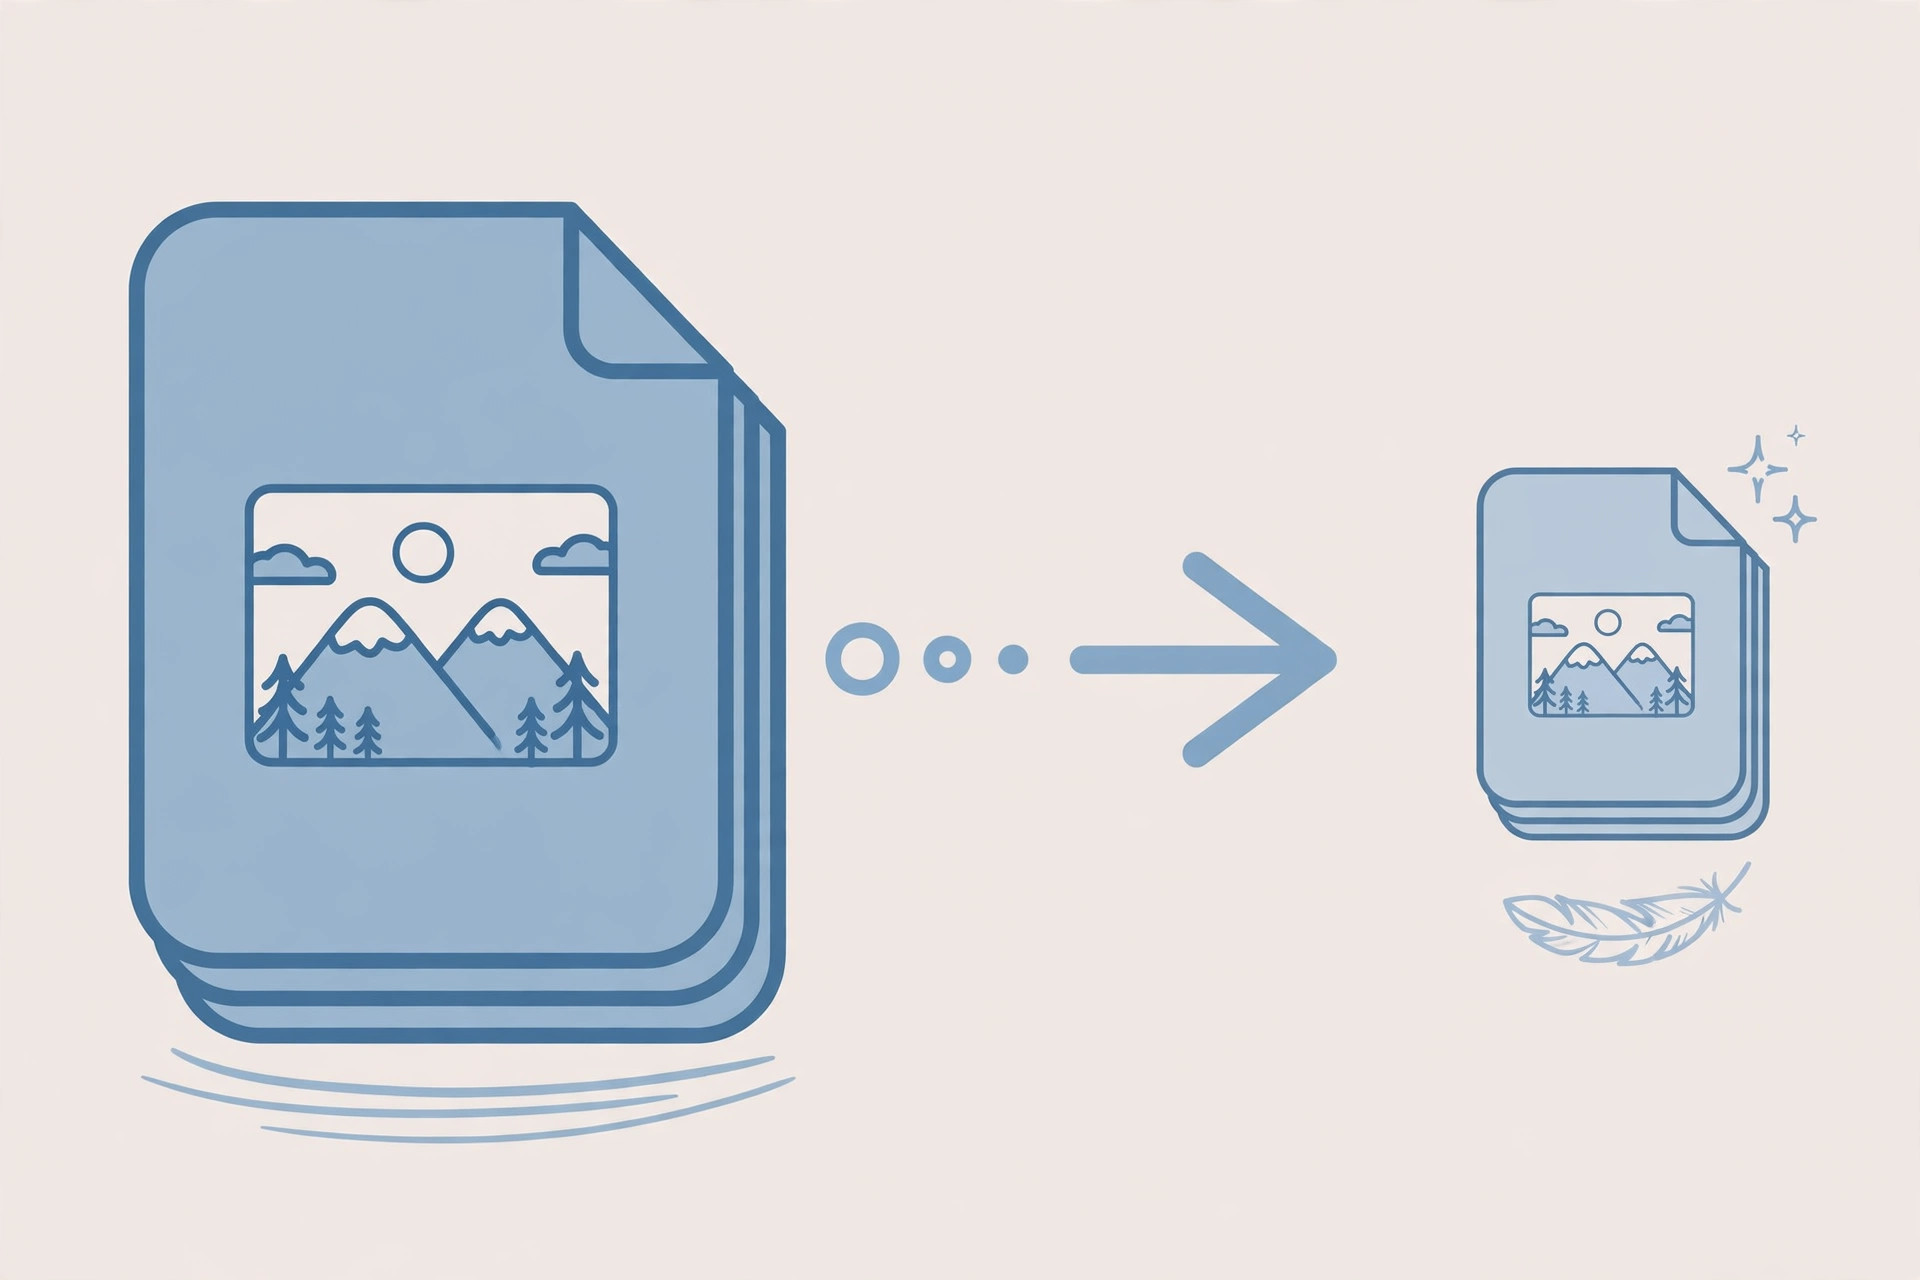
    Compressing one image is easy. Compressing fifty is a chore — unless you do them all at once. Batch compression shrinks a whole set of images in a single pass, which is a lifesaver when you are preparing photos for a website, an online listing, a school project or a job application. Done right, it saves a lot of time and keeps every image looking good.

    Batch compressing multiple images at once

    Why batch compression is worth it

    Every uncompressed photo from a modern phone is several megabytes. A set of twenty such photos can easily pass one hundred megabytes, which is too large to email, too slow to upload, and too heavy for a website. Compressing them one at a time could take an hour. Batch compression does the same job in minutes, applying the same quality setting to every image so the results stay consistent.

    Before you start

    A little preparation prevents regret later:

    • Back up your originals. Copy the full-size images to a separate folder first. Compression removes data, and you cannot get it back from the compressed copy.
    • Decide your target. For websites and uploads, a width of around 1200 to 1920 pixels and a quality setting near 75 to 80 percent usually looks great while cutting file size dramatically.
    • Keep file names tidy. If your images are named clearly, the compressed copies will be easy to find and use afterwards.

    Steps: batch compress images online

    1. Gather the images into one folder on your device so you can select them all at once.
    2. Open a free online image compressor in your browser, such as the Image Compressor on iboxseo.org.
    3. Select all the images you want to compress. Most tools accept multiple files at once, either by selecting them together or by dragging the whole set in.
    4. Choose your quality setting. Around 75 to 80 percent is a good balance: files shrink a lot while photos still look sharp.
    5. Start the compression and wait for the batch to finish. Larger batches take a little longer, but the tool handles each image automatically.
    6. Download the compressed images, ideally as a group, and save them to a new folder so they do not overwrite your originals.
    7. Spot-check the results. Open two or three compressed images at full size and confirm they look clean, with no obvious banding or blockiness.

    Steps: batch compress on a computer

    1. If you have photo software installed, look for an export or batch processing option.
    2. Select all the images, set the export size and quality once, and export the whole set to a new folder.
    3. Compare the total size before and after. A good batch usually cuts total size by half or more without visible quality loss.

    Tips

    • Compress once, at the end. Compressing the same image again and again degrades it each time, so do all your editing and resizing first, and compress last.
    • Do not mix formats blindly. JPG is best for photos; PNG suits graphics and logos. Compressing a PNG photo will not shrink it as well as converting it to JPG first.
    • Watch the smallest images in the batch. A quality setting that looks fine on a large photo can look rough on a small, detailed graphic, so always check a few different images from the set.
    • If a few images come out too soft, re-compress just those at a slightly higher quality instead of redoing the whole batch.
    • For images headed to a website, resizing them to the display size before compressing gives the biggest size saving of all.
    • If your batch includes both photos and graphics, compress them separately. Photos and graphics compress best with different settings, and splitting the batch keeps both looking their best.

    Closing

    Batch compression turns a tedious job into a quick one: back up your originals, pick a sensible quality setting, compress the whole set in one pass, and spot-check the results. Whether you use a free online compressor or software on your computer, the habit saves time on every project — and keeps your uploads fast, light and sharp. Start with your next set of photos and you will feel the difference immediately: uploads finish faster, emails go through without bouncing, and websites load noticeably quicker.

  • How to Remove the Background From a Logo (Transparent PNG)

    How to Remove the Background From a Logo (Transparent PNG)

    A logo with a white box around it looks fine on a white page, but the moment you place it on a coloured banner, a photo or a dark website header, that box stands out and looks unprofessional. The solution is a transparent background: the logo itself stays visible while everything around it disappears, so it blends into any design. The file format that makes this possible is PNG, because unlike JPG, PNG can store transparency. In this guide, you will learn how to remove the background from a logo and save it as a proper transparent PNG.

    Why a transparent PNG is the right format

    Transparency means parts of the image file are see-through, so whatever sits behind the logo shows through. PNG is the standard format for this, and it is supported by websites, documents, presentations and design tools almost everywhere. JPG cannot store transparency at all — if you save a logo with a removed background as a JPG, the transparent areas will be filled in with white or black again, and all your work is lost. So the rule is simple: transparent logo means PNG, always.

    Step-by-step: remove the background from a logo

    1. Start with the highest-resolution logo you have. A large, sharp original gives clean edges. A small, blurry logo will always have rough, fuzzy edges no matter which tool you use, so track down the best version first.
    2. Open it in a background removal tool. Free online background removers and most photo editors can do this automatically: upload the logo and the tool detects and removes the background in seconds. For a simple logo on a plain background, automatic removal is usually enough.
    3. Check the edges carefully. Zoom in to 100 percent and look all the way around the logo. Automatic tools sometimes leave a thin halo of the old background colour, or cut off thin lines and small text. This edge check is the step most people skip, and it is what separates a clean logo from an amateur one.
    4. Clean up what is left. Use the eraser or refine-edge option in your editor to remove any leftover halo, and restore any small detail the tool cut away. For logos with text, be extra careful with the insides of letters, where background colour often hides.
    5. Export as PNG with transparency switched on. When saving, choose PNG as the format and make sure the transparency or transparent background option is enabled. Some tools turn it off by default, so check before you download.
    6. Test it on light and dark backgrounds. Place your new PNG over a white background, a black background and a photo. If the logo looks clean on all three, it is ready to use. If you spot a halo on dark backgrounds, go back and clean the edges once more.

    Tips for a professional result

    Keep a master copy of your transparent PNG in a safe place, and make smaller copies from it whenever you need one — never re-edit the only copy. If your logo has very thin lines or tiny text, work at the largest size you can, since small details survive better that way. Avoid shadows and gradients in the logo itself if you plan to place it on many backgrounds, because they can look odd on some colours. And if your finished PNG file is very large, you can shrink it afterwards with a free online compressor such as the Image Compressor on iboxseo.org, which reduces file size while keeping the transparency intact.

    Common mistakes to avoid

    Saving the finished logo as JPG is the biggest mistake — it destroys the transparency you just created. Using a low-resolution logo as the starting point is another, because no tool can invent sharp edges that were never there. Finally, do not skip the edge check: a faint white halo that is invisible on a white page will be obvious the first time the logo sits on a dark banner.

    Final tip

    A transparent PNG turns one logo into a logo that works everywhere — websites, banners, videos, merchandise and documents. Start from the best original you have, remove the background, check the edges at full zoom, export as PNG with transparency on, and test it on light and dark backgrounds. Do those steps once, keep the master file safe, and you will never fight with a white box around your logo again.

  • DPI vs Pixels: What Actually Matters for Print and Web

    DPI vs Pixels: What Actually Matters for Print and Web

    If you have ever wondered whether a photo is “high resolution” enough, you have probably run into two confusing terms: DPI and pixels. People use them as if they mean the same thing. They do not. Pixels decide how much detail your image holds. DPI only matters when that image goes to print. Once you understand the difference, you will stop worrying about the wrong number.

    What pixels actually are

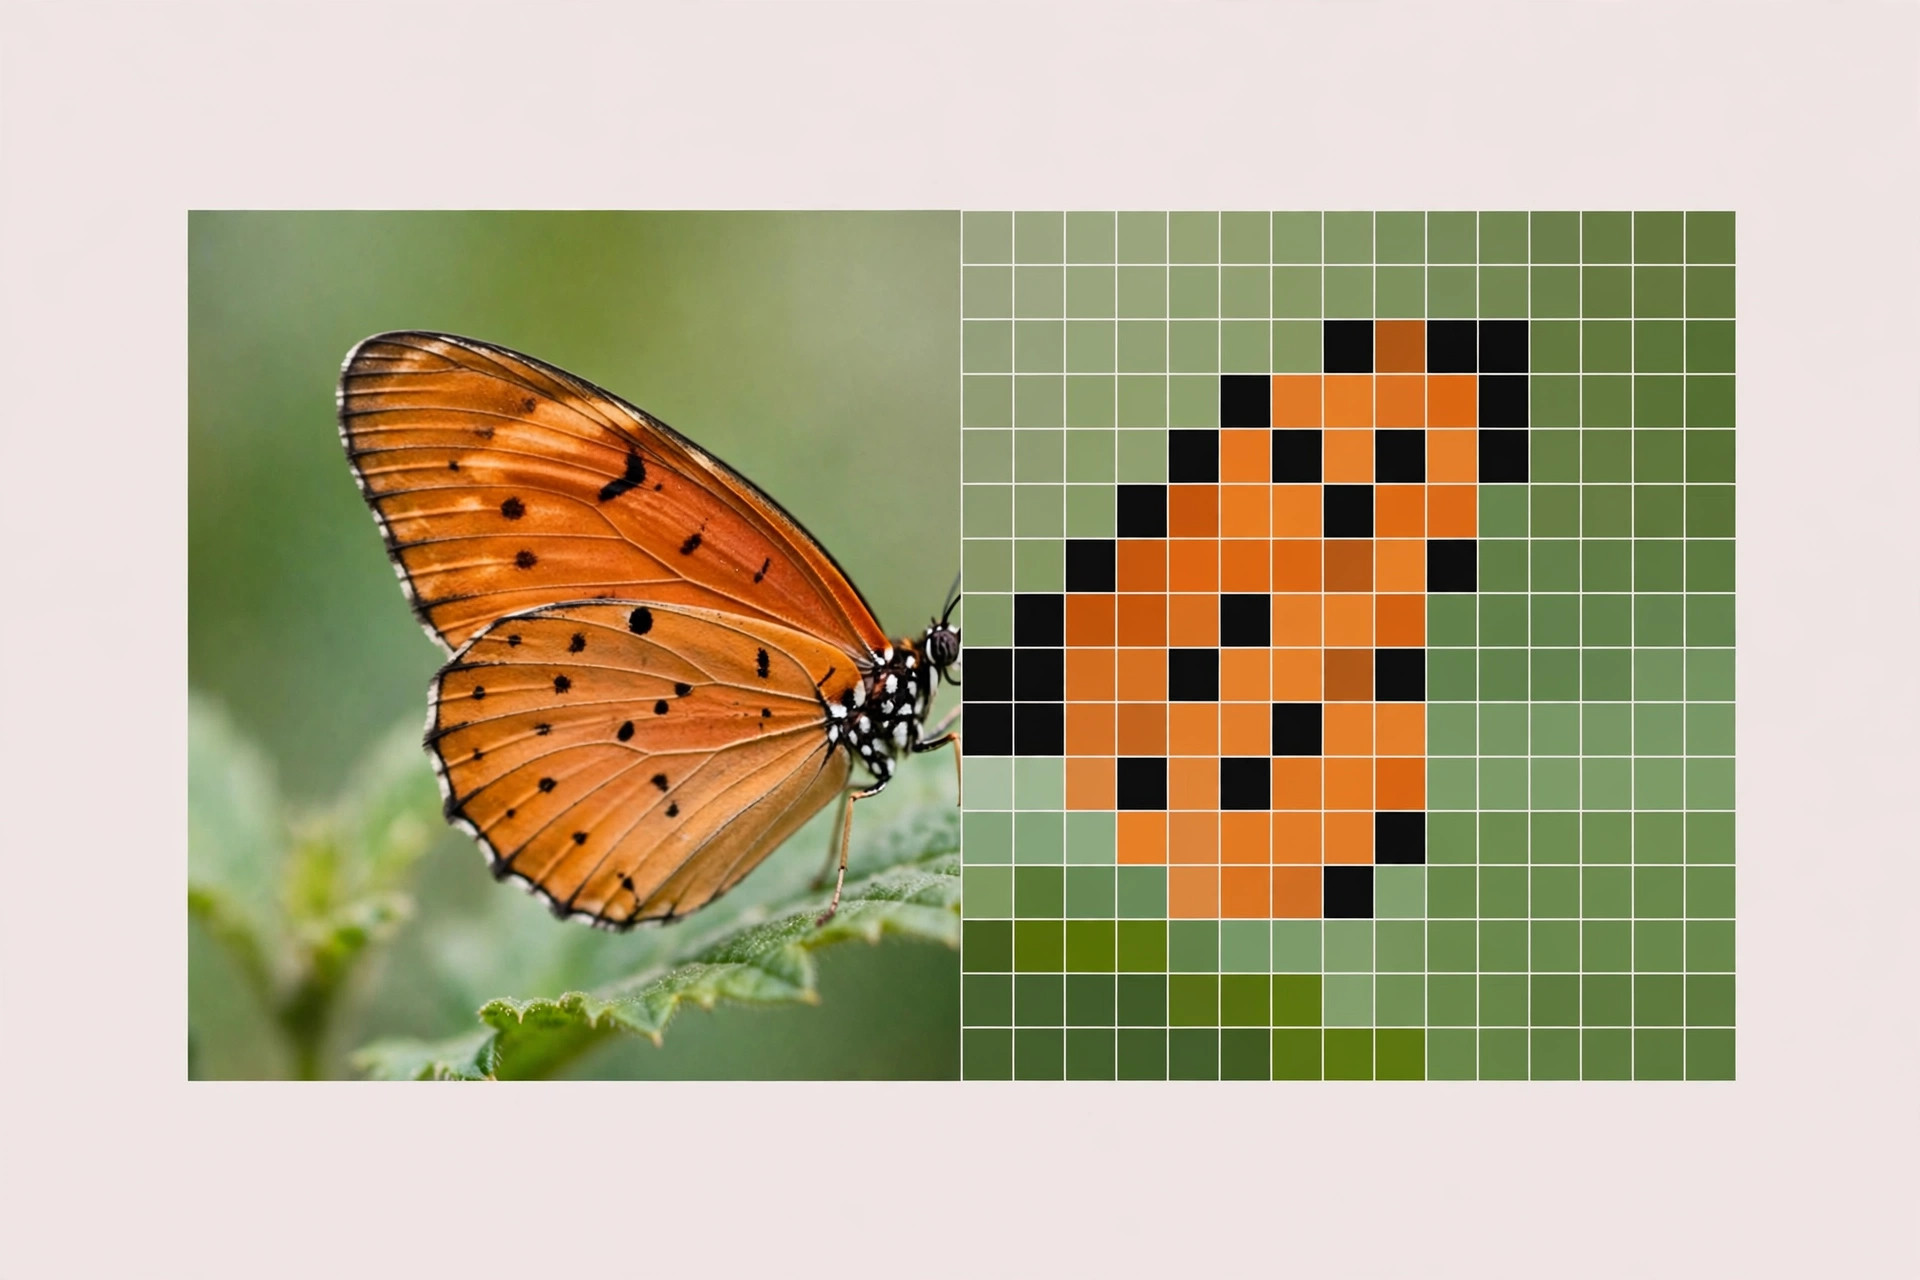
    A digital image is made of tiny squares called pixels. The pixel dimensions of an image — for example, 4000 x 3000 — describe how many of these squares it contains across and down. Multiply the two numbers and you get the total pixel count, often stated as megapixels. A 4000 x 3000 image contains 12 million pixels, or 12 megapixels.

    More pixels mean more detail. A photo with 4000 pixels across shows fine textures and small text clearly, while the same photo at only 400 pixels across looks soft and blocky when enlarged. Pixel count is the real measure of how much information an image holds.

    What DPI really means

    DPI stands for dots per inch. It is not a property of the image itself — it is a printing instruction that tells the printer how tightly to pack the pixels on paper. A higher DPI packs the pixels closer together, so the printed image looks sharper; a lower DPI spreads them out, so it looks softer.

    Take the same 3000-pixel-wide photo. Print it at 300 DPI and it comes out 10 inches wide and sharp. Print it at 100 DPI and it comes out 30 inches wide and visibly soft. The photo itself never changed — only the print instruction did.

    On a screen, DPI is simply ignored. A phone, a laptop and a website all display images by their pixel dimensions only, so a “300 DPI” label on a web image means nothing at all.

    DPI vs pixels: the simple difference

    Think of it this way: pixels are the ingredients, and DPI is a serving suggestion. You cannot improve a photo by raising its DPI — if the pixels are not there, no print setting can create them. And a photo with plenty of pixels will print well at a sensible DPI, even if its DPI value looks low in an editor.

    Many photo editors let you change the DPI value without changing a single pixel. That adds no detail and removes none. It only changes how large the image would print by default.

    What matters for the web

    For websites, social media and screens, only pixel dimensions matter. When Instagram asks for a 1080-pixel-wide image, it is asking for pixels, not DPI. A photo that is 1080 pixels wide will look the same whether its DPI is set to 72, 300 or 1000.

    A common myth says web images must be 72 DPI. That comes from old screen technology and has no practical meaning today. What actually matters is that the image has enough pixels for the size it will be displayed at, and that the file is not so large that it slows the page down.

    What matters for print

    For print, you need both: enough pixels, and the right DPI for your print size. The standard for sharp printing is 300 DPI, which means a photo printed at 6 x 4 inches needs at least 1800 x 1200 pixels. A large poster viewed from a distance can get away with 150 DPI or even less, because nobody looks at it from inches away.

    For example, a 1200 x 1800 pixel photo prints sharply at 4 x 6 inches, and a 2400 x 3000 pixel photo prints sharply at 8 x 10 inches. If your photo has fewer pixels than that, printing it larger will only make it look soft — no setting can add detail that is not there.

    Practical steps: check and prepare your image

    1. Check the pixel dimensions. On a computer, right-click the image and open its properties or details. On a phone, look in the photo’s info panel. Write down the width and height in pixels.
    2. Decide where it will be used. For the web, aim for the pixel size it will be displayed at. For print, divide the pixel width by 300 to find the largest size it will print sharply at.
    3. If it is the wrong format for your purpose, convert it to JPG or PNG. For example, a HEIC photo from an iPhone often needs converting before a website or a printer will accept it.
    4. If the file is too large, compress it and, if needed, crop it to the exact shape you need. Both steps keep the image looking good while making it practical to use.

    Tips

    • Always keep the original, highest-resolution version of every important photo. You can always make a smaller copy, but you can never add pixels back.
    • Do not judge a photo by its DPI value alone — check the pixel dimensions first.
    • For print, work out the print size from the pixels: width in pixels divided by DPI equals width in inches.
    • For the web, resize the image to the display size before uploading it, so the page loads quickly.

    Closing

    Pixels are the image; DPI is just a print instruction. For the web, check pixel dimensions and ignore DPI. For print, check both, and make sure you have enough pixels for the size you want. Once you think in those terms, DPI stops being confusing.

  • How to Convert HEIC Photos to JPG

    How to Convert HEIC Photos to JPG

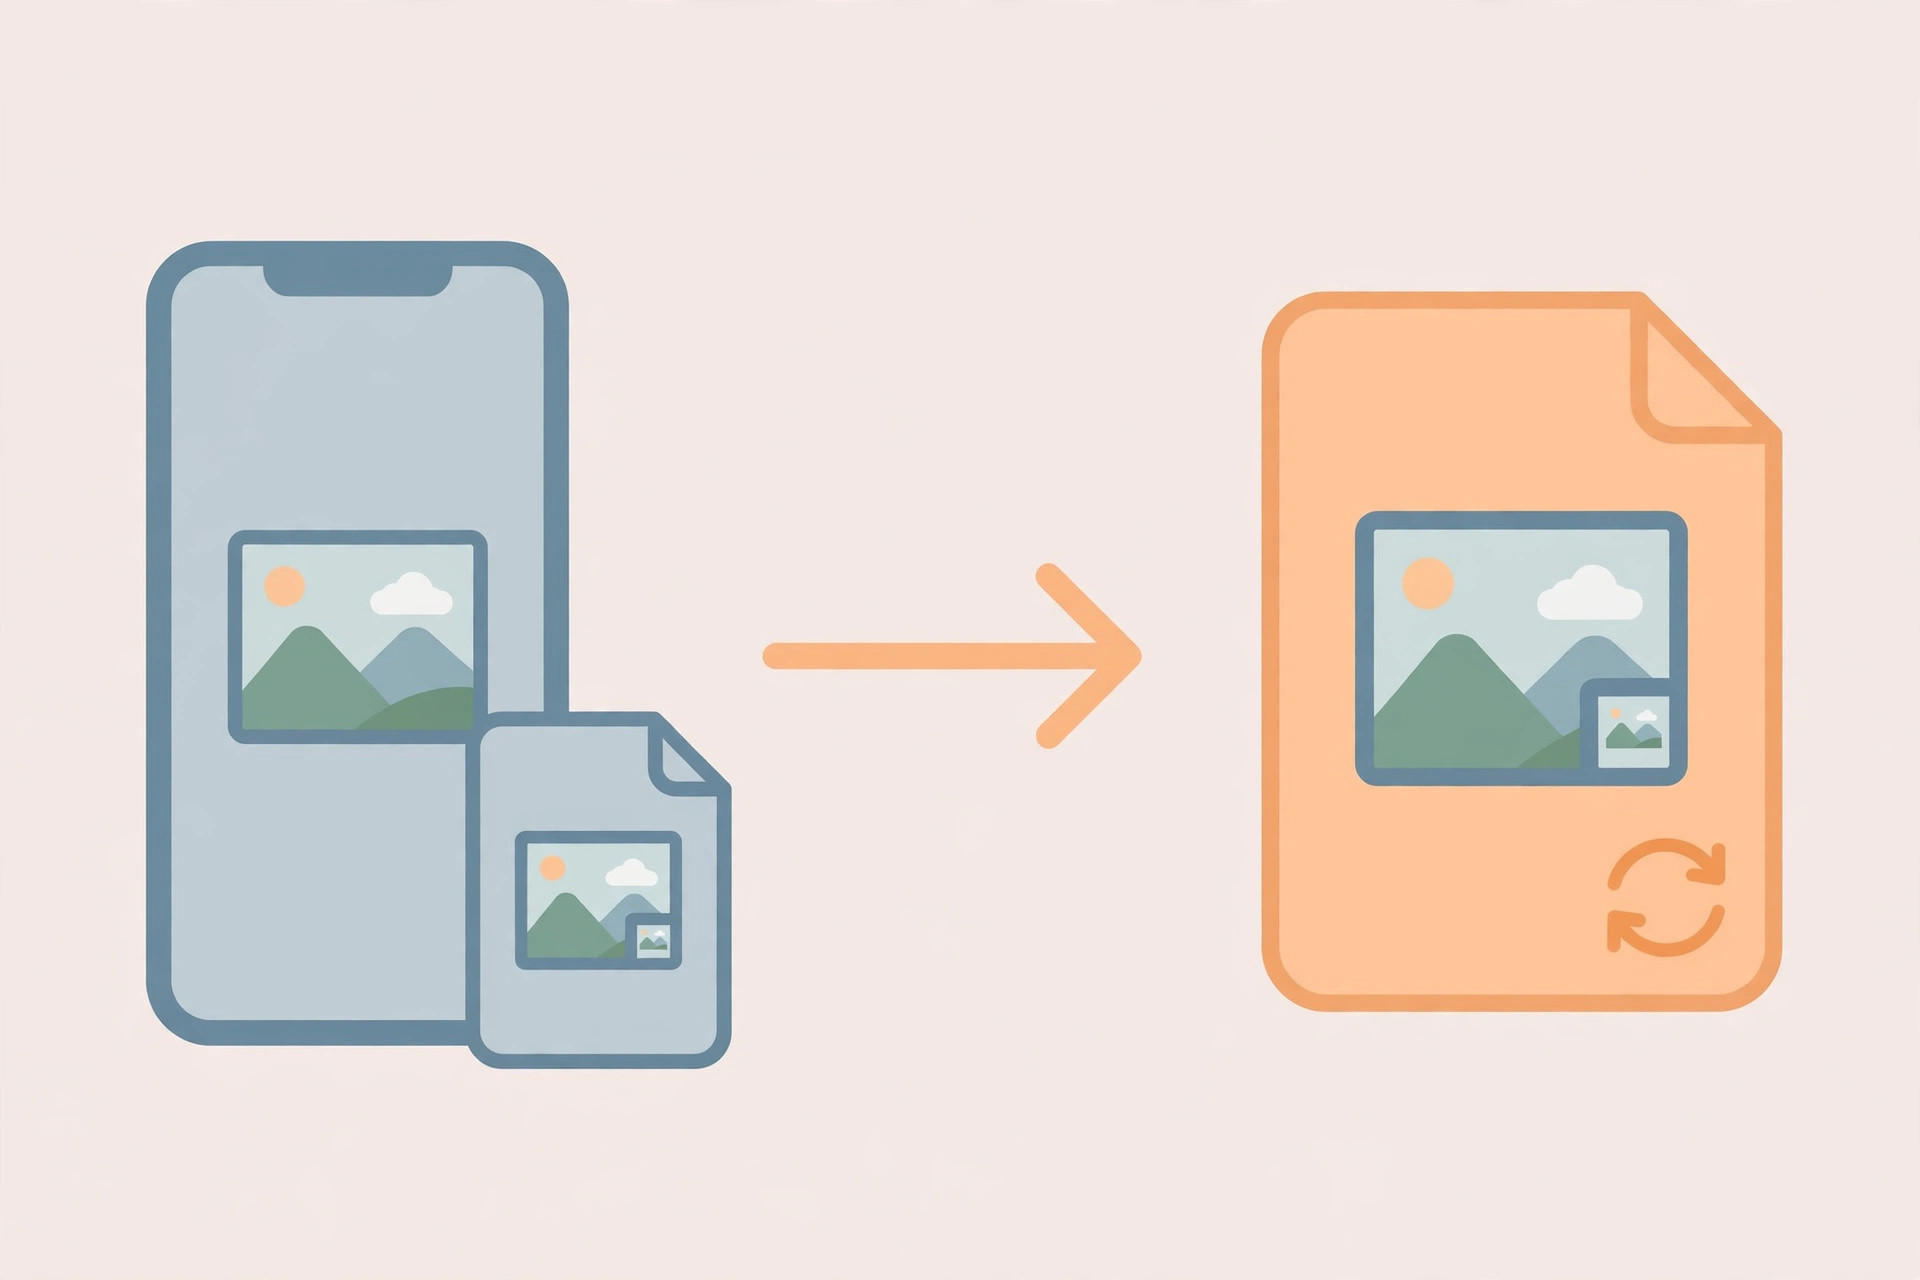
    If you have ever tried to upload an iPhone photo to a website or open it on a Windows computer, only to be told the file is not supported, you have probably met the HEIC format. iPhones save photos as HEIC by default because the files are smaller than JPG while keeping similar quality. The problem is that many websites, apps and older devices still expect JPG. The good news is that converting HEIC to JPG takes less than a minute once you know how. This guide shows you the easiest methods for iPhone, Mac, Windows and Android.

    What is HEIC, and why does it cause problems?

    HEIC stands for High Efficiency Image Format. Apple made it the default photo format on iPhones because it stores the same quality as JPG in a smaller file, which saves storage space. The catch is compatibility: while Apple devices handle HEIC easily, many websites, online forms, older Windows programs and some Android apps do not accept it. JPG, on the other hand, works almost everywhere. That is why converting to JPG is the simplest fix whenever a photo refuses to upload or open.

    Method 1: make your iPhone save JPG in future

    If you would rather avoid HEIC altogether, change one setting. On your iPhone, open Settings, then Camera, then Formats, and choose Most Compatible instead of High Efficiency. From now on, new photos will be saved as JPG. Note that this does not change photos you have already taken — those stay in HEIC and still need converting with one of the methods below.

    Method 2: convert existing photos with an online converter

    This method works on any device and needs no install. Follow these steps:

    1. Open a free online HEIC to JPG converter in your browser.
    2. Upload the HEIC photos you want to convert. Most converters accept several files at once.
    3. Choose JPG as the output format if the tool asks.
    4. Start the conversion and wait a few seconds.
    5. Download the JPG versions and check that they open correctly and look the same as the originals.

    Because you are uploading personal photos to a website, use a converter you trust, and avoid uploading sensitive pictures to unfamiliar sites.

    Method 3: convert on Mac or Windows

    On a Mac, open the HEIC photo in Preview, choose File, then Export, select JPEG as the format, pick a quality level, and save. The photo is now a JPG and will open anywhere.

    On Windows, first install the free HEIF Image Extensions from the Microsoft Store so the Photos app can open HEIC files. Once installed, open the photo in the Photos app and use the save or export option to create a JPG copy. If your version of Photos does not offer a JPG export, the online converter method above is the quickest alternative.

    What about Android?

    Most Android phones can already open HEIC photos, so you may not need to convert at all. If yours cannot, or if you need to send a photo to a website that only accepts JPG, use the online converter method above. Some Android apps and camera settings also let you choose JPG as the saving format, so it is worth checking your camera settings first.

    Tips for the best results

    Always keep a copy of your original HEIC files, especially if you are editing or printing them later. If a JPG looks noticeably worse after conversion, the converter may have used too much compression — try a different tool or a higher quality setting. And if you often share photos with people on Windows or older devices, keep your iPhone set to Most Compatible so you rarely need to convert at all.

    Common mistakes to avoid

    The most common mistake is uploading a HEIC file to a website that only accepts JPG and assuming it worked. Another is converting a photo and deleting the original straight away — if the JPG turns out to be low quality or rotated, you will wish you had kept the HEIC. And do not use a converter that adds a watermark or charges a fee for a basic conversion; plenty of free options do the job properly.

    Final tip

    HEIC is a good format, but JPG is still the most widely accepted one. Whether you change your iPhone settings, use an online converter, or export from Preview or the Photos app, converting a HEIC photo to JPG is a quick job — and your photos will open and upload anywhere after that.

  • How to Compress Images for a Website (Faster Loading)

    How to Compress Images for a Website (Faster Loading)

    If your website feels slow, images are the first place to look. Photos taken on a modern phone can be several megabytes each, and a page with five or six of them can take many seconds to load. Visitors rarely wait — they leave, and a slow page also makes a bad impression on search engines. The fix is simple: compress your images before you upload them. Compression shrinks the file size while keeping the picture looking good, so your pages load faster without any visible loss. In this guide, you will learn how to do it properly, step by step.

    Compressing images for a faster website

    Why image size matters for loading speed

    Every image on a page has to be downloaded by the visitor’s browser before the page feels complete. A single uncompressed photo can be larger than all the text, code and styling of the page combined. On mobile connections, which many visitors use, that difference is even more noticeable. Smaller images mean faster loading, less data used, and a smoother experience for everyone. Page speed is also something search engines pay attention to, so a faster site can help your pages rank better. The best part is that you do not need expensive software or technical skills — a free online compressor and a few minutes are enough.

    Step-by-step: compress images for your website

    1. Start with the original image. Always work from the largest, best-quality version you have. Compressing a photo that was already compressed once before will only make it worse, so keep your originals safe and compress copies.
    2. Resize to the size it will actually be shown at. If your website displays an image at 800 pixels wide, there is no benefit in uploading a 4000-pixel-wide version. Resize it first, and you will often cut the file size by more than half before you even compress it.
    3. Choose the right format. Use JPG for photographs, PNG for graphics, logos and images that need transparency, and WebP when your website supports it, since WebP files are usually smaller than JPG at similar quality.
    4. Compress with a proper tool. Upload the image to an image compressor, pick a quality level, and let it reduce the file size. iboxseo.org has a free Image Compressor that works right in the browser with no login needed — upload, compress and download in seconds.
    5. Compare before and after. Look at the compressed image at full size. Check faces, text and fine details. If it still looks sharp, the compression level is right. If you see blocky patches or smearing, go back one step and use a slightly higher quality setting.
    6. Upload and test your page. After replacing the old images, open your page on a phone as well as a computer and notice how much faster it loads. If your website platform supports lazy loading, turning it on means images below the fold only load when the visitor scrolls to them, which speeds things up further.

    How small should your images be?

    As a practical guideline, small icons and thumbnails can usually stay under 100 KB, regular content images often work well between 100 and 300 KB, and large hero banners should be as small as you can get them while still looking sharp. These are targets to aim for, not strict rules — a detailed photograph will always be larger than a simple graphic. The goal is not the smallest possible file, but the smallest file that still looks good.

    Tips for the best results

    Use a consistent workflow: resize, choose the format, compress, then check. Export in WebP if you can, but keep a JPG copy for places that do not support it. Give your image files clear names before you upload them — search engines read file names, so “blue-running-shoes.jpg” is better than “IMG_2041.jpg”. And remember that resizing and compressing are two different steps: resizing changes the dimensions, while compressing changes how much data is kept. Doing both, in that order, gives the best result.

    Common mistakes to avoid

    The biggest mistake is uploading the original camera photo straight to your website without resizing or compressing it. Another common one is over-compressing: if the image looks blocky or the colours look wrong, you have gone too far — start again from the original and use a higher quality setting. And do not forget to test: an image that looks fine on a large desktop screen can look poor on a phone, so always check both.

    Final tip

    Compressing images for a website is a small habit that makes a big difference: resize to the display size, pick the right format, compress to a sensible quality, and test the result. Once you do it a few times, it takes less than a minute per image — and your visitors, and your search rankings, will thank you for it.

  • How to Prepare Product Photos for an Online Store

    How to Prepare Product Photos for an Online Store

    Online shoppers cannot touch your product, so your photos do all the selling. A sharp, well-lit, consistent set of photos builds trust and gets more orders, while dark, blurry or inconsistent photos push buyers away — even if the product itself is great. Preparing product photos is not about expensive equipment. It is about a few simple steps, done the same way for every listing.

    Product photos prepared for an online store

    Start with good photos

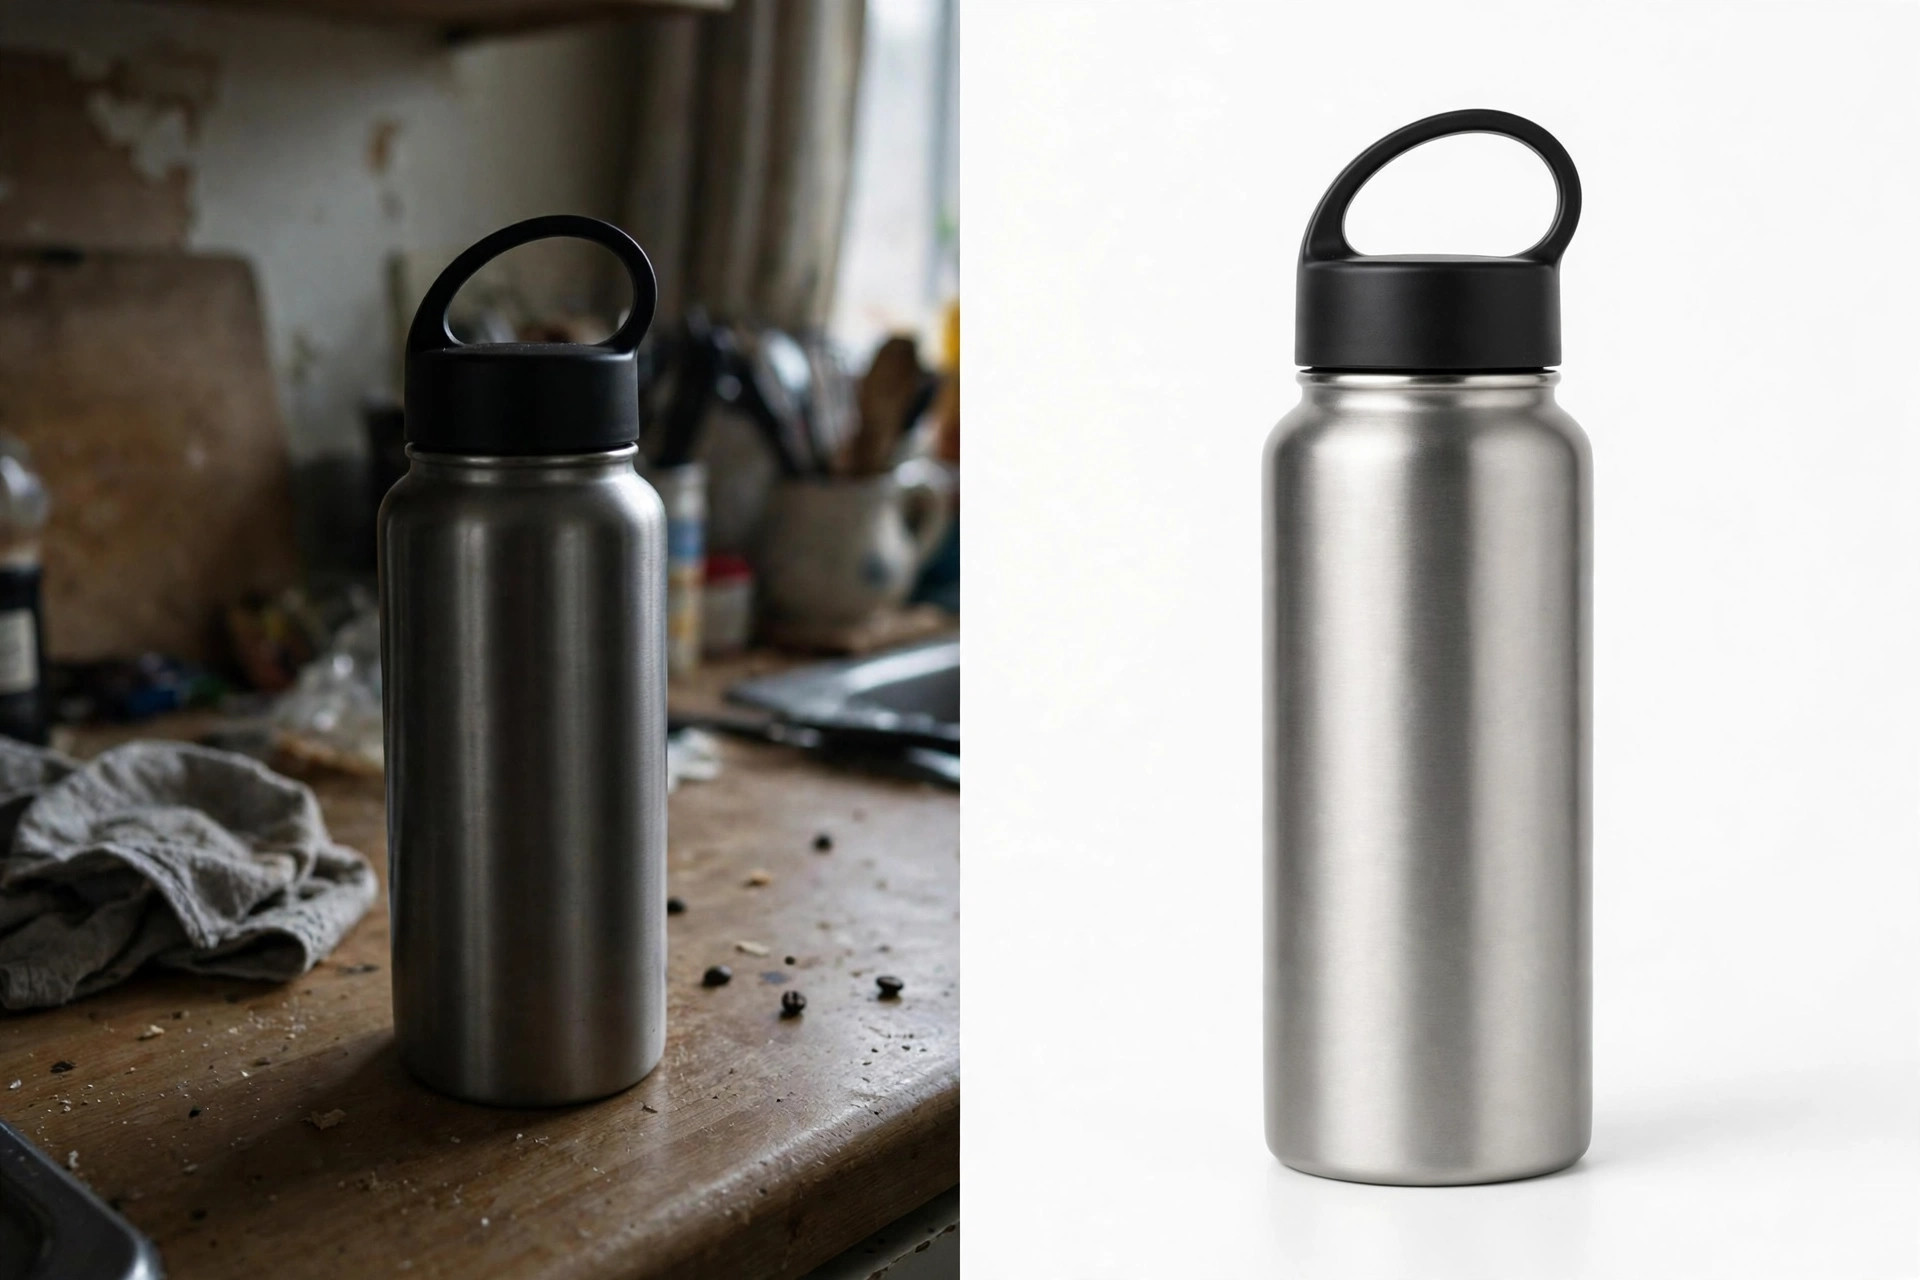
    Preparation cannot fix a bad photo, so start right. Shoot in bright, natural light near a window, or use two simple lamps to avoid harsh shadows. Use a plain background — white or light grey works for almost every product — so the item stands out. Photograph each product from several angles: front, back, side, and at least one close-up showing texture or detail. Include one lifestyle shot too, showing the product in use, because buyers want to imagine owning it. Keep the camera steady and the product in focus; a slightly blurry photo rarely survives preparation.

    Step-by-step: prepare a product photo

    1. Crop and straighten. Remove empty space around the product and straighten any tilt. The product should fill most of the frame without touching the edges.
    2. Clean the background. If the background is messy or uneven, clean it up or replace it with a plain colour. Consistency matters: every listing in your store should have the same background style.
    3. Resize to your store’s size. Most stores and marketplaces display images around 1500 to 2000 pixels on the longest side, which is also enough for the zoom feature. Resize every photo to the same dimensions so listings look uniform. iboxseo.org’s free Image Resizer tool does this in the browser with no login needed.
    4. Choose the right format. Use JPG for product photos — it gives small files with good quality. Use PNG only for graphics, logos or images that need transparency, since PNG photos are much larger.
    5. Compress without visible loss. Compress each photo at a quality setting that keeps it sharp but shrinks the file. Smaller files load faster, and faster listings rank better and lose fewer impatient buyers. A free Image Compressor, like the one on iboxseo.org, handles this step in seconds.
    6. Name files clearly. Use names like “blue-cotton-shirt-front.jpg” instead of “IMG_4821.jpg”. Clear names help you stay organised and help search engines understand your images.
    7. Check on a phone. Most shoppers browse on mobile, so open your listing on your phone and check that the photos look sharp, load quickly and show the product clearly on a small screen.

    Tips for a professional-looking store

    Consistency is what separates a professional store from an amateur one: same background, same lighting style, same image size across all listings. Show the product at its true colour — heavy filters that change the colour lead to returns and unhappy customers. Add alt text to every image: a short description of what is in the photo. It helps people who use screen readers, and it helps search engines understand your images too. Keep your original files as backups so you can re-export them at a different size later.

    Common mistakes to avoid

    The most common mistake is uploading photos straight from a phone without any preparation — they are usually too large, the wrong shape and inconsistent. Another is using heavy filters that change the product’s true colour, which leads to disappointment when the order arrives. Do not use a blurry photo and hope no one notices; shoppers notice, and they buy from the store with the clearer photos. And always check the size: a 5 MB photo on every listing will slow your store down and cost you sales.

    Final tip

    Good product photos are not about expensive cameras. They are about clean backgrounds, consistent sizes, correct formats and fast loading. Prepare each photo the same way, check it on a phone, and your store will look professional — and sell more.

  • How to Split a PDF Into Separate Pages

    How to Split a PDF Into Separate Pages

    Sometimes a PDF is too big, or you only need one part of it. Maybe a single PDF contains an entire book and you only want one chapter. Maybe a form asks for one page, not the whole document. Or maybe the file is too large to email. In all of these cases, splitting the PDF — breaking it into separate pages or smaller files — is the answer, and it is much easier than most people expect.

    Splitting a PDF into separate pages

    Before you split: decide what you need

    There are two common ways to split a PDF, and picking the right one saves time. The first is splitting every page into its own file, which is useful when each page is a separate document, like scanned receipts or certificates. The second is splitting by page ranges, for example pages 1 to 5 in one file and pages 6 to 10 in another, which is better for chapters or sections. Before you start, note down the page numbers you need — open the PDF and check which pages belong where. And always keep an untouched copy of the original PDF, so you can start over if something goes wrong.

    Step-by-step: split a PDF with a free online tool

    1. Open a free PDF splitter tool in your browser. These tools run entirely online, so there is nothing to install.
    2. Upload your PDF. Drag the file into the tool or choose it from your device.
    3. Choose how to split. Select either “every page separately” or “by page ranges”, and enter the page numbers or ranges you decided on earlier.
    4. Split the file. The tool processes the PDF and prepares your new files for download.
    5. Download and check each file. Open every new PDF and confirm it contains exactly the pages you expected, in the right order.
    6. Rename the files clearly. Names like “chapter-1.pdf” or “receipt-january.pdf” make the files easy to find later, unlike “split-part-3.pdf”.

    Extract just a few pages without a splitter

    If you only need one or two pages, you do not even need a splitter tool. Open the PDF in your web browser, choose Print, and select “Save as PDF” as the printer. Then, instead of all pages, enter only the page numbers you want, for example pages 3 to 4. The browser saves just those pages as a new PDF. This trick works in Chrome, Edge and most other modern browsers, and it is the fastest option for a quick extraction.

    Tips for clean results

    Check the page count of every new file right after splitting — a missing or duplicated page is easy to miss at a glance. If the original PDF is password-protected, you will need the password before any tool can split it. Keep file names short and consistent, especially if you are splitting a large document into many parts. And if the split files are still too large to email, compress them afterwards; splitting and compressing together solve most “file too large” problems. One more useful habit: after splitting, open the first and last page of each new file, not just the file itself. This quick check catches the two most common errors — a page that landed in the wrong file, and a blank page created by a scanning mistake. It takes a few seconds per file and saves you from sending the wrong document to someone else.

    Common mistakes to avoid

    The most common mistake is splitting the wrong pages, so check your page numbers twice before you download. Another is deleting the original file too soon — keep it until you have checked every split file. Do not assume the file is correct just because it downloaded without an error. And if you use an online tool, avoid uploading sensitive documents like passports or bank statements; use a local app on your device for those instead.

    Final tip

    Splitting a PDF is a two-minute job once you know the method. Open it in a tool, pick your pages, download, and check. And if your PDF started as photos, try iboxseo.org’s free JPG to PDF tool first to create the PDF, then split it into separate pages the same way.

  • How to Convert a Photo to PDF on iPhone and Android

    How to Convert a Photo to PDF on iPhone and Android

    A photo is easy to share, but a PDF is easier to submit. Job applications, admission forms, rental agreements and office paperwork almost always ask for PDFs, not loose photos. The good news is that you do not need a paid app to convert a photo to PDF — both iPhone and Android have the feature built in, and the whole process takes under a minute.

    Convert a photo to PDF on iPhone

    1. Open the Photos app and select the photo you want to convert. If you need several photos in one PDF, tap Select and choose all of them.
    2. Tap the Share button (the square with an arrow pointing up) at the bottom of the screen.
    3. Tap Print. This sounds odd, but the print screen is where iPhone hides its PDF maker.
    4. Pinch outward on the print preview with two fingers, as if you were zooming in. The preview turns into a full PDF document.
    5. Tap the Share button again and choose where to save or send the PDF — Files, Mail, WhatsApp, or any other app.

    An alternative method is the Files app: save the photo to Files, then long-press it and look for the option to create a PDF. Both methods produce a standard PDF that any office, form or printer can open.

    Convert a photo to PDF on Android

    1. Open the photo in your gallery or in Google Photos.
    2. Tap Share, then Print. On most Android phones the print option appears in the share menu.
    3. Change the printer to “Save as PDF” at the top of the print screen.
    4. Check the page size and orientation. A4 is the safe choice for documents and forms; switch between portrait and landscape to match your photo.
    5. Tap the save button (usually a PDF icon or Download) and choose where to store the file.

    If you are scanning a paper document rather than converting an existing photo, the Google Drive app has a scan feature: tap the plus button, choose Scan, and it captures the page, crops it and saves it directly as a PDF.

    Turning several photos into one PDF

    Many applications ask for a single PDF containing several pages — for example, both sides of an ID card, or a set of certificates. On iPhone, select all the photos before tapping Share, then follow the same Print and pinch-out steps; the photos become pages in one PDF, in the order you selected them. On Android, select multiple photos, choose Print, and save as one PDF the same way. Before saving, check that the pages are in the right order and that no photo is upside down. If one page comes out wrong, remove that photo and convert it separately, then merge the pages afterwards if needed.

    Tips for a clean PDF

    Use the original, highest-quality photo you have — a blurry photo will not become sharper as a PDF. If your photo is sideways, rotate it before converting, because fixing orientation inside a PDF is extra work. When converting several photos, put them in the right order first; most phones keep the order you selected them in. Keep the file name clear, for example “resume-photo.pdf” instead of “IMG_4821.pdf”, so the person receiving it knows what it is. And always open the finished PDF once to check that every page looks right before you send it.

    Common mistakes to avoid

    Do not take a screenshot of a photo and convert that instead — screenshots are lower quality than the original photo. Avoid converting a photo that is already heavily compressed from a chat app if you have the original in your gallery. And do not forget page size: a photo saved on an unusual paper size can print oddly, so A4 is the safest default for anything official.

    Final tip

    Converting a photo to PDF is a built-in feature on both iPhone and Android, so there is rarely a reason to install a separate app for it. And if your starting point is a screenshot rather than a photo, iboxseo.org’s free Screenshot to A4 PDF tool turns screenshots into clean A4 PDFs right in your browser, with no login needed.

  • How to Convert PNG to JPG (and When You Shouldn’t)

    How to Convert PNG to JPG (and When You Shouldn’t)

    PNG files look great, but they are often much larger than they need to be. If you are uploading a photo to a website, sending an image by email, or filling an online form with a file-size limit, converting a PNG to JPG can shrink the file dramatically. The trade-off is that JPG uses lossy compression, which means some image detail is discarded to save space. For most photos, that trade-off is invisible to the eye. For some images, it is a bad idea. This guide shows you how to convert PNG to JPG step by step, and how to decide when you should leave the file as a PNG.

    PNG vs JPG: what actually changes

    PNG uses lossless compression, which keeps every pixel of the original image. That is why PNG files are sharp, but also why they can be several times larger than the same image saved as JPG. JPG uses lossy compression, which throws away some detail that the human eye rarely notices, in exchange for a much smaller file.

    There is one more important difference: PNG supports transparency, while JPG does not. A logo or icon with a transparent background will lose that transparency when converted to JPG, and the transparent areas usually turn white. So the two formats are not interchangeable, and the right choice depends on what the image is for. As a rule of thumb, JPG is best for photos, while PNG is best for graphics, logos, and images with sharp text.

    Step-by-step: convert PNG to JPG

    1. Open a converter in your browser. The JPG↔PNG Converter on iboxseo.org works right in the browser, with no login or software install needed.
    2. Upload your PNG file. Click the upload area and choose the image from your device.
    3. Select JPG as the output format. The tool converts the image to JPG format.
    4. Download the converted file. Save it to your device, ideally with a clear name so you can tell it apart from the original PNG.
    5. Check the result before you use it. Open the JPG, zoom in, and compare it with the original. For photos, you should see no visible difference. If the image has text or sharp edges and looks blurry, keep the PNG version instead.

    When you shouldn’t convert to JPG

    Converting to JPG is not always the right move. Keep the PNG in these cases:

    • Your image has transparency. Logos, icons, and stickers with transparent backgrounds will lose that transparency in JPG.
    • Your image has sharp text or thin lines. Screenshots, diagrams, and charts can develop blurry edges and smudges after JPG compression.
    • You plan to edit the image again later. Every time a JPG is saved, it loses a little more quality, so editing from the PNG original is always safer.
    • You need the highest possible quality archive. If the file is a master copy you want to keep long term, the larger PNG is worth the space.

    Tips for smaller, better JPG files

    Resize the image before converting if it is larger than you need. A photo that is 4000 pixels wide but will only ever be shown at 1200 pixels wide carries a lot of wasted weight. Cropping out empty edges also helps. Keep the original PNG as a backup, so you can always go back if the JPG does not look right. And if the JPG still feels too large after conversion, compressing it can shrink it further without a visible change for most photos.

    Frequently asked questions

    Will converting PNG to JPG reduce quality? For photos, the difference is almost never visible, because JPG compression is designed around what the human eye notices. For images with sharp text, thin lines, or transparency, the quality drop is real, so those should stay as PNG.

    Can I convert a JPG back to PNG later? Yes, the conversion works in both directions, but converting back does not restore detail that JPG compression already removed. It only makes the file larger again.

    What is the best format for a website logo? PNG, in most cases. It keeps edges sharp and preserves transparency, so the logo sits cleanly on any background colour.

    Final word

    For photos and everyday sharing, converting PNG to JPG is a quick win: smaller files, faster uploads, and no visible difference. Just remember the exceptions. If the image has transparency, sharp text, or is a master copy you will edit again, keep the PNG. For everything else, the converter on iboxseo.org will do the job in seconds, right in your browser.