Author: toukir alam

  • How to Fill a PDF Form Online for Free Step by Step

    How to Fill a PDF Form Online for Free Step by Step

    To fill a PDF form online for free, open a browser form tool first. Upload the form, click each field, and type your details carefully. Then check every entry, add a signature if needed, and download it. Free tools work in a browser, with no app install needed at all.

    Filling in a PDF form on a laptop screen

    How to Fill a PDF Form on a PC for Free

    Start with a copy of the form, not the only original file. Open a free online PDF form tool in your browser on a PC. The guides on iboxseo.org Guides explain this workflow in simple steps. Upload the form that you want to fill online today. Click the first field and type your answer in plain text. Move through each field in order, so nothing gets missed. Use the tab key to move to the next field quickly. Check dates, spellings, and numbers carefully before you save anything. When every field looks right, download the completed form copy now. Give the file a clear new name, such as form-completed, at once.

    Some forms are fillable, with fields you can click and type into. Other forms are flat scans, with no clickable fields at all. For a flat form, use a tool that adds text boxes over the page. Place each text box over the matching blank line on the form. Align the text carefully, so answers sit inside the printed lines. To fill a PDF form well, work through the fields in order. For other PDF tasks, see how to crop a PDF page online for free. Also see how to flip or mirror an image online free.

    How to Fill a PDF Form on Mobile for Free

    On a phone, the steps stay the same in most browser tools. To fill a PDF form on mobile, zoom in on small fields. Open the PDF form tool in your mobile browser and upload the form. Tap each field and type your answer using the phone keyboard. Zoom in on small fields to check the text size closely. Preview the form carefully before you download it to your phone. Note carefully where your browser saves the file after download. That way, you can find the completed form again very fast. If the file is large, use Wi-Fi, not mobile data, for upload.

    Small phone screens make long forms harder to fill accurately. Fill the form in short sessions and save a draft copy often. If the tool offers undo, use it freely while you correct entries. After filling, open the form in a reader app for a final review. Confirm that every answer sits inside its field at full size.

    Fillable vs Flat PDF Forms: Know the Difference

    To fill a PDF form correctly, first check whether it is fillable. A fillable PDF has fields built in, ready for typing and selection. Click a field to type, or choose an option from a dropdown list. Checkboxes and radio buttons work with a single tap or click. A flat PDF has no built-in fields, only printed lines and boxes. For a flat form, add text boxes and align them with care. Test the tool first on a copy, before you fill the real form.

    Some tools also let you add a signature and a date stamp. Use that feature only when the form accepts a digital signature. For official forms, check whether a handwritten signature is still required. When in doubt, print the form and sign it by hand instead. Keep a copy of the signed form for your own records always.

    Tips for a Clean, Correctly Filled Form

    • Always fill a copy and keep the original blank form untouched, so you can start again.
    • Check names, dates, and numbers twice, since small errors cause delays.
    • Fill fields in order and save a draft copy after each long section.
    • Add a signature only when the form accepts a digital signature.
    • Save the completed form with a clear name, such as form-completed, to avoid mix-ups.

    For trusted PDF help, check support pages from well-known providers. See Adobe Help for PDF form guidance online. See Google Support for browser and app basics. See Microsoft Support for Windows PDF editing tools. These sources explain common steps in plain language for beginners. They help when a tool menu looks unfamiliar or confusing. Stick to well-known tools for your private forms only. Avoid uploading sensitive forms to unknown sites online.

    Common Mistakes to Avoid

    The most common mistake is typing answers into the wrong fields. That error is easy on long forms with many similar boxes. Another mistake is saving over the blank original form file. Keep the blank form safe until the completed version is checked. Avoid uploading sensitive forms to unknown sites online at all. Use well-known tools for forms with personal details inside. Do not submit the form before you check every page carefully. A missed page can delay your application by days or weeks.

    Frequently Asked Questions

    Can I fill a PDF form online for free? Yes, free browser tools let you type into fillable PDF forms. They work on mobile and PC, with no app install needed.

    What if my PDF form has no clickable fields at all? Use a tool that adds text boxes over the flat form page. Align each box with its printed line, then download the result.

    Can I sign a PDF form online after I fill it? Many tools offer a typed or drawn signature option online. Check first whether the receiver accepts a digital signature.

    Is it safe to fill a PDF form with personal details online? Use well-known tools and avoid unknown sites for sensitive forms. Delete the uploaded file from the tool when you finish, if offered.

    In short, to fill a PDF form safely, use a copy, not the original. Fill each field in order and check the full form before saving. Then save the completed form with a clear name for easy sending. That order gives a clean form without risking your blank original.

  • How to Sharpen a Blurry Photo Online for Free Fast

    How to Sharpen a Blurry Photo Online for Free Fast

    To sharpen a blurry photo online for free, open a browser photo editor first. Upload the photo, find the sharpness control, and raise it in small steps. Preview the result at full size before you download the sharpened copy. Strong sharpening can add noise, so gentle edits usually look more natural.

    Sharpening a slightly blurry photo in a browser editor

    How to Sharpen a Blurry Photo on a PC for Free

    Start with a copy of your photo, not the only original file. Open a free online photo editor in your browser on a PC. The image tools on iboxseo.org Guides explain this workflow in simple steps. Upload the photo that you want to sharpen online today. Look for the sharpness or clarity control in the adjustment menu. Raise sharpness slowly and watch edges, text, and fine detail closely. Stop when edges look clear but before halos appear around objects. Preview the photo at full size before you save anything online. When the result looks right, download the sharpened photo copy now. Give the file a clear new name, such as photo-sharpened, at once.

    Some editors also offer a deblur or enhance button for quick fixes. That button can help a slightly soft photo look clearer at once. It rarely rescues a photo that is badly out of focus, though. Use the manual sharpness control when the automatic result looks harsh. Manual control gives you a gentler and more natural final result. To sharpen a blurry photo well, preview the result first. For more photo fixes, see how to rotate an image online for free. Also see how to resize an image without losing quality.

    How to Sharpen a Blurry Photo on Mobile for Free

    On a phone, the steps stay the same in most browser editors. To sharpen a blurry photo on mobile, open a browser editor. Open the photo editor in your mobile browser and upload the photo. Find the sharpness control and raise it slowly with small changes. Zoom in on faces and text to check the sharpening effect closely. Preview the result carefully before you download it to your phone. Note carefully where your browser saves the file after download. That way, you can find the sharpened photo again very fast. If the file is large, use Wi-Fi, not mobile data, for upload.

    Small phone screens can hide sharpening halos and extra noise easily. Check the photo at full size before you share it with anyone. If the editor offers undo, use it freely while you adjust sharpness. Keep adjusting until edges look clear without a harsh, grainy texture. After sharpening, open the photo in your gallery app for review. Confirm that faces and text still look natural at full size.

    Sharpen vs Enhance: What Is the Difference?

    Sharpening increases edge contrast to make details look clearer and crisper. Enhancing may change brightness, color, contrast, and sharpness together at once. Use sharpening alone when only soft edges need a small correction. Use enhance when the whole photo also looks dull or poorly lit. Changing everything at once can make a photo look overprocessed and unnatural. Adjust one control at a time and preview after every single change.

    To sharpen a blurry photo, adjust sharpness alone, not every control. A blurry photo has lost detail, so sharpening cannot invent missing information. It can only make the detail that remains look clearer and stronger. That limit matters most for fast movement and very poor focus. For a slightly soft photo, sharpening often gives a useful improvement. For a heavily blurred photo, accept a modest gain, not a perfect fix.

    Tips for Sharper Results Without Strange Artefacts

    • Always sharpen a copy and keep the original untouched, so you can start again.
    • Raise sharpness in small steps and preview at full size after each change.
    • Sharpen before you compress or resize the photo, so you compress the final version once.
    • Check faces, text, and edges closely, since halos show up there first.
    • Save the sharpened photo with a clear name, such as photo-sharpened, to avoid mix-ups.

    For trusted editing help, check support pages from well-known providers. See Adobe Help for photo editor guidance online. See Google Support for browser and app basics. See Microsoft Support for Windows photo editing tools. These sources explain common steps in plain language for beginners. They help when an editor menu looks unfamiliar or confusing. Stick to well-known editors for your private photos only. Avoid uploading sensitive images to unknown sites online.

    Common Mistakes to Avoid

    The most common mistake is raising sharpness far too high at once. That creates halos, grain, and harsh edges in the final photo. Another mistake is sharpening a screenshot instead of the original photo. A screenshot can look grainy after sharpening, even with gentle settings. Avoid sharpening the same file again and again across many apps. Each extra save can add noise and soften detail slightly over time. Do not delete the original photo before you check the sharpened version. A bad sharpening pass cannot always be undone later, so keep backups.

    Frequently Asked Questions

    Can I sharpen a blurry photo online for free? Yes, free browser editors offer sharpness controls with no app install. They work on mobile and PC, but very blurred photos improve only slightly.

    Will sharpening fix a photo that is completely out of focus? No, sharpening cannot restore detail that the camera never captured. It can improve a slightly soft photo, but not a heavily blurred one.

    Does sharpening a photo reduce its quality or add noise? Gentle sharpening has little visible effect on a good original photo. Strong sharpening can add grain and halos, so use small steps only.

    Should I sharpen before or after I compress a photo? Sharpen first, then compress the final version only once. That order keeps the sharpened detail as clean as possible.

    In short, to sharpen a blurry photo safely, use a copy, not the original. Raise sharpness in small steps and check the full-size preview each time. Then save the sharpened photo with a clear name for easy sharing. That order gives a cleaner photo without risking your original file.

  • How to Crop a PDF Page Online for Free Step by Step

    How to Crop a PDF Page Online for Free Step by Step

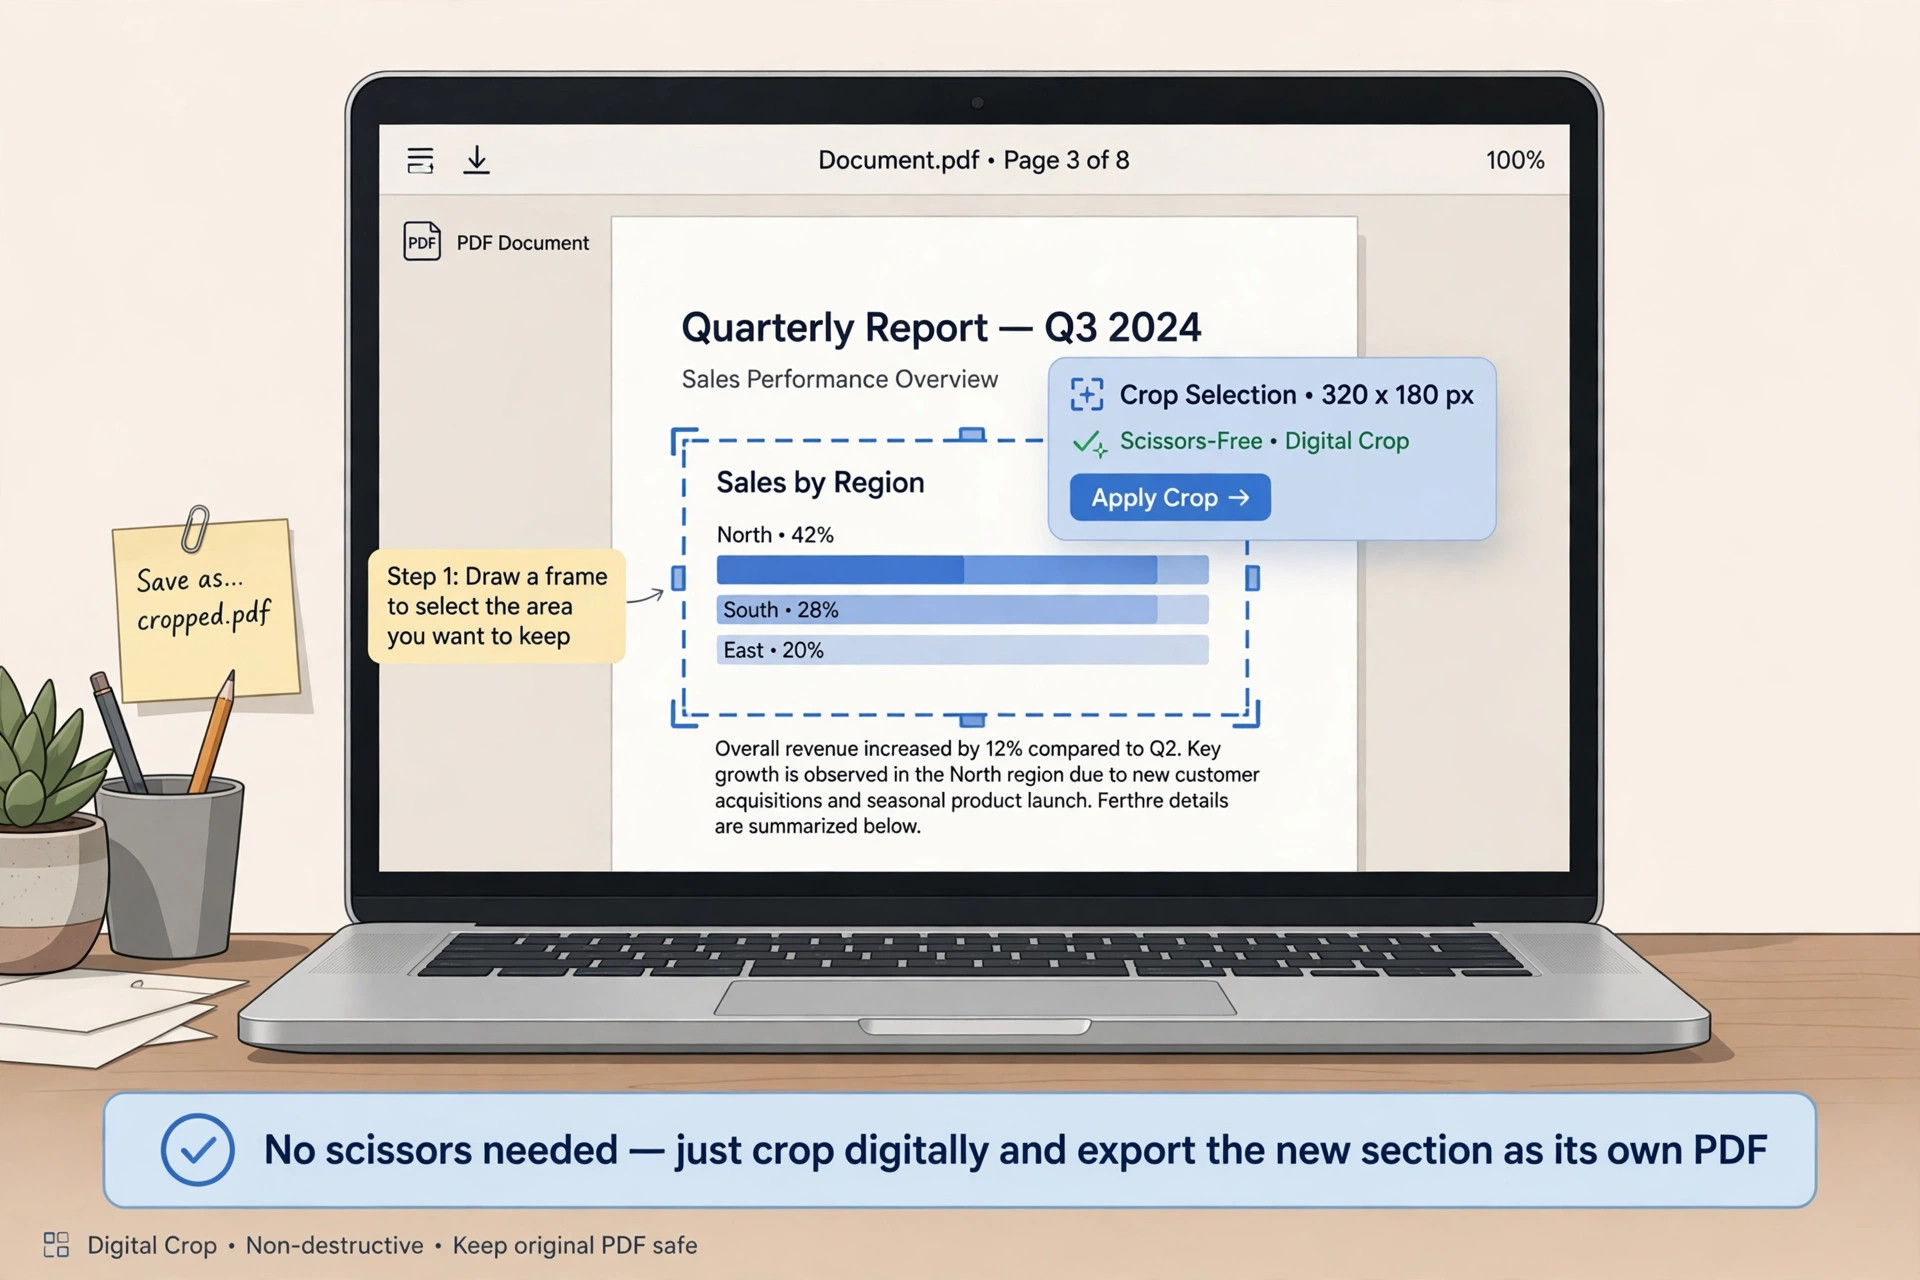
    To crop a PDF page online for free, open a free PDF tool in your browser. Upload your PDF, drag a box around the part you want to keep. The tool trims the margins outside your box for a clean page. Then download the cropped PDF on mobile or PC, with no install needed.

    Cropping a PDF page on a tablet screen

    How to Crop a PDF Page on a PC for Free

    Start with a copy of your PDF, not the only original file. Open a free online PDF tool in your browser. The PDF guides on iboxseo.org Guides explain this workflow in simple steps. Upload the PDF file that you want to crop. Choose the crop option from the edit menu. Drag a crop box around the content to keep. Leave out wide margins or blank edges entirely. Preview the cropped page carefully before saving it. Check that no text, table, or image is cut off. When the preview looks right, apply the crop. Download the new PDF with a clear name.

    Some tools let you set exact margin values instead of dragging. Exact values help when many pages need the same trim. Other tools crop by percentage for a quick visual trim. That method suits a single page very well. Whichever method you use, preview at full size before saving. A page can look fine in a small preview. It may still lose a line of text at the edge.

    How to Crop a PDF Page on Mobile for Free

    On a phone, the steps stay the same. File handling on a phone is only slightly different. Open the PDF crop tool in your mobile browser. Upload the PDF from your files or cloud storage. Drag a crop box carefully with your finger. Zoom in first if the page looks small. Preview the result carefully before you download it. Note carefully where your browser saves the file. That way, you can find it again fast. If the file is large, use Wi-Fi, not mobile data. For other PDF tasks, see how to convert PDF to PowerPoint for free. Also see how to rotate an image online for free.

    Small mobile screens make precise cropping much harder. Zoom in before you set the crop box. Check the page edges twice before you save. A finger drag can cut off a heading or footer. If the tool offers undo, use it freely. Keep adjusting the box until the crop looks right. After cropping, open the PDF in a reader app. Scroll through the pages to confirm nothing is missing.

    Crop One Page or All Pages: Choose Carefully

    Some PDF crop tools crop every page by default. That may not suit your file at all. If only one page needs cropping, find the selected-pages option. Use it to limit the crop to that page. If all pages share the same wide margins, crop them at once. That saves time and keeps the layout consistent. Always check which pages the tool will change. Check this setting before you apply the crop. A wrong setting can trim fine pages too. Fixing that cropping mistake takes extra work later.

    When pages have different layouts, crop them in separate passes. This gives you better control over each page. First crop the pages that share one layout. Download that version first, then crop the rest. Keep the original PDF until every page is checked. You may need to start again from scratch otherwise. This order matters most for forms and scanned documents. It also matters for reports with mixed layouts.

    Tips for a Clean PDF Crop

    • Always crop a copy and keep the original untouched, so you can start again.
    • Leave a small margin around text and images, not a crop right at the edge.
    • Check headers, footers, and page numbers, since cropping can remove them silently.
    • Crop before you compress or share the PDF, so you compress the final version once.
    • Save the cropped PDF with a clear name, such as document-cropped, to avoid mix-ups.

    For trusted PDF help, check support pages from well-known providers. See Adobe Help for PDF editing guidance online. See Google Support for browser and Drive basics. See Microsoft Support for Windows PDF editing tools. These sources explain common steps in plain language. They help when a tool menu looks unfamiliar. Stick to well-known tools for your private documents only. Avoid uploading sensitive files to unknown sites online.

    Common Mistakes to Avoid

    The most common mistake is cropping too tightly. That cuts off text, tables, or page numbers. Another mistake is cropping all pages at once. Do that only when every page needs it. Avoid cropping a scanned PDF and expecting sharp text. Scanned pages stay as images even after cropping. Do not delete the original PDF too soon. Check the cropped version first, every single time. A bad crop cannot always be undone later.

    Frequently Asked Questions

    Can I crop a PDF page online for free? Yes, well-known online PDF tools offer free cropping in a browser. Free plans usually set a strict file-size limit.

    Will cropping a PDF page remove content permanently? In the downloaded file, yes, the trimmed area is gone. Always keep the original PDF file safe offline.

    Can I crop only one page of a PDF? Yes, if the tool offers a selected-pages option. Check the page range before you apply the crop.

    Does cropping reduce a PDF file size much? It can help slightly, but cropping mainly removes margins. To shrink a file a lot, compress the PDF after cropping.

    In short, crop a copy in a browser PDF tool, not the original. To crop a PDF page well, draw the crop box carefully and check the full-size preview. Then save the cropped PDF with a clear name. That order gives a clean page without risking your original document.

  • How to Flip or Mirror an Image Online for Free Fast

    How to Flip or Mirror an Image Online for Free Fast

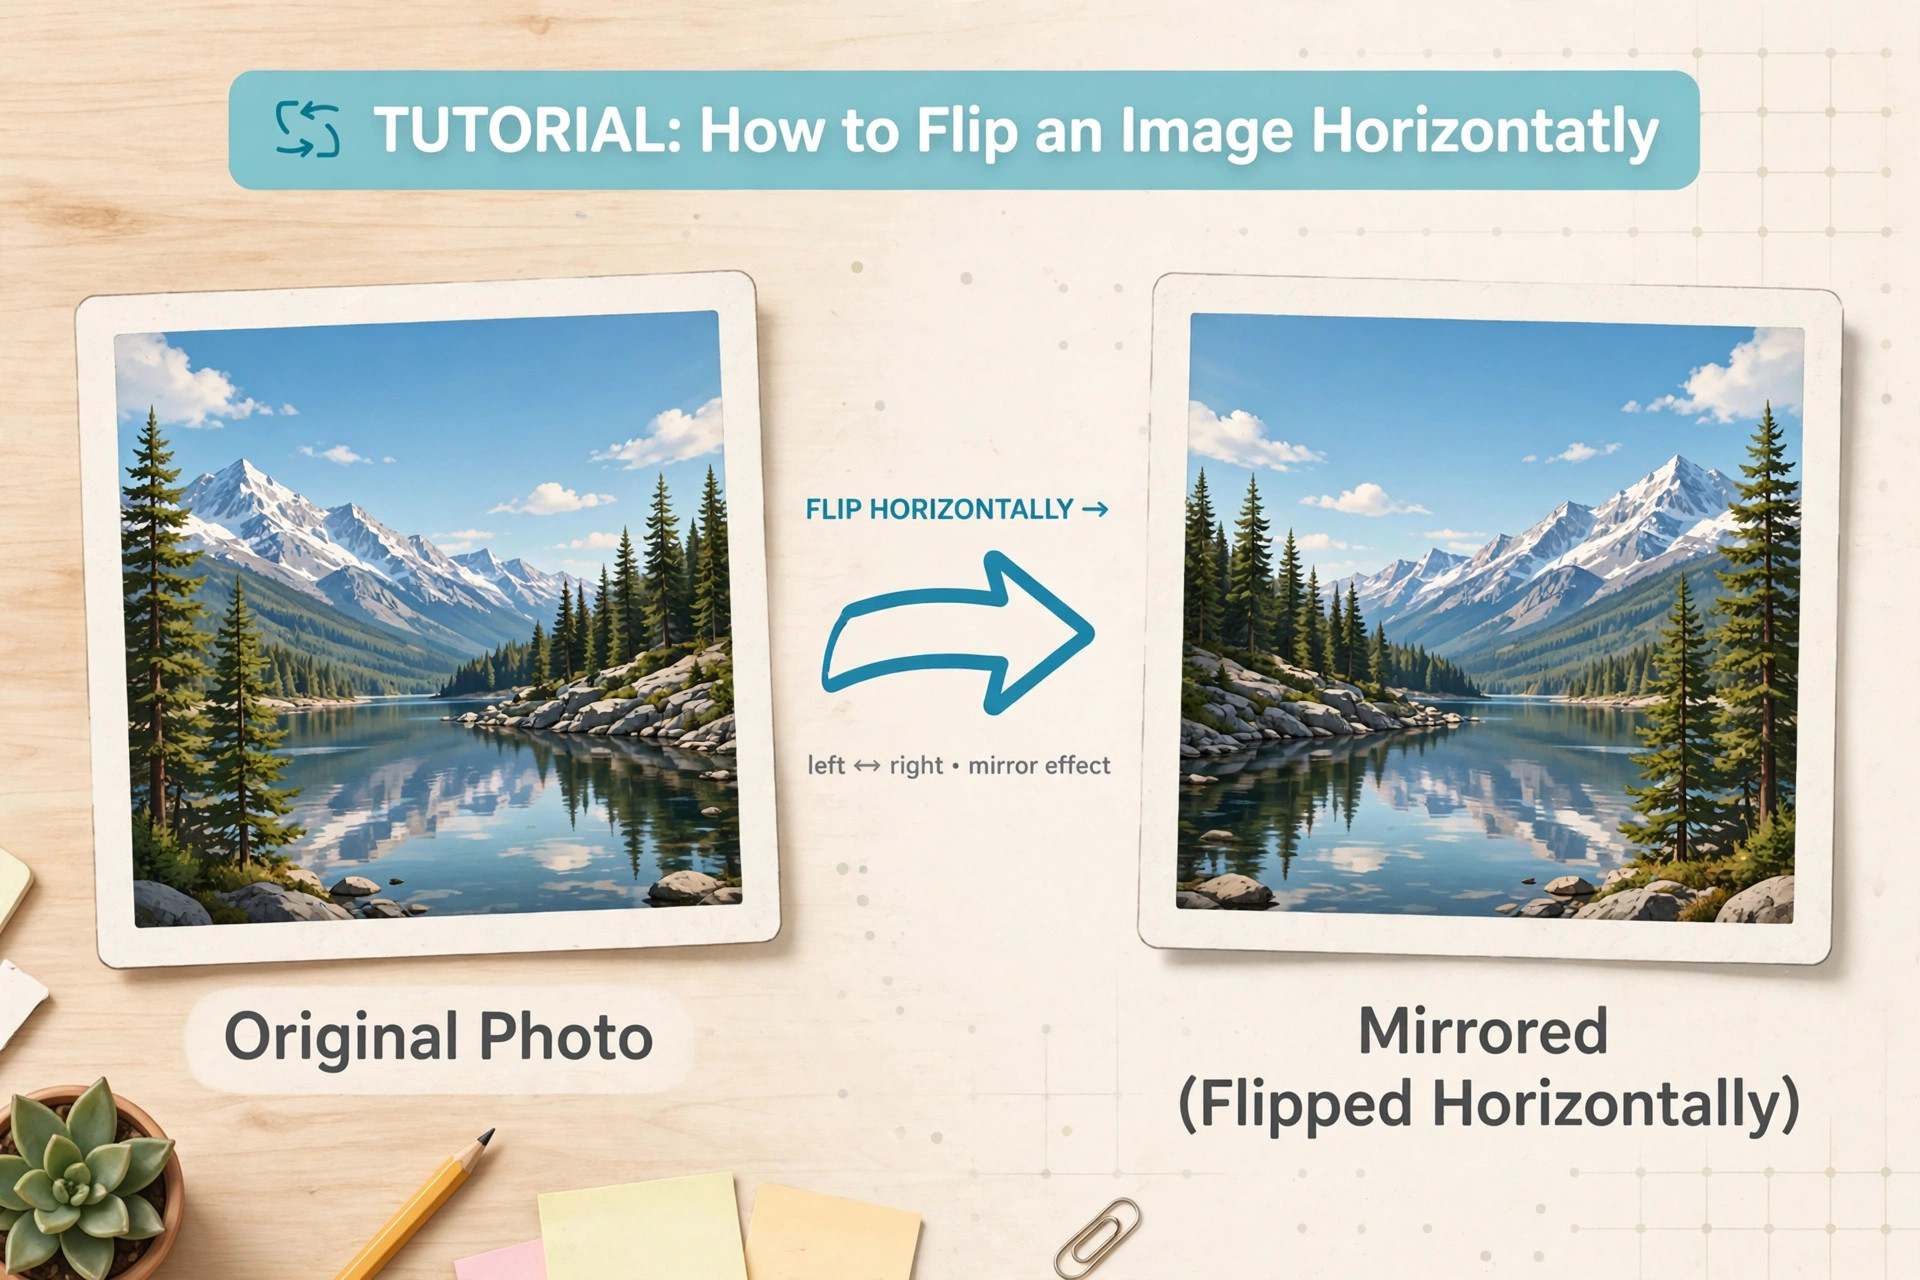
    To flip an image online for free, open a free image editor in your browser. Upload your photo, choose horizontal flip, and download the flipped copy. The editor reverses the photo left to right, like a mirror reflection. This method works on mobile and PC, with no app install needed.

    Flipping a photo to correct a selfie or scanned image

    How to Flip an Image Horizontally Online

    Start with the original photo, not a screenshot. Open a free image editor in your browser and upload the image. Look for the flip option, usually in the edit or transform menu. Choose horizontal flip, also called flip left-right. The image reverses at once, so text and logos may read backwards. Preview the flipped image before you save it, so you can check faces and details. If the result looks right, download the flipped copy with a clear file name.

    Some tools also offer a vertical flip, which turns the image upside down. Do not use that option for a selfie, unless you need that effect. A vertical flip changes the top and bottom, not the left and right. Use it only for a scanned image that came out upside down. For a selfie, horizontal flip is almost always the right choice. Try both options once, if you are unsure. Undo the wrong flip, then apply the correct one. Save the final image as a new file, so the original stays safe.

    How to Mirror a Selfie or Photo on Mobile

    On a phone, open the image editor in your mobile browser. Upload the photo from your gallery or cloud storage. Choose horizontal flip from the edit menu. Preview the result carefully before you download it. Note carefully where your browser saves the file. That way, you can find it again fast. If the file is large, use Wi-Fi, not mobile data. For related photo tasks, see how to rotate an image online for free. Also see how to resize an image without losing quality.

    Small mobile screens make precise checks much harder. Zoom in before you save the flipped image. Check faces, text, and edges twice before you download it. A small flip error can make a photo look odd. If the tool offers undo, use it freely. Keep adjusting the flip until the image looks right. After flipping, open the image in your photo app. Confirm that nothing looks reversed.

    Flip vs Rotate: What Is the Difference?

    Flipping swaps an image across an axis. Mirroring usually means the same as a horizontal flip, but it can also mean adding a reflection. Rotating turns the whole image by a set angle, such as 90 degrees. A flip does not change the angle of the image. It only reverses the direction. Use a flip to fix a reversed photo. Use a rotation to fix a sideways photo. If you need both, flip first, then rotate. Check the result after each step.

    Some tools combine flip and rotate in one menu. That can cause confusion. Change one setting at a time and preview the result before moving on. If the image looks wrong, undo the last step and try again. Keep the original file until every step is checked. You may need to start again from scratch otherwise. This order matters most for logos, text, and scanned documents.

    Tips for a Clean Flip Without Losing Quality

    • Always flip a copy and keep the original untouched, so you can start again.
    • Download the flipped image in the same format, so quality stays close to the original.
    • Check faces, text, and edges at full size before you save the flipped image.
    • Flip before you compress or share the image, so you compress the final version.
    • Save the flipped image with a clear name, such as photo-flipped, to avoid mix-ups.

    For trusted image help, check support pages from well-known providers. See Google Support for browser and Drive basics. See Microsoft Support for Windows photo editing tools. See Adobe Help for image editing guidance online. These sources explain common steps in plain language. They help when a tool menu looks unfamiliar. Stick to well-known tools for your private photos only. Avoid uploading sensitive files to unknown sites online.

    Common Mistakes to Avoid

    The most common mistake is flipping the wrong way. That makes text read backwards and faces look odd. Another mistake is flipping a screenshot instead of the original photo. A screenshot can look blurry after a flip. Avoid flipping a photo many times in a row. Each save can lower image quality slightly. Do not delete the original photo too soon. Check the flipped version first, every single time. A bad flip cannot always be undone later.

    Frequently Asked Questions

    Can I flip an image online for free? Yes, well-known online image tools offer free flipping in a browser. Free plans usually set a strict file-size limit.

    Does flipping an image reduce quality? Flipping itself does not change quality much. Saving in a lossy format, like JPEG, can lower quality slightly each time.

    How do I mirror a selfie? Open the photo in a free image editor, choose horizontal flip, preview the result, then download the mirrored copy.

    Can I flip only part of an image? Most simple flip tools flip the whole image. To flip part of an image, crop that part first, then flip it alone.

    In short, flip a copy in a browser image editor, not the original. To flip an image well, choose horizontal flip, preview at full size, and save the flipped copy with a clear name. That order gives a clean result without risking your original photo.

  • How to Rotate an Image Online for Free

    How to Rotate an Image Online for Free

    To rotate an image online for free, open a free online image rotator in your browser, upload your photo, turn it left or right by 90 degrees or straighten it by a small angle, and download the corrected copy. Work from a copy of the original, check the result at full size, and save it with a clear name so you do not overwrite the original by mistake.

    Rotating an image online

    How to Rotate an Image by 90 Degrees Online

    This is the fix for a sideways or upside-down photo. Open a free online image editor or rotator in your browser — the image tools on iboxseo.org and other well-known editors all work without installing an app. Upload the photo, tap the rotate button once for a 90-degree turn, and tap again if it needs another quarter turn. A photo taken sideways usually needs one 90-degree rotation; an upside-down photo needs two. Preview the result, then download it. If the photo still looks wrong, rotate it once more rather than saving a half-fixed version.

    How to Straighten a Tilted Photo Online

    A slightly tilted photo, such as a horizon that slopes or a document photographed at an angle, needs a small rotation, not a full 90-degree turn. Many online editors offer a straighten slider: drag it a few degrees at a time and watch a straight edge in the photo, like a horizon, a table edge, or a line of text, until it looks level. Straightening usually crops the corners slightly, because turning a rectangle leaves empty triangles at the edges, so check that nothing important is cut off. If the editor crops too much, straighten by a smaller amount and accept a nearly level result.

    How to Rotate an Image on Mobile and PC

    The steps are the same on both, but the way you handle files differs. On a phone, open the rotator in your mobile browser, upload the photo from your gallery or files, rotate it, and download the corrected copy — then note where your browser saves it so you can find it for sharing or uploading. You can also rotate in your phone’s built-in gallery app, which is often faster for a simple 90-degree fix. On a computer, it is easier to compare the original and rotated versions side by side and to check the result on a larger screen before you share it.

    Tips to Rotate an Image Without Losing Quality

    • Always rotate a copy and keep the original untouched, so you can start again if the result is cropped badly.
    • Rotate once, not in many small steps: repeated saves, especially in JPG format, can soften the photo slightly.
    • Check the photo at full size after rotating, not only in a small preview, so you can spot anything cut off at the edges.
    • Rotate before you compress or resize the photo, so you only compress the final version once.
    • Save the rotated photo with a clear name, such as photo-rotated, to avoid mixing it up with the original.

    Common Mistakes to Avoid

    The most common mistake is saving over the only original, which leaves no way back if the rotation crops something important. Another is rotating a screenshot of the photo instead of the photo file itself, which loses quality. Also avoid rotating the same file again and again across different apps — each save can soften it. Finally, do not skip the final check: a photo can look right in a small thumbnail and still have a cut-off edge at full size.

    Frequently Asked Questions

    Q: Can I rotate an image online for free? A: Yes. Free online image editors and rotators let you rotate a photo in a browser on mobile or PC without installing an app.

    Q: How do I fix a photo that is sideways? A: Rotate it by 90 degrees once in either direction, preview it, and rotate again if it is still sideways or upside down.

    Q: Will rotating an image reduce its quality? A: A single rotation and save has very little visible effect. Repeated rotations and saves, especially in JPG, can soften the photo, so work from the original each time.

    Q: Why does straightening cut off the corners of my photo? A: Turning a rectangle leaves empty corners, so editors crop slightly to fill the frame. Check the edges after straightening and use a smaller angle if something important is cut off.

    In short, to rotate an image online for free, upload a copy to a browser rotator, turn it by 90 degrees or straighten it by a small angle, check the full-size result, and save it with a clear name. That careful order fixes sideways and tilted photos without risking your original.

  • How to Convert PDF to PowerPoint for Free

    How to Convert PDF to PowerPoint for Free

    To convert PDF to PowerPoint for free, open a free PDF-to-PowerPoint converter in your browser, upload your PDF, convert it, and download the presentation file. Then open it in PowerPoint or Google Slides, check every slide, and fix any text or images that moved during conversion. The whole process usually takes only a few minutes for a normal document.

    Converting a PDF to PowerPoint

    How to Convert PDF to PowerPoint on a PC for Free

    Start with a copy of your PDF, not your only original, so you can try again if the first result is messy. Open a free PDF-to-PowerPoint converter in your browser, such as the online tools offered by Adobe, Smallpdf, iLovePDF, or a similar well-known service. Upload the PDF, choose the convert option, and wait for the download link. Save the presentation with a clear name, then open it in PowerPoint, LibreOffice Impress, or Google Slides. Go through the slides one by one: check headings, bullet points, tables, images, and page breaks. A PDF page usually becomes one slide, so a long document becomes a long deck — delete blank or duplicate slides before you present.

    How to Convert PDF to PowerPoint on Mobile for Free

    On a phone, the steps are the same, but file handling is a little different. Open the converter in your mobile browser, upload the PDF from your files or cloud storage, and download the converted presentation when it is ready. Note where your browser saves the download so you can find it again. Open the file in the PowerPoint app or Google Slides app and check the slides on a larger screen if you can, because small layout problems are easy to miss on a phone. If the file is large, use Wi-Fi rather than mobile data for the upload and download.

    How to Keep Your Slides Editable After Conversion

    Conversion quality depends on how the PDF was made. A PDF created from a presentation or a document usually converts cleanly, with editable text. A scanned PDF, made from photographs of pages, has no real text layer, so the converter may turn each page into a picture on a slide. In that case, run the PDF through an OCR step first, or be ready to retype short headings. After conversion, select a text box and try editing a word: if you can type in it, the text is editable. If the whole slide behaves like one picture, it is an image slide and will need retyping or an OCR tool.

    Tips for a Clean PDF to PowerPoint Conversion

    • Convert from the best original PDF you have; a sharp, well-made PDF converts far better than a blurry scan.
    • Check fonts: unusual fonts may be replaced, so look at headings and special characters after conversion.
    • Keep images in mind: large photos can make the presentation file very big, so compress oversized images if the deck becomes slow.
    • Break long PDFs into sections before converting if you only need part of the document as slides.
    • Always keep the original PDF until you have checked the final deck, in case you need to convert again with different settings.

    Common Mistakes to Avoid

    The most common mistake is presenting the converted file without checking it. Text can shift, tables can split across slides, and images can overlap. Another mistake is converting a scanned PDF and expecting editable text — that needs OCR first. Do not upload sensitive or private documents to a converter you do not trust; for private files, prefer an offline converter or a well-known service, and delete uploaded files where the service offers that option.

    Frequently Asked Questions

    Q: Can I convert PDF to PowerPoint for free? A: Yes. Several well-known online converters offer free PDF-to-PowerPoint conversion in a browser, usually with a file-size or daily limit on the free plan.

    Q: Will my slides stay editable? A: Usually yes for PDFs made from documents or presentations. Scanned PDFs usually become image slides unless you use OCR first.

    Q: Why does my converted presentation look different from the PDF? A: Fonts, tables, and complex layouts do not always translate exactly. Check each slide and fix spacing, text boxes, and images before presenting.

    Q: Is it safe to upload a PDF to an online converter? A: Use trusted services only, avoid uploading private or sensitive documents to unknown sites, and keep your original file safe.

    In short, to convert PDF to PowerPoint for free, pick a trusted browser converter, upload your PDF, download the presentation, and check every slide before you use it. That final check is what turns a rough conversion into a deck you can present with confidence.

  • How to Extract Text from a PDF for Free

    How to Extract Text from a PDF for Free

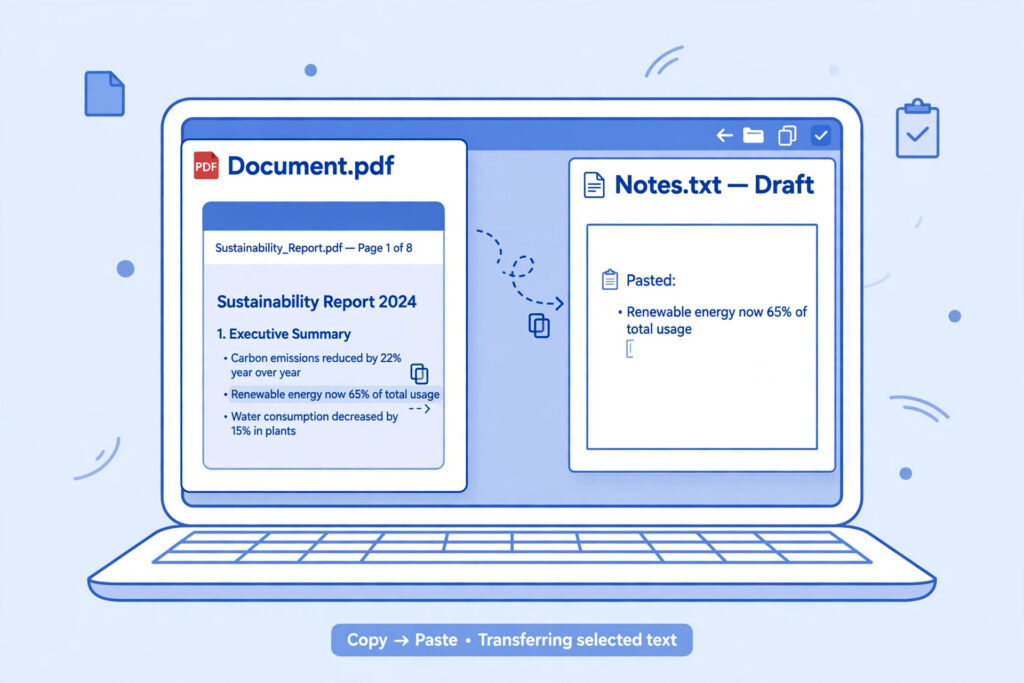
    To extract text from a PDF for free, open the PDF in a browser or PDF reader, select the text you need, copy it, and paste it into a text editor or document. If the text can be selected, this takes less than a minute on both mobile and PC. If the text cannot be selected, the PDF is probably a scanned image, and you will need an OCR step first, which is explained below.

    Extracting text from a PDF document into a notes file

    How to Extract Text from a PDF on a PC for Free

    Start with the simplest method. Open the PDF in your web browser, such as Chrome, Edge, or Firefox. Click and drag over the text to select it, then press Ctrl+C to copy it and Ctrl+V to paste it into Notepad, Word, Google Docs, or an email. To copy a whole page, click on the page first, press Ctrl+A to select all, and then copy and paste.

    If the PDF has many pages, copying page by page gives you more control over formatting. Pasting into a plain-text editor first can help remove odd fonts and spacing before you move the text into your final document. Check the pasted text for broken lines, missing spaces, and symbols that did not copy correctly.

    Another free option is to open the PDF in Google Drive and open it with Google Docs. Upload the file to Google Drive, right-click it, choose Open with, and then choose Google Docs. Google Docs will show the extracted text, which you can edit, copy, or download as a document. This method is also useful for scanned PDFs, because Google Docs can often recognise text in images.

    How to Extract Text from a PDF on Mobile for Free

    On a phone, open the PDF in your browser or in a free PDF reader app. Tap and hold on a word until selection handles appear, then drag the handles to cover the text you need. Tap Copy, switch to your notes app or document app, tap and hold in the text area, and tap Paste.

    For a longer document, it is often easier to open the PDF in Google Drive on your phone and open it with Google Docs, or to share the PDF to a notes or documents app that can show selectable text. You can then copy the text in sections and paste it where you need it.

    What to Do If the PDF Text Cannot Be Selected

    If you cannot select any text, the PDF is likely made from scanned images or photographs of pages. In that case, copying will not work, because there is no text layer to copy. You need optical character recognition, usually shortened to OCR, which reads the text in an image and turns it into selectable text.

    A free way to do this is to upload the scanned PDF to Google Drive and open it with Google Docs, as described above. Another option is to use a free OCR tool or app, convert the scanned pages, and then copy the recognised text. Always proofread OCR results carefully, because scanned text can contain errors, especially with small print, handwriting, tables, or unusual fonts.

    Tips for Clean, Usable Extracted Text

    • Copy one section at a time for long or complex documents, so formatting problems are easier to fix.
    • Paste into a plain-text editor first if the formatting looks messy, then reformat headings, lists, and paragraphs.
    • Check page numbers, headers, footers, and footnotes, which may be copied in the wrong order.
    • Keep the original PDF until you have checked the extracted text, in case you need to copy a section again.
    • Use headings and short paragraphs when you reuse the text, so it stays easy to read.

    On iboxseo.org, you will also find other free PDF tools listed on the home page, such as PDF to Image and PDF Merge. Those tools are for converting or combining PDFs, while the steps in this guide are for extracting text from a PDF.

    Common Mistakes When You Extract Text from a PDF

    • Assuming a scanned PDF can be copied like a normal PDF, when it first needs OCR.
    • Copying an entire document at once and then spending a long time fixing broken formatting.
    • Forgetting to check tables, where columns may paste as a single block of text.
    • Sharing or publishing extracted text without checking who owns it or whether you have permission to reuse it.
    • Deleting the original PDF before checking that all pages and sections were copied correctly.

    A quick final check makes a real difference. Read the extracted text from start to finish, compare it with the original PDF for any missing sections, and fix spacing, punctuation, and headings before you use it.

    Frequently Asked Questions

    Can I extract text from a PDF for free?

    Yes. For most PDFs, you can select, copy, and paste text for free in a browser or PDF reader. For scanned PDFs, a free OCR step, such as opening the file with Google Docs, is usually needed.

    Why can I not select text in some PDFs?

    The PDF may be a scanned image, or it may have copy restrictions set by its creator. Scanned PDFs need OCR, while restricted PDFs may need permission from the owner before the text can be copied.

    Will the formatting stay the same after extraction?

    Not always. Simple paragraphs usually copy well, but tables, columns, and complex layouts may need reformatting after pasting. Pasting into a plain-text editor first can make this cleanup easier.

    Is it safe to upload a PDF to an online tool?

    Use trusted tools only, and avoid uploading sensitive or private documents to a service you do not know. For private files, prefer offline methods, such as copying text in your browser or PDF reader, rather than uploading the file.

  • How to Compress an Image to 1MB for Uploads

    How to Compress an Image to 1MB for Uploads

    To compress image to 1MB for uploads, open the Image Compressor on iboxseo.org, upload your photo, reduce its size gradually until the file is just under 1MB, and then download the smaller copy and check it before you upload it. Aim for a file that is close to, but safely below, 1MB, so it passes the upload limit without losing more quality than needed.

    Compress an image to 1MB for uploads on mobile and PC

    Many upload forms, job portals, school and college forms, and websites set a 1MB limit because smaller files upload faster, use less mobile data, and are easier to store and handle. A photo straight from a phone camera is often several megabytes, so it is rejected even when the picture itself looks fine. The good news is that you do not need to install an app or buy software to fix this: you can compress image to 1MB in a browser on your phone or computer, in a few careful steps.

    How to compress image to 1MB with the Image Compressor

    Work from a copy of your original photo, and keep the original safe. That way, if the first compressed version looks too soft, you can start again from the clear original instead of compressing an already compressed file.

    • Check the upload limit first. Confirm that the form or site asks for a file under 1MB, and note any format it asks for, such as JPG or JPEG for photos.
    • Open the Image Compressor on iboxseo.org in your browser. You do not need to install an app to use it.
    • Upload your image from your phone or computer, using the upload option shown on the tool page.
    • Reduce the size gradually. Make a small reduction, then check the new file size shown by the tool, rather than shrinking the image as far as it will go in one step.
    • If the file is still above 1MB, reduce it a little more. If it is well below 1MB and still looks clear, you can stop there, or try a slightly larger version to keep more detail.
    • Download the compressed image and save it with a clear name, such as photo-1mb, so you can find it when you return to the upload form.
    • Open the downloaded file at full size and check it carefully. Look at faces, text, and edges, and make sure nothing important is blurred or cut off.
    • Upload the checked file to your form or site, and use the preview shown there, if there is one, to confirm it looks right before you submit.

    For most photos, JPG is a practical choice, because it is widely accepted for uploads and gives smaller files than PNG for photographs. For graphics with sharp text or logos, keep the format the form asks for, and judge the result at the size it will actually be shown, not only in a small preview.

    How to compress image to 1MB on mobile and PC

    The steps are the same on both devices, but the way you choose and save files is a little different. On a phone, open the Image Compressor in your mobile browser, upload the photo from your gallery or files, and after you download the compressed copy, note where your browser saves it so you can find it in the upload form. On a computer, it is easier to compare the original and the compressed file side by side, and to check the result on a larger screen before you upload it.

    If your original photo is very large, reducing its dimensions as well as its quality often helps most. A photo that is far wider than the upload will ever be shown at does not need to stay at full camera size. Crop out unnecessary background first, if that does not cut off anything important, and then compress the result. Do all cropping and rotation before you compress, not after, so you compress only once.

    Tips to keep your photo clear under 1MB

    • Start with the best original you have. A sharp, well-lit photo compresses far better than a dark or blurry one, and it stays readable after it is reduced.
    • Do not work from a forwarded or screenshotted copy. Those copies have already lost detail, and compressing them again only makes the result softer.
    • Check the photo at the size it will be shown. Softness that is visible at full zoom is often invisible in a form preview or on a web page, so judge the result where it will be used.
    • Save the compressed version as a new file. Keep the original untouched, so you can try again with different settings if the upload is rejected or looks poor.
    • Use a clear file name. A name such as photo-1mb makes the file easy to find, and helps you avoid uploading the large original by mistake.
    • If you have more than one file to upload, compress each one separately and check each one. A setting that works for a bright photo may not work as well for a scanned document or a photo taken in low light.

    Common mistakes to avoid

    The most common mistake is compressing too far. A file far below 1MB is not better than a file just under 1MB if faces or text become hard to read. Aim for just under the limit, not as small as possible. Another common mistake is compressing the same file again and again. Each round removes more detail, so always start again from the original when you need a different size.

    Other mistakes are easy to avoid once you know them. Do not save over your only original, do not upload a screenshot of the compressed photo when the form asks for the photo file itself, and do not skip the final check. A file that is even slightly over 1MB can still be rejected, so confirm the downloaded file size before you submit, and use the form preview, if there is one, to confirm the photo is not stretched, cut off, or unclear.

    Frequently Asked Questions

    Will compressing an image to 1MB make it blurry?

    Not necessarily. If you start from a clear original, reduce the size gradually, and stop just under 1MB, most photos still look clear at the size used for uploads and on-screen viewing. Blur usually comes from starting with a low-quality copy, or from reducing the file far below what is needed.

    Can I compress image to 1MB on my phone?

    Yes. Open the Image Compressor on iboxseo.org in your mobile browser, upload the photo, reduce it gradually until it is under 1MB, download the compressed copy, and then upload that copy to your form. Remember to check where your browser saves the download, so you can find it again.

    What should I do if my image is still above 1MB after compressing?

    Start again from the original, crop out unnecessary background if you can do so without cutting off anything important, reduce the dimensions a little, and then compress again. Check the size after each small change, and stop as soon as the file is safely under 1MB.

    Should I use JPG or PNG to compress image to 1MB?

    Use the format the upload asks for. For photographs, JPG is usually the practical choice, because it gives smaller files for photos. For graphics where transparency matters, keep PNG, but expect that it may need a larger reduction in dimensions to get under 1MB.

    In short, to compress image to 1MB, check the limit, work from a clear original, reduce the file gradually with the Image Compressor on iboxseo.org, and check the downloaded copy at full size before you upload it. That careful order keeps your photo clear and your upload within the limit.

  • How to Resize an Image for WhatsApp DP

    How to Resize an Image for WhatsApp DP

    To resize image for WhatsApp DP, make it square, keep the face in the center, and save it at a clear, balanced size before you upload it. WhatsApp shows your display picture in a circle, so a wide or tall photo will get cropped at the sides. A square image fits that circular frame best, and a little space around the face helps it look sharp instead of cut off.

    Portrait photo that works well as a WhatsApp DP after resizing

    What Size Should a WhatsApp DP Be?

    When you resize image for WhatsApp DP, aim for a square photo. A square shape matches the way WhatsApp displays the picture, and it gives you control over what stays in the frame. A photo that is much wider than it is tall will lose the left and right edges, while a very tall photo will lose the top and bottom. Starting square avoids both problems.

    For clarity, use a photo that is at least large enough to stay sharp on a phone screen. A small, heavily compressed photo can look soft or pixelated once it is uploaded. If your original photo is large, resizing it down to a balanced square size usually keeps it clear, as long as you do not crop the face too tightly. Leave a small margin around the head and shoulders so the circular crop does not cut into the face.

    How to Resize Image for WhatsApp DP on Mobile

    You can resize image for WhatsApp DP on your phone without any special skills. The exact buttons differ by app, but the steps follow the same pattern.

    • Choose a clear photo where the face is well lit and facing the camera.
    • Open it in your photo editor or an image resizer app.
    • Crop or resize it to a square shape, with the face in the center.
    • Leave a little space around the face for the circular crop.
    • Save a new copy at a clear size, rather than overwriting your original photo.
    • Open WhatsApp, go to your profile picture, and upload the resized copy.
    • Use the on-screen frame to check the circle preview, then save it.

    How to Resize Image for WhatsApp DP on PC

    On a computer, you have a larger screen, which makes it easier to judge the crop. Open the photo in a basic image editor, then resize or crop it to a square. Keep the face centered, and check that nothing important sits right at the edge of the square, because the circular preview will trim the corners.

    After resizing, save the photo in a common image format and give it a clear name, such as whatsapp-dp-square. Then send the resized file to your phone, or upload it directly if you use WhatsApp on your computer. Before you finish, view the photo at a small size on your screen. If it still looks clear and the face is easy to recognize, it is ready to use.

    How to Resize Image for WhatsApp DP Using iboxseo.org’s Image Resizer

    You can also resize image for WhatsApp DP using iboxseo.org’s Image Resizer tool. In plain terms, the process is simple: open the tool, upload the photo you want to use, adjust it to the square size you need, and download the resized version. Then upload that downloaded photo as your WhatsApp DP and check the circular preview before you save it.

    Tips to Resize Image for WhatsApp DP Without Losing Quality

    • Start with the clearest original you have, taken in good light.
    • Do not resize the same photo again and again, because repeated saving can reduce quality.
    • Keep the face large enough to recognize, but not so large that the circular crop cuts it off.
    • Avoid heavy filters that blur skin or add noise to the photo.
    • Check the result on your phone, not only on a large computer screen.

    Common Mistakes When You Resize Image for WhatsApp DP

    One common mistake is to upload a wide group photo and hope WhatsApp will fit everyone in. It will not. The circular frame will cut off the people at the edges, so choose a photo where the main subject is in the center. Another mistake is to crop so tightly that the top of the head or the chin is cut off in the circle preview. A little margin solves this.

    People also forget to check the small preview. A photo can look fine at full size and still be unclear as a small circle. Finally, do not use a screenshot of a photo as your DP if you can avoid it. Screenshots are often lower in quality than the original photo, and they can make the final DP look soft.

    Frequently Asked Questions

    What is the best shape for a WhatsApp DP? A square photo works best, because WhatsApp shows the DP in a circle. A square gives you a balanced frame and makes the circular crop easy to predict.

    Can I resize image for WhatsApp DP without cropping it? You can resize a photo without changing its shape, but WhatsApp will still show it in a circle. If the photo is not square, the sides or the top and bottom will be trimmed in the preview, so a square crop is usually the safest choice.

    Why does my WhatsApp DP look blurry? It is often because the original photo was small, dark, or already compressed. Start with a clear, well-lit original, resize it once to a square, and save a fresh copy for upload.

    Will a square photo still be cropped by WhatsApp? Yes, the corners of a square are trimmed to make the circle. That is why you should keep the face away from the very edges of the square and check the circular preview before you save.

  • How to Add a Border to a Photo Online for Free

    How to Add a Border to a Photo Online for Free

    To add border to photo online for free, open a free online photo editor in your browser, upload your photo, choose a border or frame, set its thickness and color, then download the finished image. You do not need to install software, and the same basic steps work on a phone and on a computer. This guide walks you through the general method, the mobile and PC steps, and the mistakes that make a border look uneven or blurry.

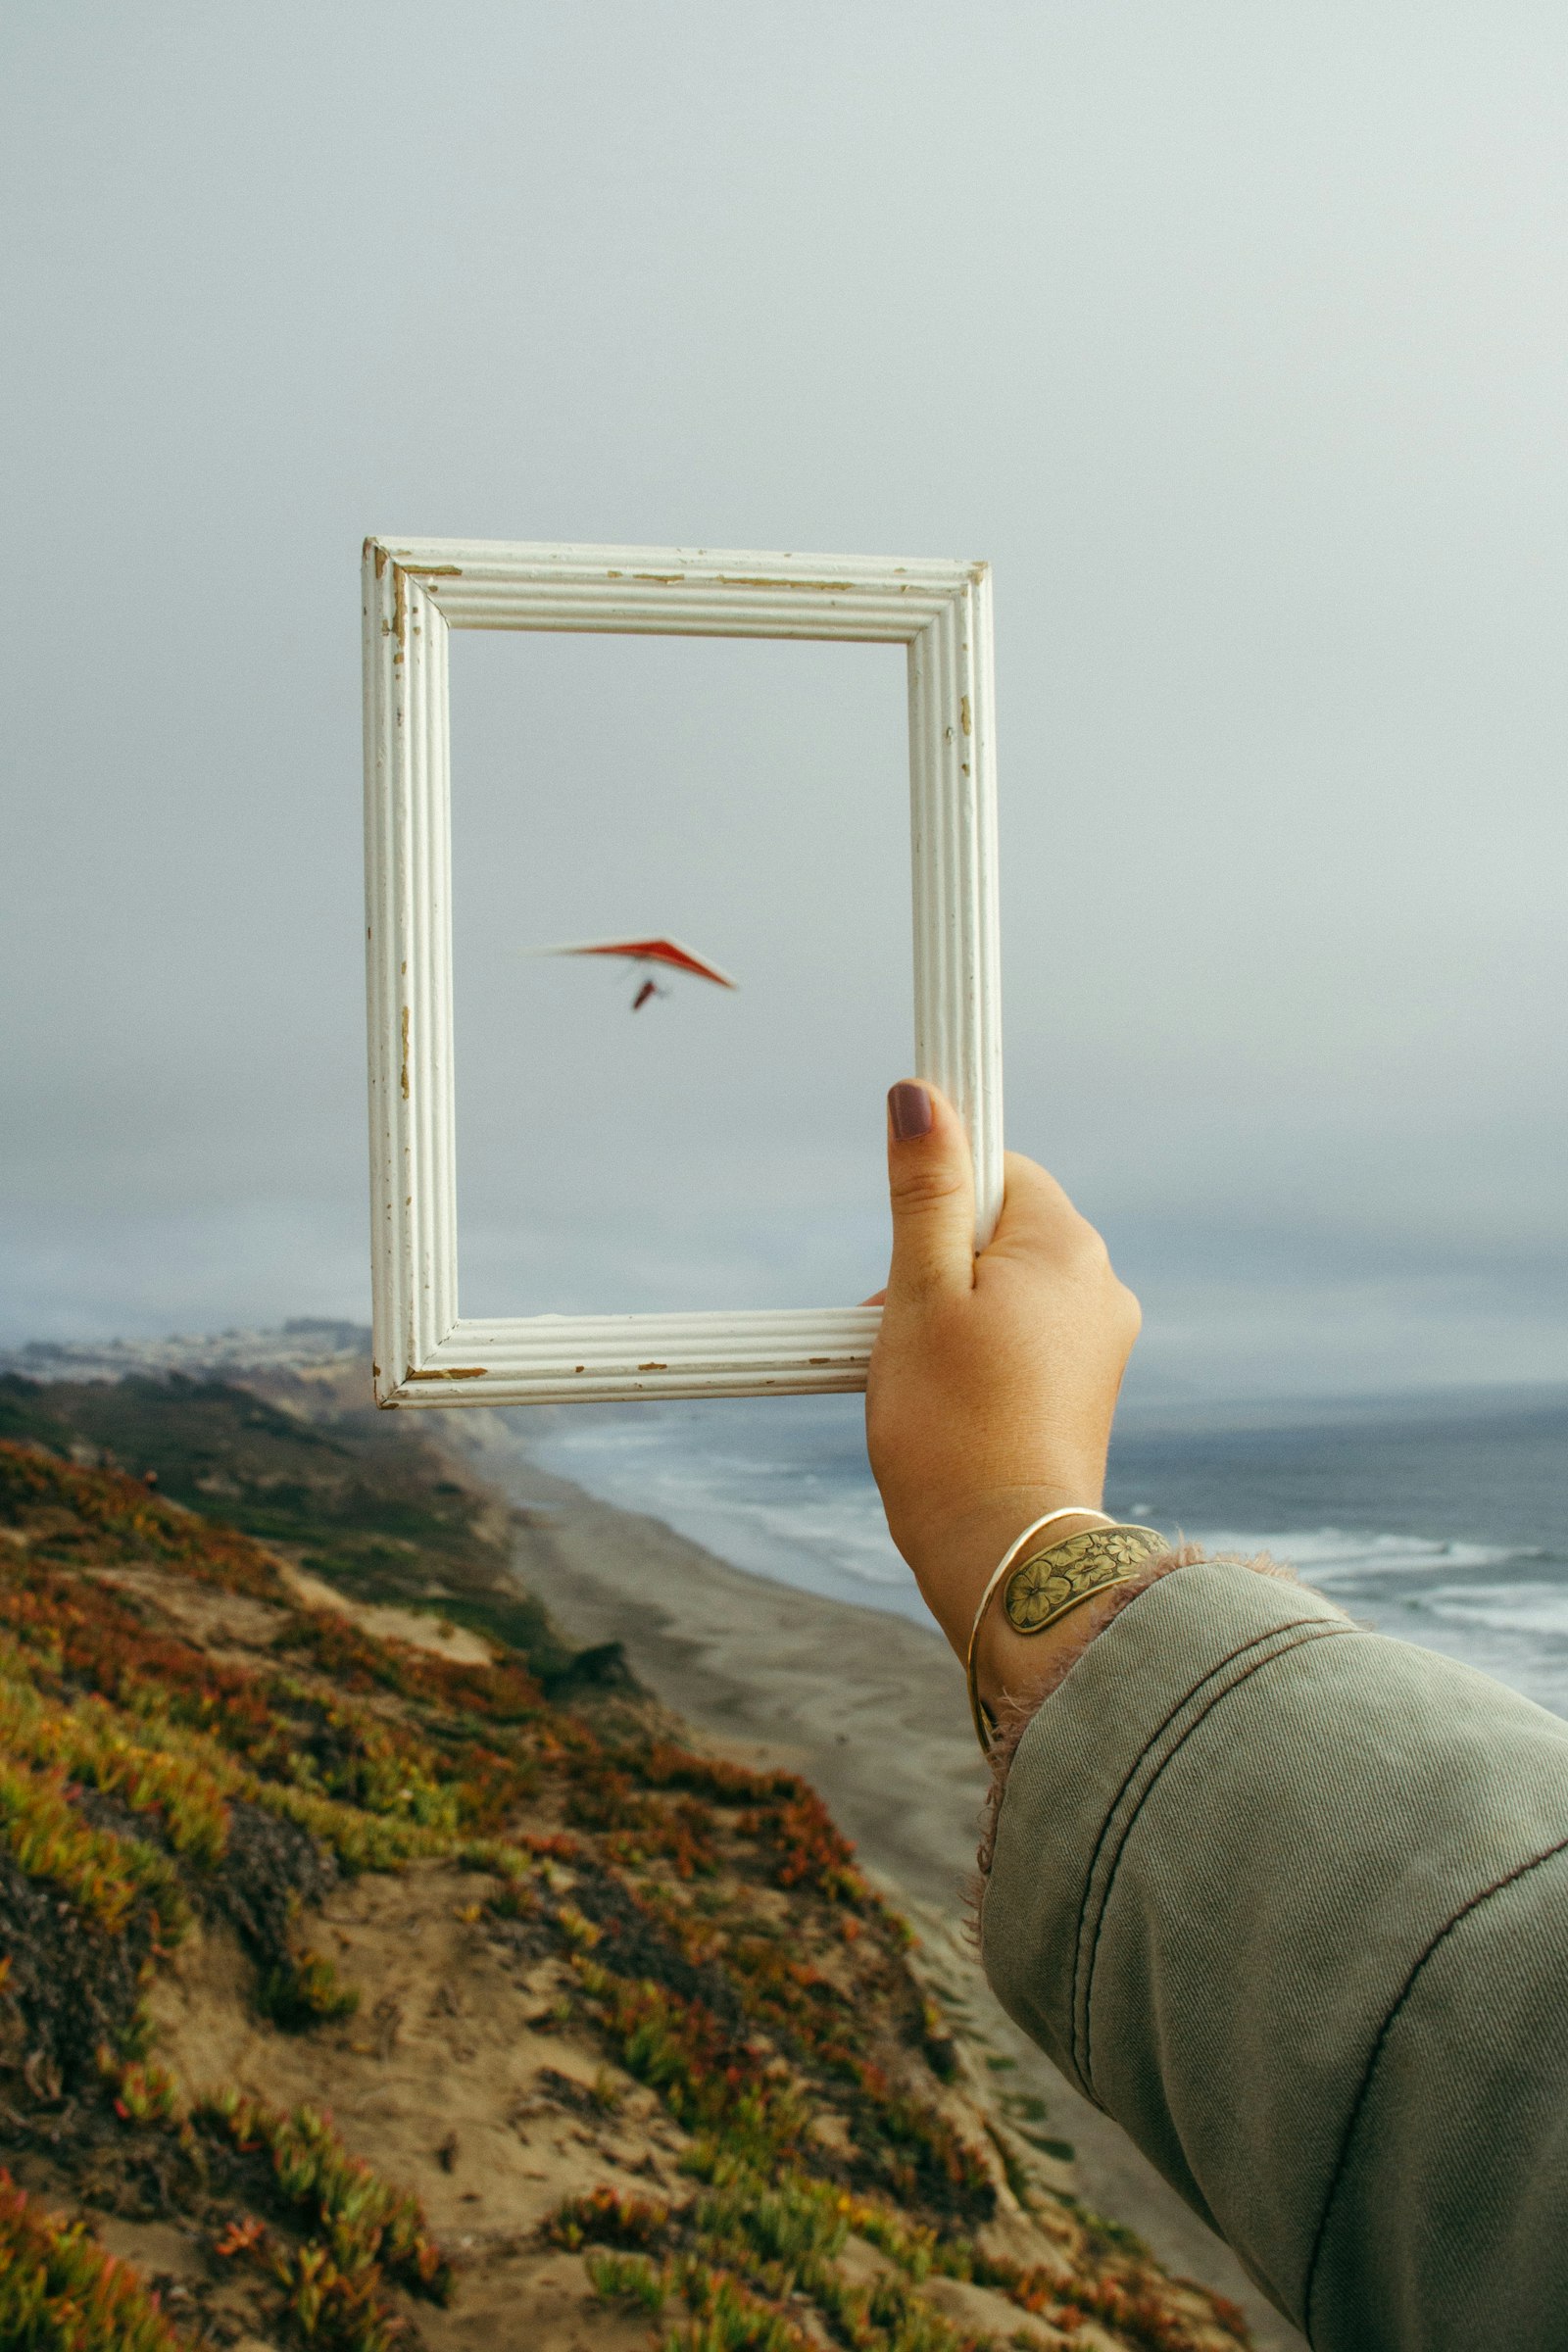
    Person holding a white photo frame outdoors
    A simple frame can make a photo stand out without hiding the subject.

    How to Add a Border to a Photo in a Free Online Editor

    Most free online editors follow the same workflow, even when their buttons have different names. Once you know the order, you can repeat it in almost any tool.

    • Open a free online photo editor in your browser and upload the photo you want to frame.
    • Look for a border, frame, or outline option, often under effects, frames, or elements.
    • Choose a simple border first. A solid color, such as white or black, suits most photos.
    • Adjust the thickness until the border is visible but does not crowd the subject.
    • Check the corners and edges at full size, then export or download the photo in JPG or PNG format.

    If the editor offers a frame with a pattern or texture, try it only after you have a clean result with a plain border. A busy frame can distract from the photo, especially in portraits and product pictures. Keep a copy of the original photo as well, so you can start again without losing quality.

    How to Add a Border to a Photo on Mobile

    On a phone, the easiest route is to use a free online editor in your mobile browser. That way, you do not have to install a new app for a one-time edit.

    • Open your mobile browser and go to a free online photo editor.
    • Upload the photo from your gallery or camera roll.
    • Select the border or frame tool and pick a color that matches the photo.
    • Use the slider or size control to set the border thickness.
    • Preview the result, zoom in to check the edges, and download the finished photo.

    Work on a copy of the photo if your editor saves over the original. Also, check the downloaded file before you share it, because some mobile browsers save a smaller preview if you tap the wrong button. A quick look at the edges will tell you whether the border is complete on all four sides.

    How to Add a Border to a Photo on a PC

    On a PC, you have more screen space, which makes it easier to judge thickness and color. A browser-based editor works well, and many computers also include a basic photo editor you can use offline.

    • Open a free online editor in your desktop browser, or open your photo in your computer’s built-in photo editor.
    • Upload or open the photo, then find the border, frame, or canvas option.
    • Set the border color and thickness. White works well for light backgrounds, while black suits high-contrast images.
    • Use the largest preview available and check that the border is even on every side.
    • Save or export the photo, choosing the highest quality setting that fits your needs.

    On a larger screen, it is tempting to add a very thick border. Resist that urge unless the photo is meant as a poster or print. A thin to medium border usually looks cleaner, and it leaves more room for the photo itself.

    Tips for a Clean, Professional-Looking Border

    • Match the border to the photo’s mood: white for a bright, minimal look, black for drama, and a muted color taken from the photo for a softer finish.
    • Keep the border the same width on all sides unless you are deliberately creating a print-style mat effect.
    • Leave a little breathing room around the subject so the border does not cut off heads, hands, or important details.
    • Use the same border style across a set of photos, such as a social media series, so the set looks consistent.
    • Export at the size you need. A border added to a tiny image can look rough when it is enlarged later.

    Common Mistakes to Avoid When You Add a Border to a Photo

    • Choosing a border that is too thick. It draws attention away from the photo and can make the image feel cramped.
    • Picking a bright or clashing color that competes with the subject instead of supporting it.
    • Adding a border to a low-resolution photo and then enlarging it, which makes edges look soft or jagged.
    • Forgetting to check the corners. A border that is cut off on one side is easy to miss on a small phone screen.
    • Saving over the original photo. Always keep an unedited copy so you can try a different border later.

    Frequently Asked Questions

    Can I add a border to a photo for free without signing up?

    Many free online editors let you add a basic border without an account, although some tools ask you to sign up before downloading. If one tool requires sign-up, try another free editor that offers a direct download.

    What border color works best for most photos?

    White and black are the safest choices. White gives a clean, gallery-style finish, while black adds contrast. If you want color, pick a muted tone already present in the photo rather than a bright, unrelated color.

    Will adding a border reduce my photo quality?

    Adding a border does not have to reduce quality, but repeated saving can. Start from the original photo, make the edit once, and export at the highest quality setting available to keep the result sharp.

    Should I save the bordered photo as JPG or PNG?

    Use JPG for most photos you plan to share online, since it keeps file sizes smaller. Use PNG if you need crisp edges for graphics or text, or if you plan to edit the image again later.

    With a simple border, a clear color, and an even thickness, you can give any photo a finished look in just a few minutes, on mobile or on a PC.