
To add border to photo online for free, open a free online photo editor in your browser, upload your photo, choose a border or frame, set its thickness and color, then download the finished image. You do not need to install software, and the same basic steps work on a phone and on a computer. This guide walks you through the general method, the mobile and PC steps, and the mistakes that make a border look uneven or blurry.
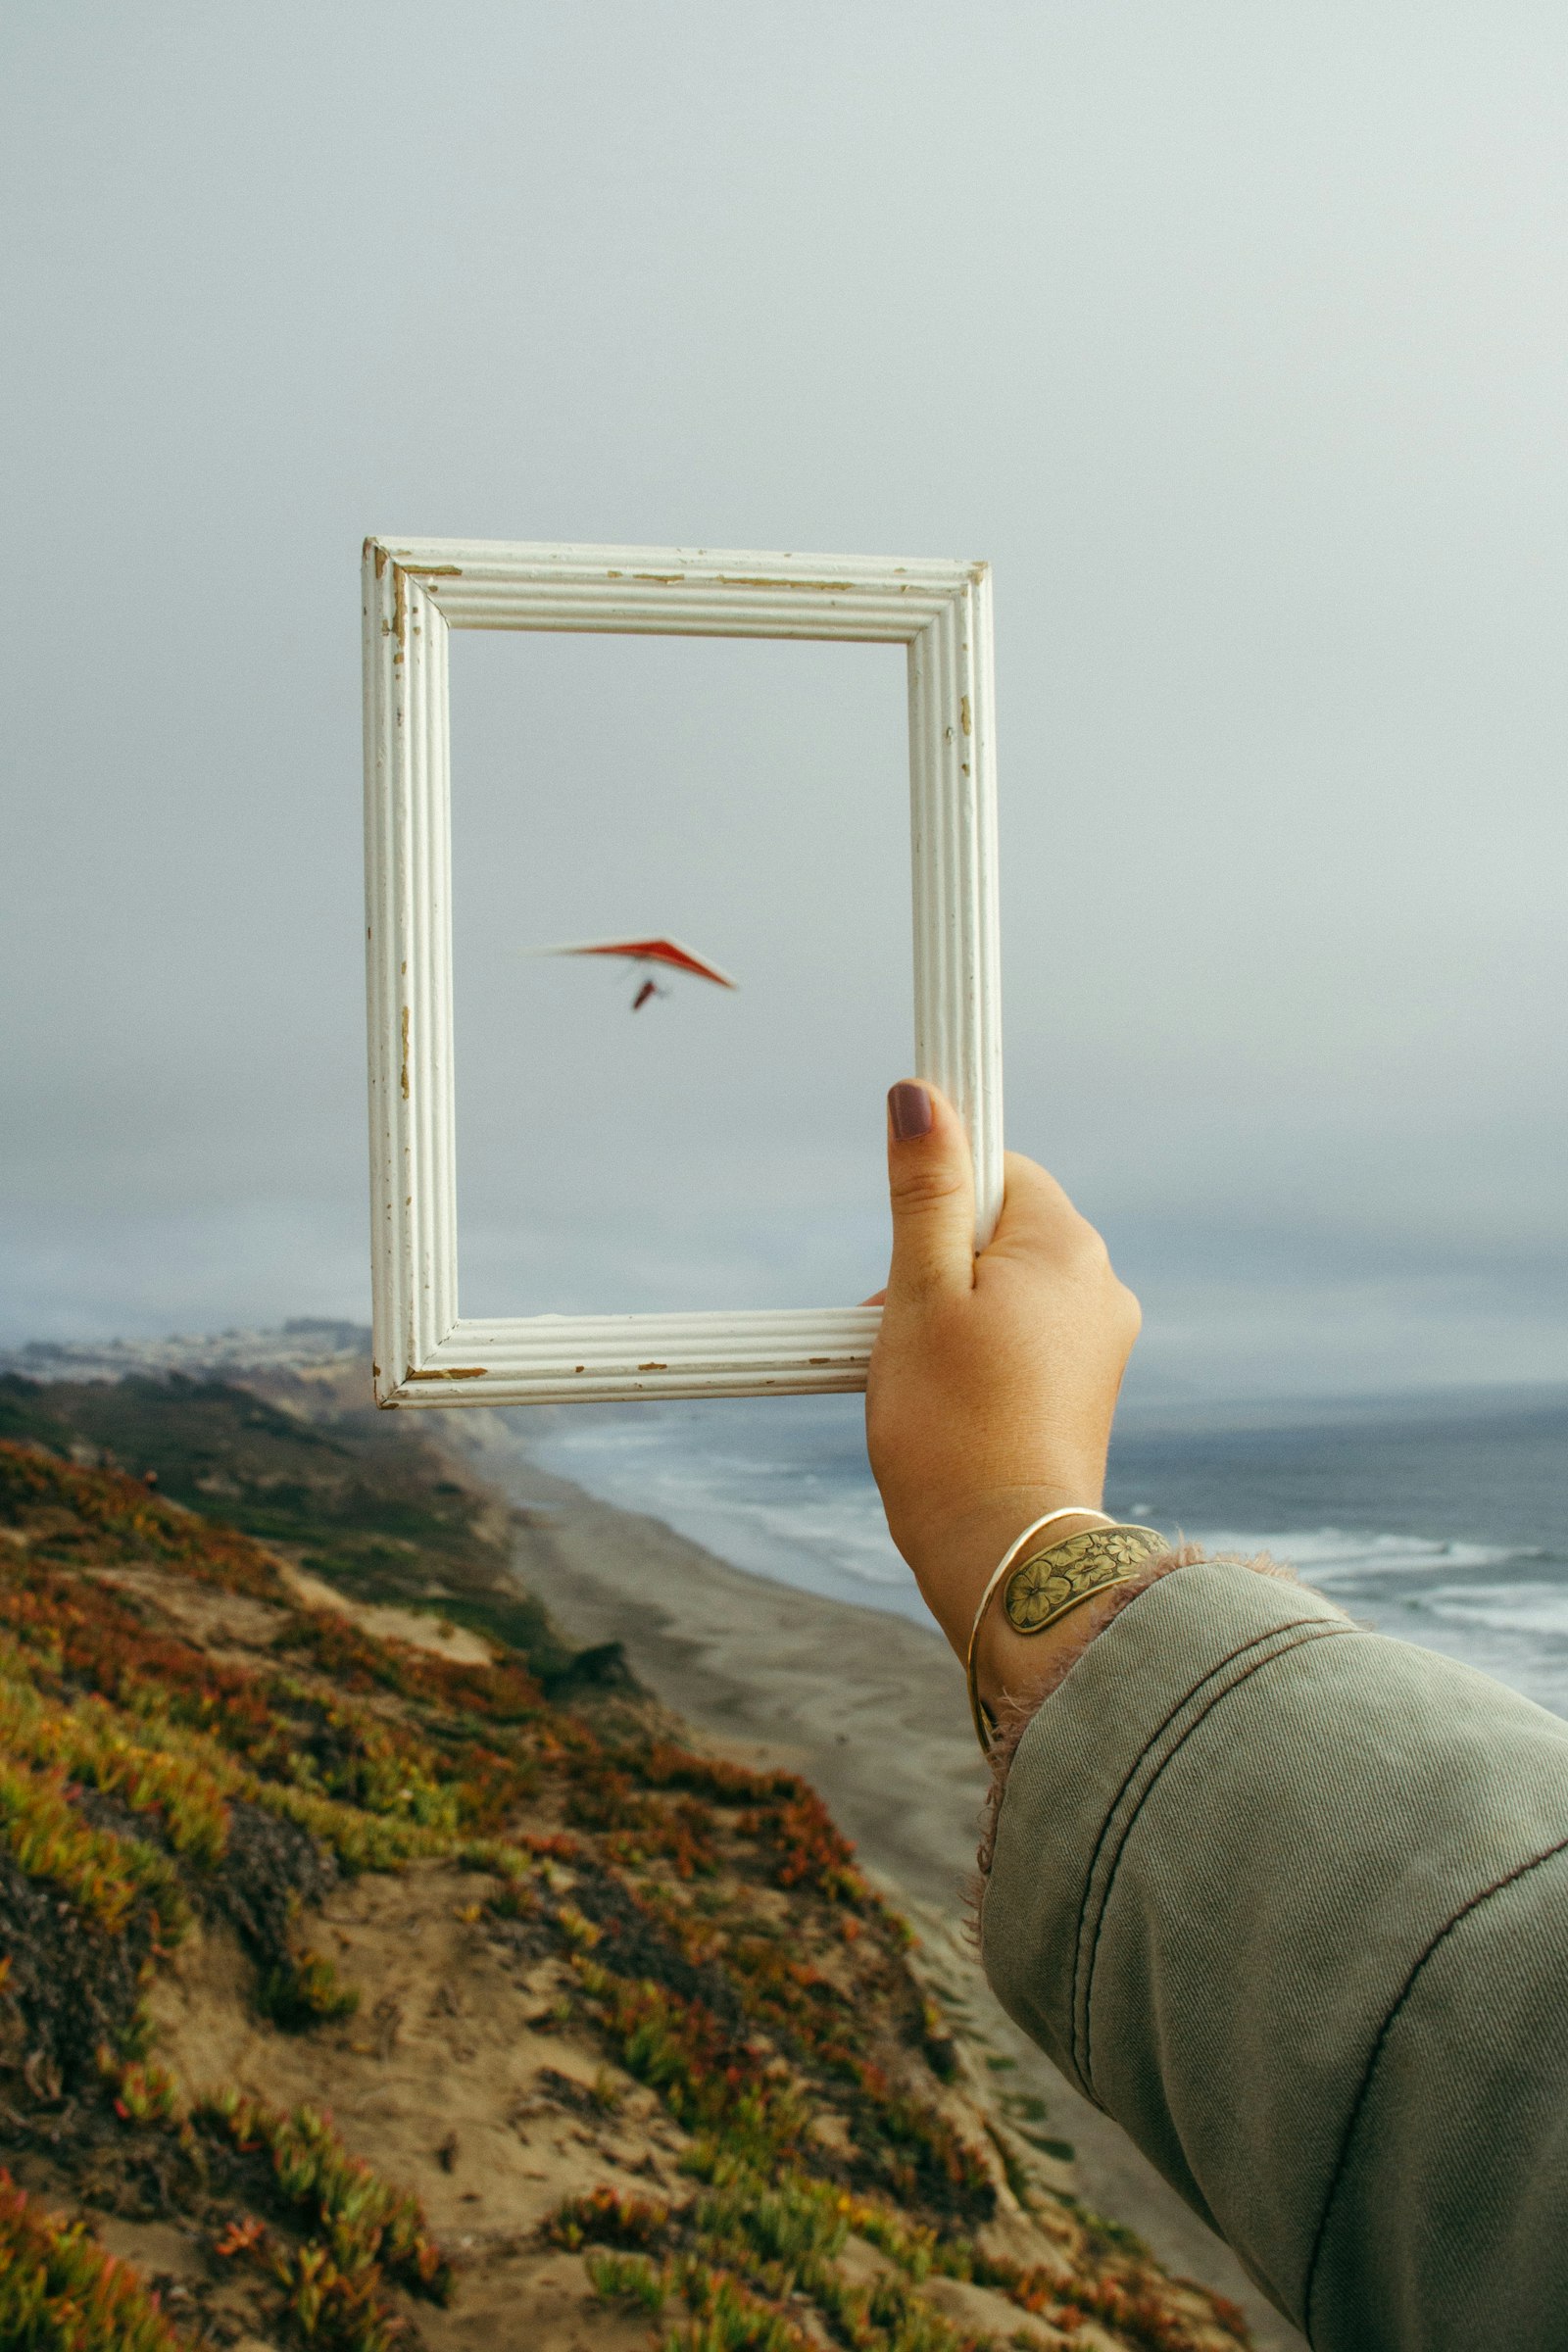
How to Add a Border to a Photo in a Free Online Editor
Most free online editors follow the same workflow, even when their buttons have different names. Once you know the order, you can repeat it in almost any tool.
- Open a free online photo editor in your browser and upload the photo you want to frame.
- Look for a border, frame, or outline option, often under effects, frames, or elements.
- Choose a simple border first. A solid color, such as white or black, suits most photos.
- Adjust the thickness until the border is visible but does not crowd the subject.
- Check the corners and edges at full size, then export or download the photo in JPG or PNG format.
If the editor offers a frame with a pattern or texture, try it only after you have a clean result with a plain border. A busy frame can distract from the photo, especially in portraits and product pictures. Keep a copy of the original photo as well, so you can start again without losing quality.
How to Add a Border to a Photo on Mobile
On a phone, the easiest route is to use a free online editor in your mobile browser. That way, you do not have to install a new app for a one-time edit.
- Open your mobile browser and go to a free online photo editor.
- Upload the photo from your gallery or camera roll.
- Select the border or frame tool and pick a color that matches the photo.
- Use the slider or size control to set the border thickness.
- Preview the result, zoom in to check the edges, and download the finished photo.
Work on a copy of the photo if your editor saves over the original. Also, check the downloaded file before you share it, because some mobile browsers save a smaller preview if you tap the wrong button. A quick look at the edges will tell you whether the border is complete on all four sides.
How to Add a Border to a Photo on a PC
On a PC, you have more screen space, which makes it easier to judge thickness and color. A browser-based editor works well, and many computers also include a basic photo editor you can use offline.
- Open a free online editor in your desktop browser, or open your photo in your computer’s built-in photo editor.
- Upload or open the photo, then find the border, frame, or canvas option.
- Set the border color and thickness. White works well for light backgrounds, while black suits high-contrast images.
- Use the largest preview available and check that the border is even on every side.
- Save or export the photo, choosing the highest quality setting that fits your needs.
On a larger screen, it is tempting to add a very thick border. Resist that urge unless the photo is meant as a poster or print. A thin to medium border usually looks cleaner, and it leaves more room for the photo itself.
Tips for a Clean, Professional-Looking Border
- Match the border to the photo’s mood: white for a bright, minimal look, black for drama, and a muted color taken from the photo for a softer finish.
- Keep the border the same width on all sides unless you are deliberately creating a print-style mat effect.
- Leave a little breathing room around the subject so the border does not cut off heads, hands, or important details.
- Use the same border style across a set of photos, such as a social media series, so the set looks consistent.
- Export at the size you need. A border added to a tiny image can look rough when it is enlarged later.
Common Mistakes to Avoid When You Add a Border to a Photo
- Choosing a border that is too thick. It draws attention away from the photo and can make the image feel cramped.
- Picking a bright or clashing color that competes with the subject instead of supporting it.
- Adding a border to a low-resolution photo and then enlarging it, which makes edges look soft or jagged.
- Forgetting to check the corners. A border that is cut off on one side is easy to miss on a small phone screen.
- Saving over the original photo. Always keep an unedited copy so you can try a different border later.
Frequently Asked Questions
Can I add a border to a photo for free without signing up?
Many free online editors let you add a basic border without an account, although some tools ask you to sign up before downloading. If one tool requires sign-up, try another free editor that offers a direct download.
What border color works best for most photos?
White and black are the safest choices. White gives a clean, gallery-style finish, while black adds contrast. If you want color, pick a muted tone already present in the photo rather than a bright, unrelated color.
Will adding a border reduce my photo quality?
Adding a border does not have to reduce quality, but repeated saving can. Start from the original photo, make the edit once, and export at the highest quality setting available to keep the result sharp.
Should I save the bordered photo as JPG or PNG?
Use JPG for most photos you plan to share online, since it keeps file sizes smaller. Use PNG if you need crisp edges for graphics or text, or if you plan to edit the image again later.
With a simple border, a clear color, and an even thickness, you can give any photo a finished look in just a few minutes, on mobile or on a PC.
Leave a Reply