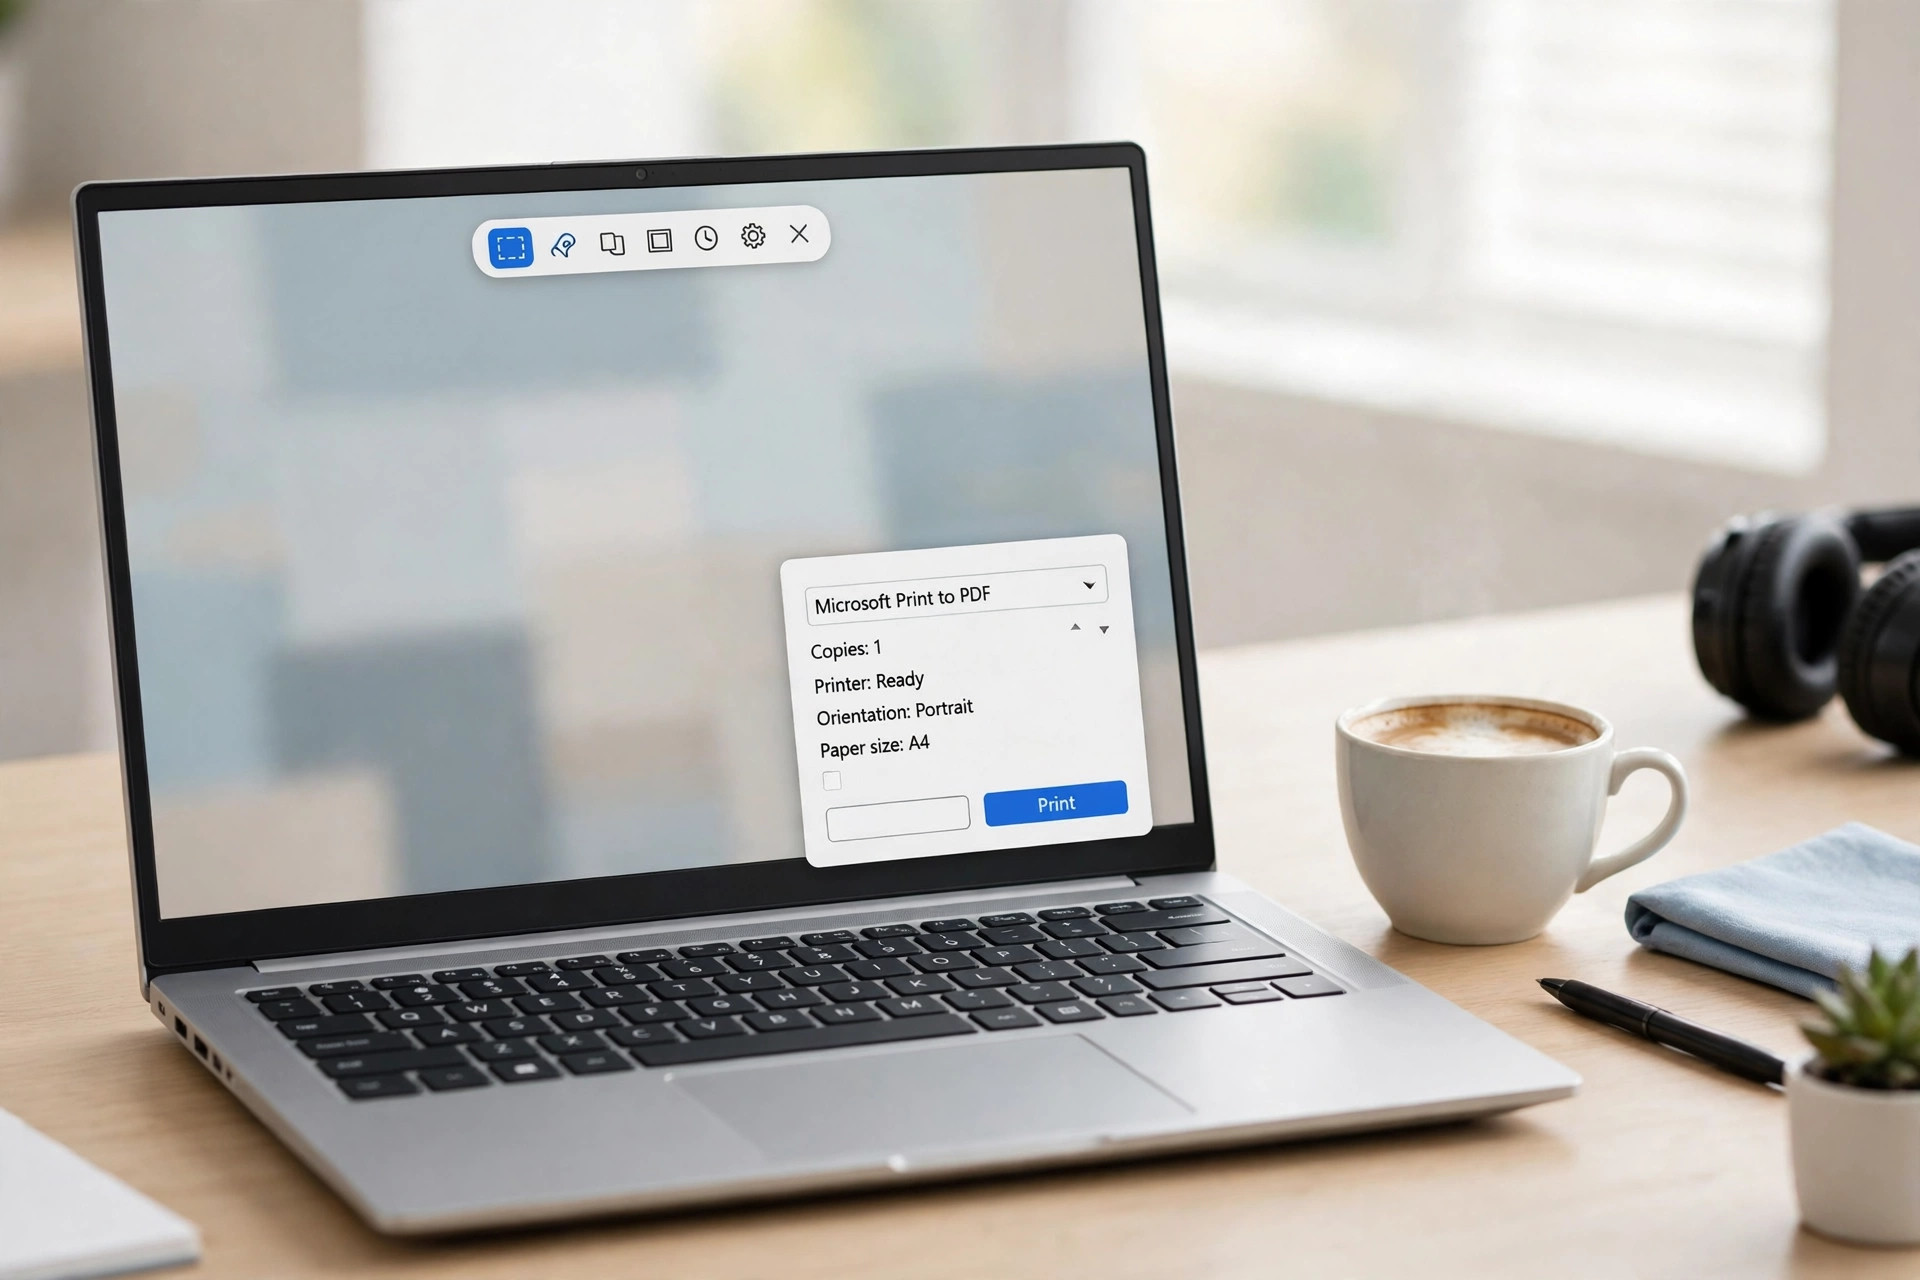
Windows cannot save a screenshot straight to PDF, so use Microsoft Print to PDF instead. Snipping Tool only saves image files like PNG and JPG. Open the screenshot, press Control plus P, choose Microsoft Print to PDF, and save. This guide shows five free ways to turn a screenshot to PDF on Windows.
Why Windows Has No Direct Save as PDF Button
Snipping Tool captures screens well, yet it saves only PNG, JPG and GIF files. Microsoft never added a PDF export button to the tool. Microsoft Print to PDF turns a screenshot to PDF on Windows without extra software. It turns any image into a PDF through the normal print menu. The PDF keeps the screenshot sharp, since the print path uses the full image size.
Microsoft confirms the tool saves images only in its support answers. Our Windows full page screenshot guide shows how to capture long pages first. Our mobile screenshot to PDF guide covers the same job on phones.
Method 1: Snipping Tool and Microsoft Print to PDF
This is the fastest way to turn a screenshot to PDF on Windows. Snipping Tool captures any part of the screen, then Print to PDF saves it. The whole job takes under a minute once you know the keys.
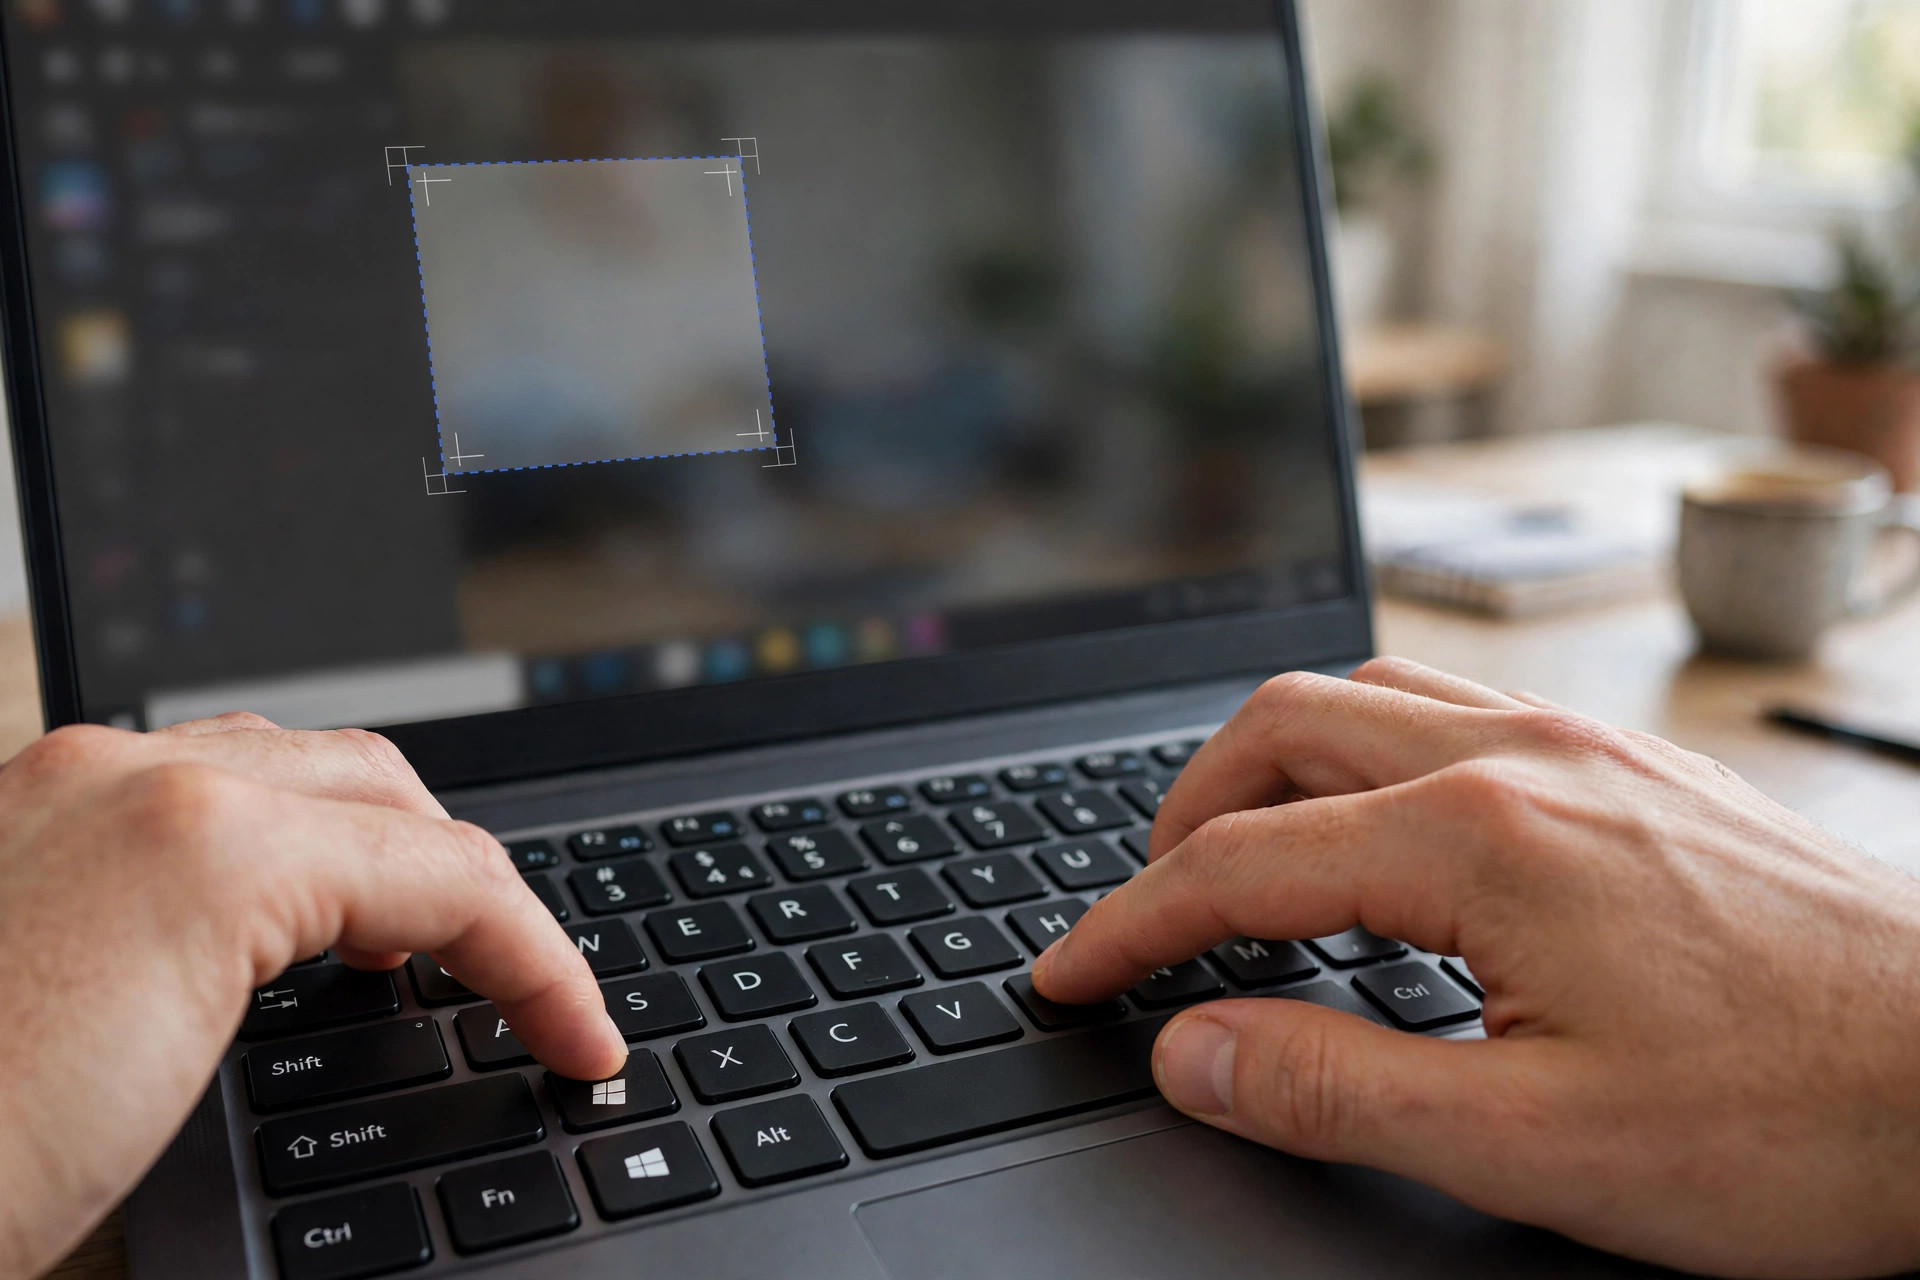
Step 1: Press Windows plus Shift plus S. Drag across the area you want to capture. Release the mouse to copy the capture to the clipboard.
Step 2: Click the notification to open the capture in Snipping Tool. Use the pen or highlighter to mark the image first. Close the tools when the capture looks ready to save.
Step 3: Press Control plus P to open the print menu. Choose Microsoft Print to PDF from the printer list.
Step 4: Click Print, name the file, and choose a folder. Click Save to finish the PDF on your computer.
The Snipping Tool saves the capture as PNG by default, so keep the file too. You may need the image again for edits or uploads later. The PDF version suits forms, emails and records that need a fixed layout.
Method 2: Photos App Print to PDF
The Photos app turns a screenshot to PDF on Windows in three clicks. It works for screenshots taken with Print Screen or Snipping Tool. Use it when the image already sits in your Pictures folder.
Step 1: Double-click the screenshot to open it in Photos. Right-click the file and choose Open with Photos if another app opens.
Step 2: Click the Print icon or press Control plus P. Choose Microsoft Print to PDF from the printer dropdown list.
Step 3: Pick portrait or landscape to match the screenshot shape. Click Print, name the file, then click Save to finish.
Photos keeps the image at full size, so text stays readable in the PDF. Check the preview before you print, since wide shots may split across pages. Set the paper size to A4 for forms and office records. The Windows Club guide shows the same Photos print steps with pictures.
Method 3: Print Screen and Paint
Print Screen still works on every Windows PC, old or new. It copies the whole screen to the clipboard in one key press. Paste it into Paint, then print it to PDF as before. This old route still turns a screenshot to PDF on Windows reliably.
Step 1: Press Print Screen for the full screen, or Alt plus Print Screen for one window. The capture goes to the clipboard, so nothing saves yet.
Step 2: Open Paint from the Start menu search box. Press Control plus V to paste the screenshot into Paint.
Step 3: Press Control plus P and pick Microsoft Print to PDF. Click Print, name the file, and click Save to finish.
Paint adds a crop tool, so trim extra desktop space first. A tight crop keeps the PDF page clean and the text large. Save the PNG copy too if you may edit the shot again.
Method 4: Many Screenshots into One PDF
Forms and reports often need several screenshots in a single PDF file. This method turns each screenshot to PDF on Windows and stacks them in one file. The order follows the file names, so rename the shots first.
Step 1: Select all the screenshots in File Explorer. Hold Control and click each file, or press Control plus A for all.
Step 2: Right-click one file and choose Print from the menu. Pick Microsoft Print to PDF as the printer for the job.
Step 3: Set the layout, then click Print to build the PDF. Each image lands on its own page in the same file.
Rename the files with numbers like 01, 02 and 03 before printing. Our merge images into one PDF guide shows the online route with more layout control.
Method 5: Browser Print to PDF for Web Pages
A web page screenshot often needs text that stays selectable in the PDF. The browser print menu saves the live page as a PDF directly. Use it for receipts, tickets and articles you must keep. A browser can also turn a screenshot to PDF on Windows through print.
Step 1: Open the page in Chrome or Edge on Windows. Wait for images and ads to finish loading first.
Step 2: Press Control plus P to open the print dialog. Choose Save as PDF from the destination dropdown menu.
Step 3: Set the layout and pages, then click Save. Name the file and pick a folder to store the PDF.
Print to PDF keeps links clickable and text searchable in most browsers. Screenshots cannot do that, since they store only flat pixels. Our Chrome full page screenshot guide shows how to capture the whole page first.
Frequently Asked Questions
Can I turn a screenshot to PDF on Windows without any app?
Yes, Microsoft Print to PDF is built into Windows 10 and 11. Open the screenshot, press Control plus P, and choose it as the printer.
Why does Snipping Tool not offer a direct Save as PDF option?
Snipping Tool saves image files only, so PDF needs the print route. Microsoft treats PDF as a print format, not a capture format.
How do I put many screenshots into one PDF on Windows?
Select the images in File Explorer, right-click, and choose Print. Pick Microsoft Print to PDF, and each image becomes one page.
Will the PDF keep my screenshot at full quality on Windows?
Yes, Print to PDF keeps the image at its captured size and sharpness. Avoid shrinking the print scale, since that can soften small text.
Snipping Tool plus Print to PDF is the easiest screenshot to PDF on Windows route. Use Photos for saved shots and Paint when you need a quick crop. Shrink a large PDF with our reduce PDF file size guide before you email it. Turn screenshots into a clean A4 layout with our screenshot to A4 PDF guide.
Leave a Reply