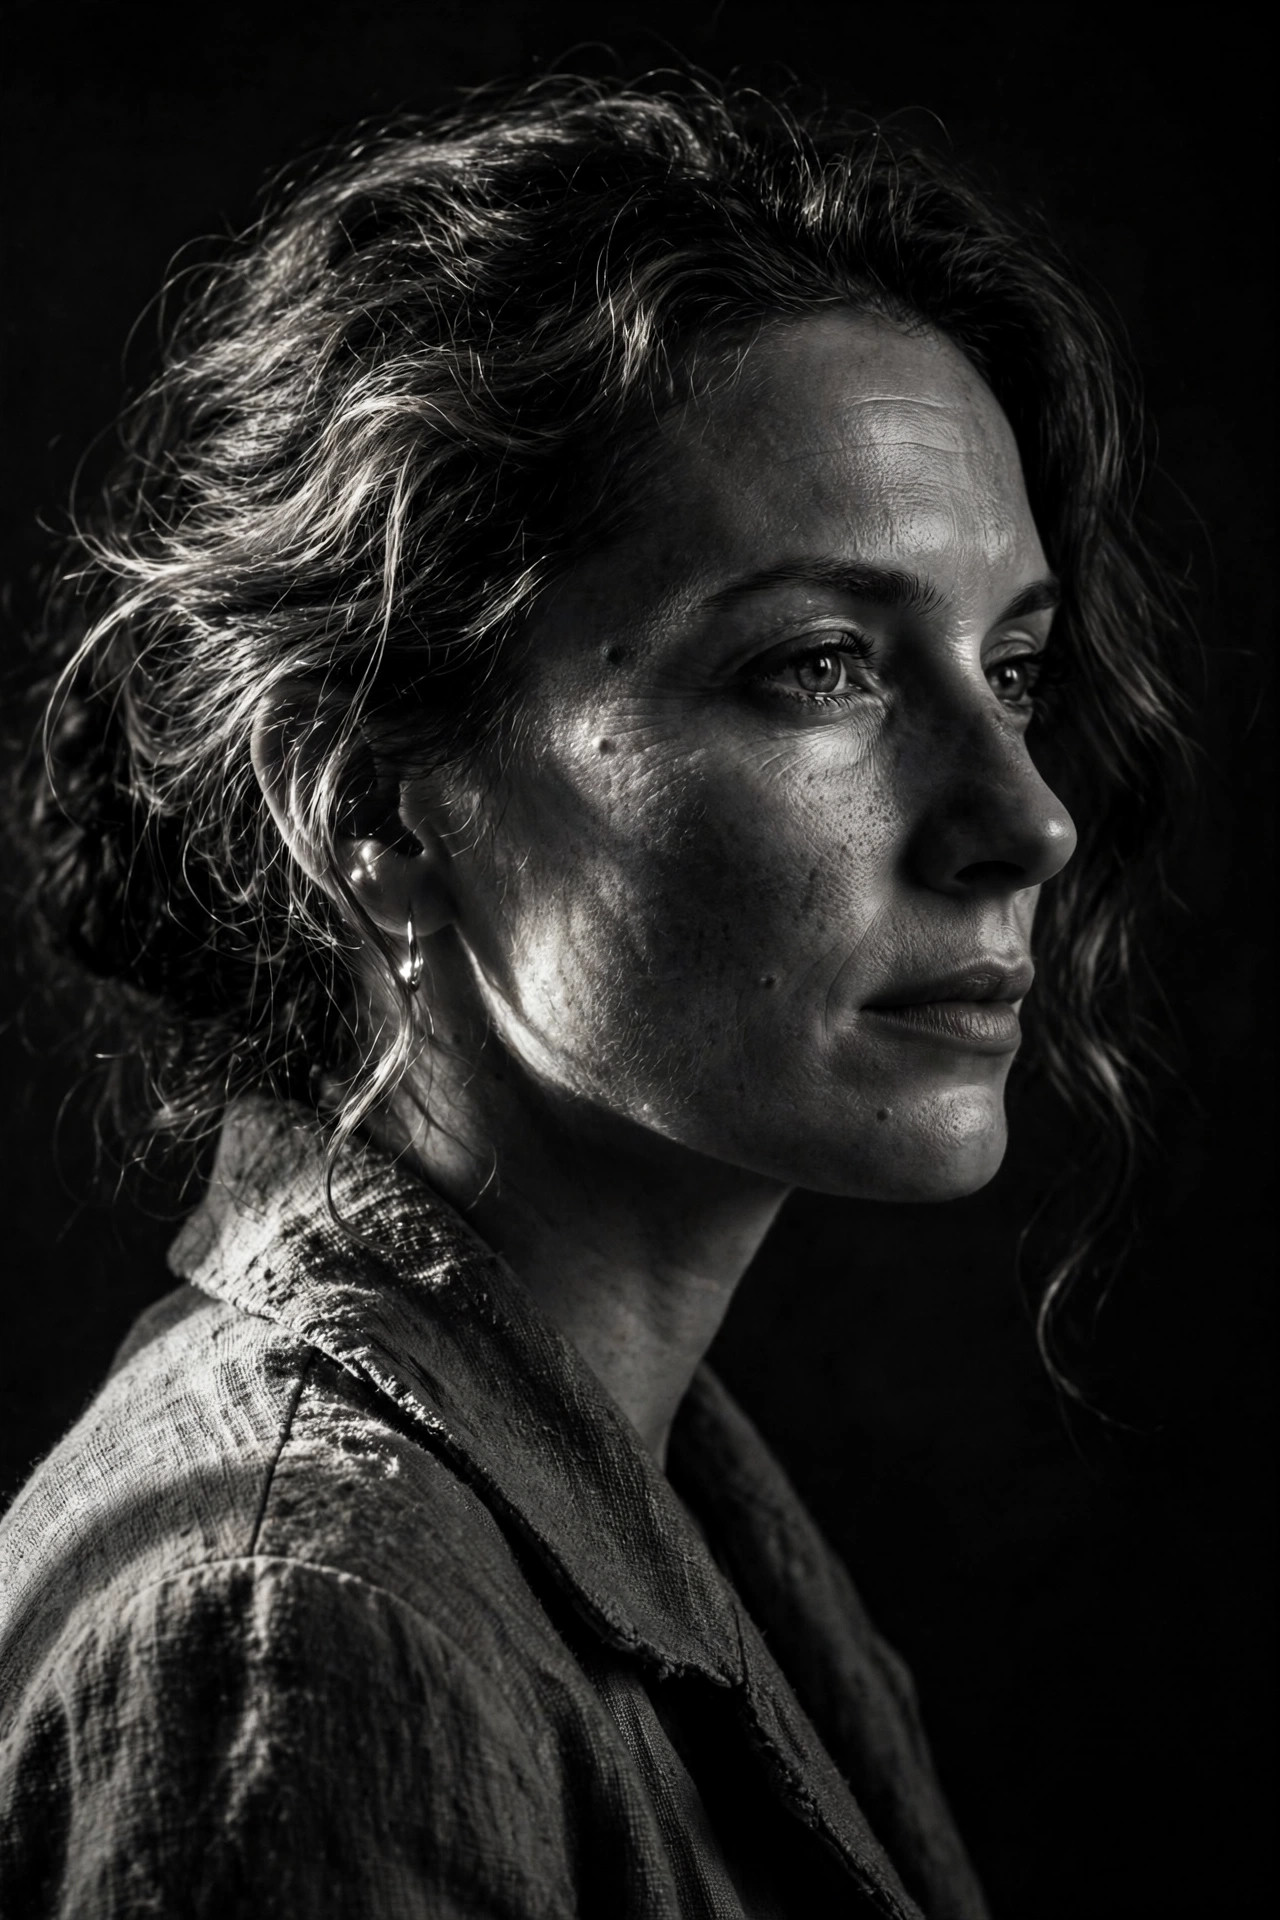
To convert photo to black and white free, open your photo in a free editor, apply the black-and-white or monochrome filter, adjust the contrast, and save a copy as JPG. The whole process takes about a minute, and your original colour photo stays untouched. Below are the easiest methods for phone and computer, plus tips that separate a flat grey image from a striking black-and-white photo.
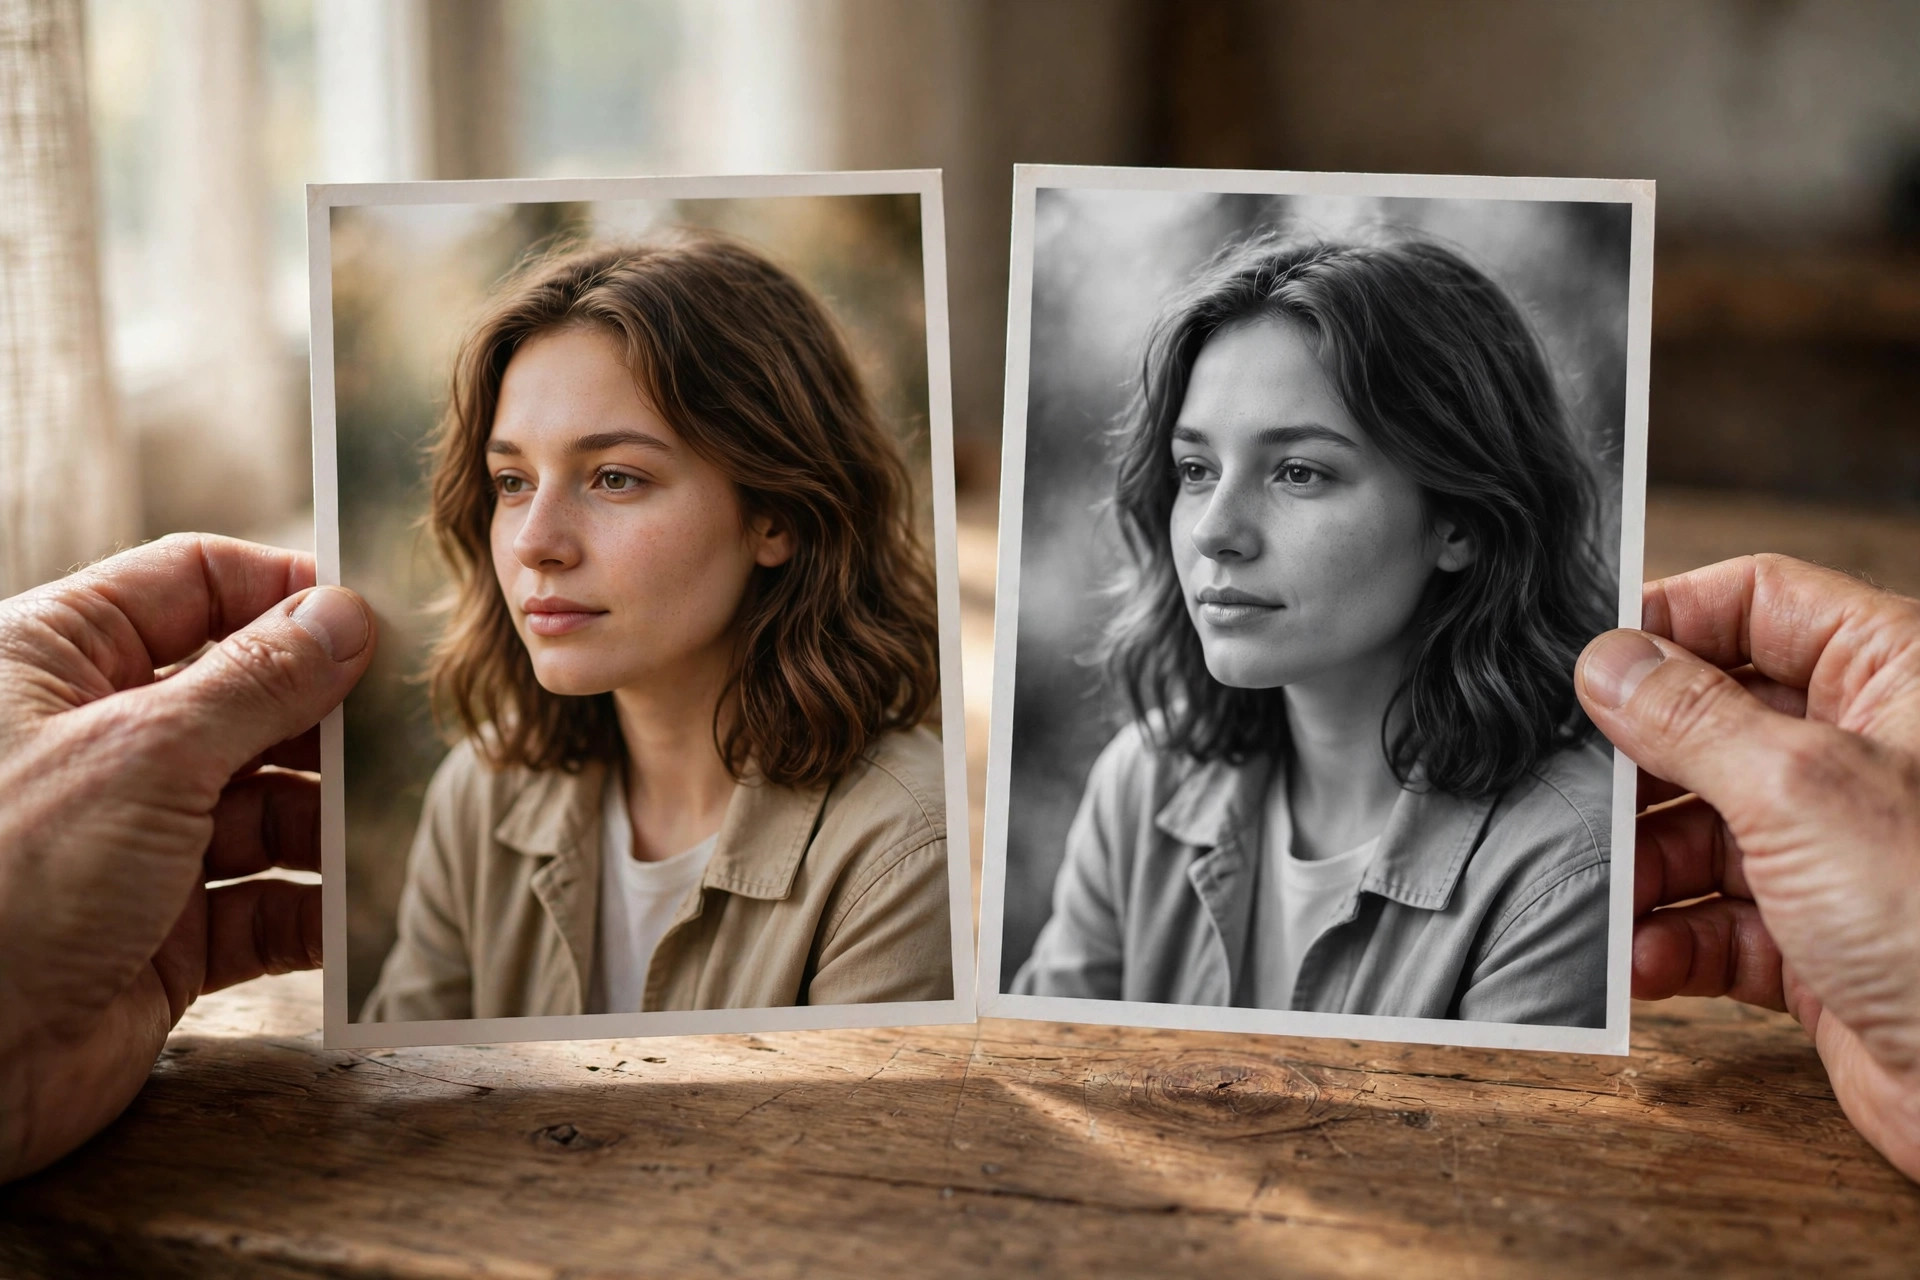
How to Convert Photo to Black and White on Your Phone
- Open the photo in your phone’s built-in Photos app. Both iPhone and Android phones include a free editor — you do not need to download anything.
- Tap Edit, then look for Filters or Adjustments. Choose the black-and-white, monochrome or “Noir” style filter. The photo will instantly lose its colour.
- Adjust contrast next. This is the step most people skip, and it matters the most. Raise contrast slightly so dark areas go darker and bright areas go brighter — without it, the photo often looks flat and washed out.
- Fine-tune brightness if needed. If faces look too dark after raising contrast, lift the brightness or shadows a little until faces are clear again.
- Save as a new copy. Most apps ask whether to save the edit or save as a new photo — choose the new copy, so your original colour photo is never lost. If you want a smaller file for sharing afterwards, a free image compressor such as the Image Compressor on iboxseo.org can shrink it without changing the look.
Convert Photo to Black and White on a Computer
- Open the photo in any free editor. On Windows, the built-in Photos app works; on Mac, the Photos app works too. Free browser-based editors also do the job with no install.
- Find the black-and-white or desaturate option. In most editors it sits under Filters, Colour or Adjustments. One click removes the colour.
- Work the contrast and clarity sliders. Push contrast up a little, then add a touch of clarity or structure if your editor offers it — this brings out texture in skin, fabric and landscapes, which is what makes black-and-white photos feel rich.
- Check the shadows and highlights. If bright skies have turned pure white with no detail, pull highlights down slightly. If dark areas have become solid black blobs, lift shadows a little.
- Export as JPG. Save the finished photo as a JPG with a clear name, such as photo-black-and-white.jpg, and keep the original colour file separately. If you need a PNG version for a design, a free JPG to PNG converter — like the JPG to PNG Converter on iboxseo.org — handles the switch in the browser.
Tips for a Striking Black-and-White Photo
Not every photo suits black and white. Photos with strong light and shadow, clear textures (wrinkled fabric, old buildings, tree bark) and expressive faces usually convert beautifully, because the photo leans on shapes and contrast instead of colour. A photo that relied on colour alone — a sunset, a colourful market scene — may turn dull in monochrome, so judge the converted result honestly and keep the colour version if it looks better. Try a gentle grain or vignette only at the very end, and only a little: both can add a classic film feel, but too much looks like a filter piled on a filter. Finally, view the result at full size before sharing, since problems like noisy shadows only show up when the photo is large.
Common Mistakes to Avoid
The biggest mistake is stopping at desaturation — simply removing colour without adjusting contrast gives a flat, grey, lifeless image. Overdoing contrast is the opposite error: crushed blacks and blown-out whites destroy detail. Saving over the original is another common regret; always save the black-and-white version as a separate file. Applying heavy filters on top of the conversion is also a trap — the photo ends up looking processed rather than classic. And converting a low-quality, already-compressed photo rarely works well, because the noise and blur that colour hid become obvious in black and white; start from the best original you have.
FAQ
Q: Does converting a photo to black and white lose quality?
A: No, if you save it as a new file at the same size. The conversion only changes colour information, not the resolution. Quality drops only if you also shrink the photo or save it repeatedly as a low-quality JPG.
Q: Can I convert a black-and-white photo back to colour?
A: No — not truly. Once colour information is removed and saved, it cannot be recovered. That is why you should always keep the original colour photo and save the black-and-white version as a separate copy.
Q: Which photos look best in black and white?
A: Portraits with strong side light, street scenes, architecture, and photos with bold shapes or textures. Colourful sunsets and flower close-ups usually look better left in colour, since colour is their main subject.
Q: What format should I save a black-and-white photo in?
A: JPG is the best choice for sharing and printing in most cases, since it keeps file sizes small. Use PNG only if the photo will go into a design where you need maximum sharpness or transparency.
Leave a Reply