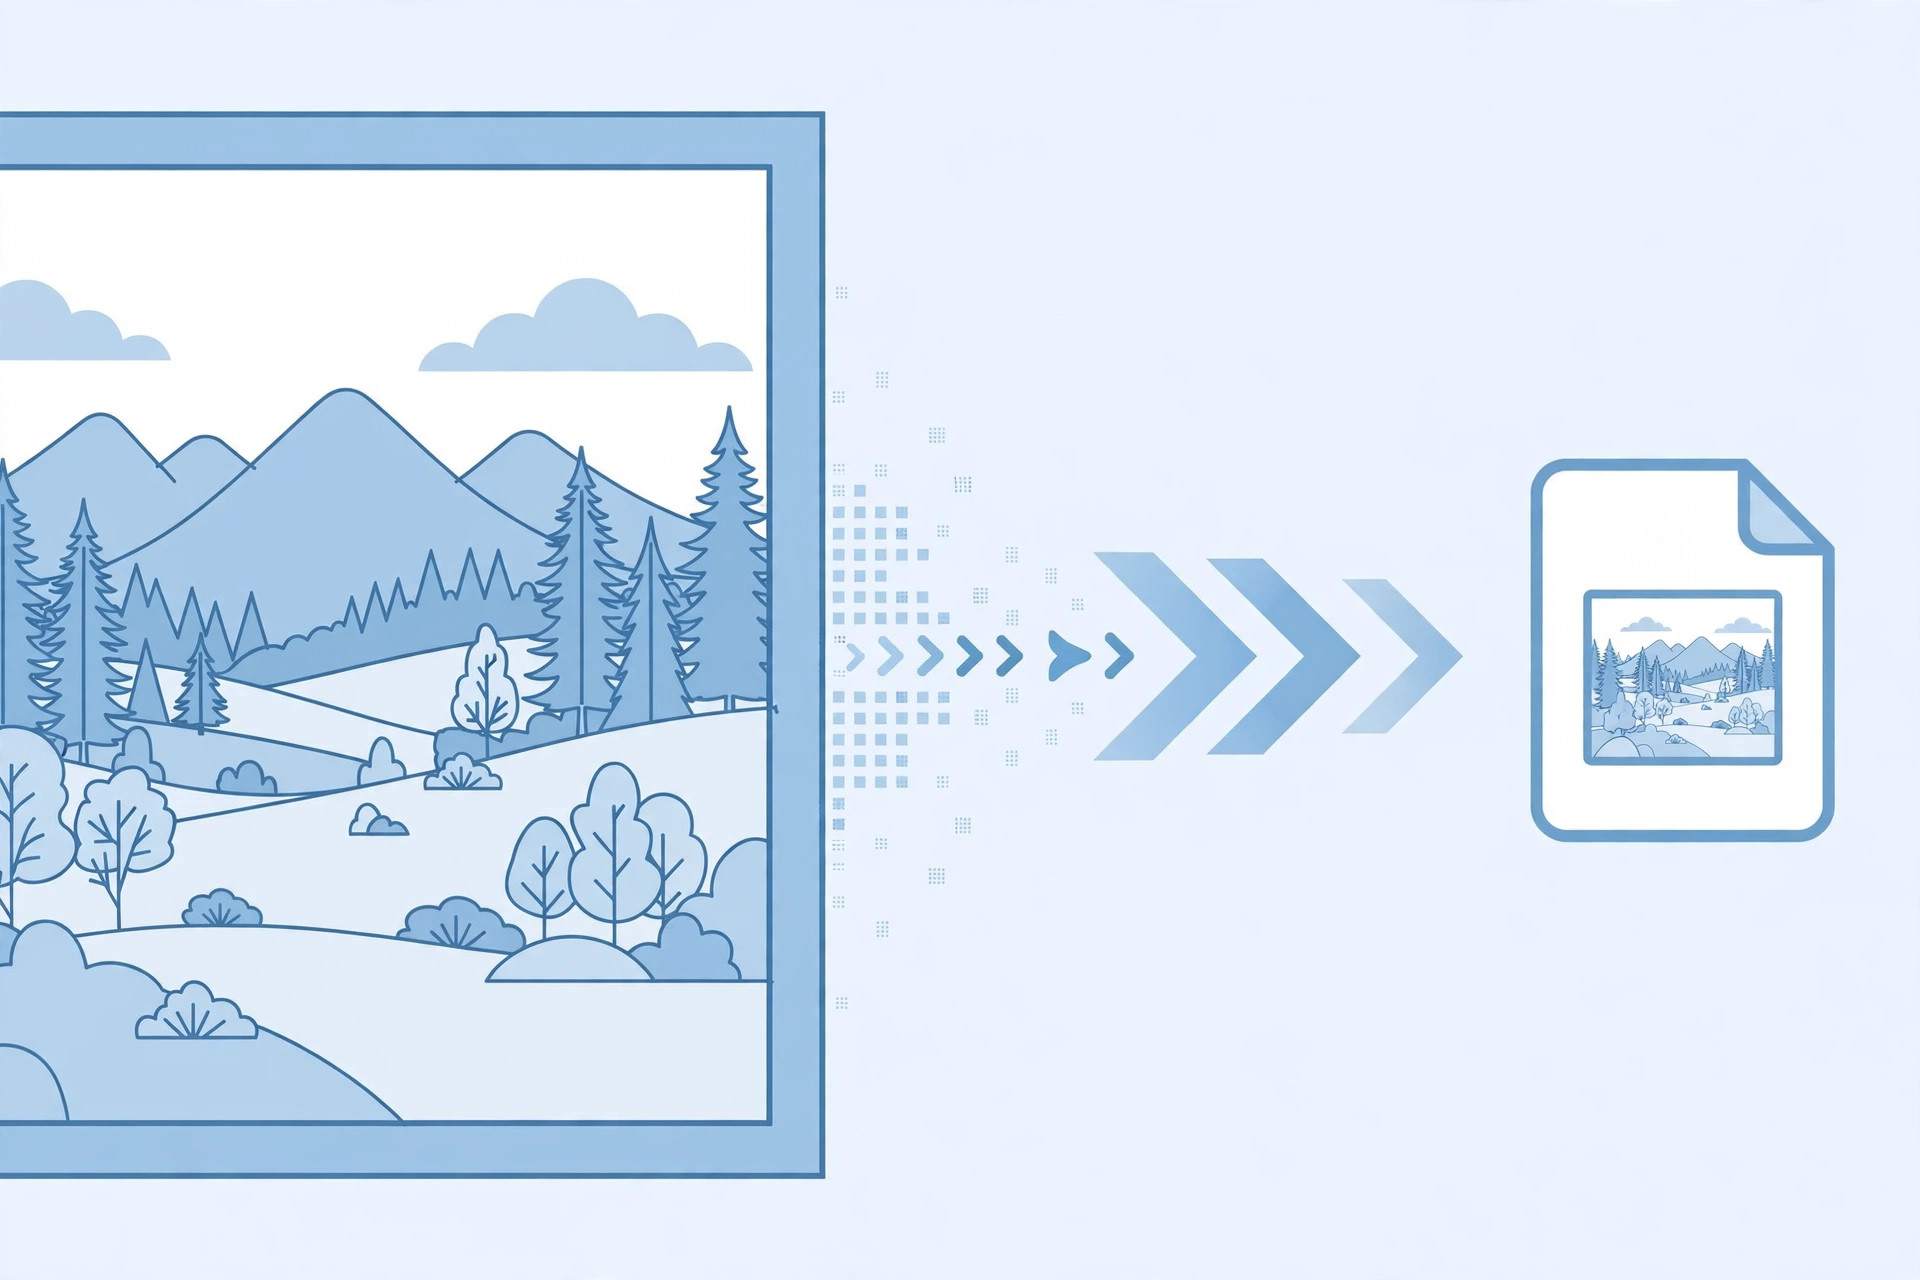
To compress an image to 100KB without losing quality, resize the photo to the size you actually need, save it as a JPG at around 70 to 80 percent quality, and check the file size. Most phone photos drop below 100KB with just those two steps and still look sharp on a form or screen. If the file is still too large, shrink the dimensions a little more instead of pushing quality lower — cutting dimensions hurts visible quality far less than heavy compression.
The reason this works is simple: a phone photo is usually 4000 pixels wide or more, while a form preview shows it at a few hundred pixels. Those extra pixels add megabytes without adding anything visible, so resizing removes the excess first.
Why so many forms ask for 100KB
Government job applications, exam registrations, scholarship forms and college admission portals often cap uploads at 100KB per file, to keep their servers fast and submissions possible on slow connections. The tricky part is that the same form also wants the photo clear enough to identify you, so you cannot just crush the file into a blurry thumbnail. The method below is built for exactly that balance: small enough to upload, clear enough to pass.
How to compress an image to 100KB online (step by step)
- Start from the original photo, not a forwarded copy. A photo already compressed by a chat app has less detail to work with, so go back to the original in your gallery or camera roll.
- Open a free online image compressor in your browser. The Image Compressor on iboxseo.org needs no sign-up: upload the photo, choose a quality level, and download the result.
- Set quality to around 70 to 80 percent. For most photos this is the sweet spot — the file shrinks dramatically while faces, text and edges stay clean.
- Check the file size. If it is at or below 100KB, you are done. If it is still above, do not drop quality to 40 percent straight away.
- Resize the dimensions instead: if your photo is 4000 pixels wide, bring it to about 1000 to 1200 pixels on the longer side and compress again. This one change usually brings a stubborn file under 100KB.
- Download the compressed copy as a new file and keep your original safe. Check it once at full size: face clear, no blocky patches, no smudged text.
How to compress an image to 100KB on your phone
- On iPhone, use a browser-based compressor in Safari, or your photo editor’s export option, to save a smaller copy. Pick JPG and medium quality, then check the size in the Files app.
- On Android, open the photo in your gallery editor or a compressor site in Chrome, reduce it to around 1000 to 1200 pixels wide, save as JPG, and check the size.
- If your editor only offers small, medium or large, choose medium first — a medium export from a modern phone is often already close to 100KB.
- Avoid screenshots as a way to shrink a photo — they add another round of compression and often include screen elements.
JPG or PNG: which format reaches 100KB more easily?
JPG is almost always the better choice for reaching 100KB. It is designed for photographs and compresses smooth colour gradients efficiently. PNG suits logos, graphics and images with sharp text or transparency, but a PNG photo of the same picture is usually several times larger. So if your photo does not need transparency, convert it to JPG first and then compress. If the form specifically asks for PNG, resize the dimensions more aggressively instead.
Tips to keep your photo sharp at 100KB
- Resize before you compress. Dimensions first, quality second — this order gives the best result every time.
- Keep the original untouched — always save the compressed version as a new file.
- Judge quality at the size the photo will actually be seen — softness visible at full zoom is invisible in a small form preview.
- Compress once, at the end — every extra low-quality save removes more detail, so finish all cropping and editing first.
- If the photo looks dull after compressing, brighten it slightly before you compress, not after.
Common mistakes to avoid when you compress an image to 100KB
- Dropping quality to the minimum first — a 30 percent JPG looks bad even at small sizes. Lower the dimensions instead.
- Starting from a forwarded or screenshotted copy — detail already gone cannot be recovered.
- Saving over the only original — keep a backup, or one wrong export leaves you nothing to redo.
- Forgetting to check the final size — portals reject files even 1KB over the limit.
Frequently asked questions about compressing an image to 100KB
Q: Will compressing an image to 100KB make my photo blurry?
A: Not if you resize first and keep quality around 70 to 80 percent. It looks sharp at form-preview size, and only softens if you zoom far beyond its display size.
Q: What pixel size works best for a 100KB photo?
A: For most forms, 1000 to 1200 pixels on the longer side is a good target — plenty for an on-screen photo, and it usually compresses below 100KB as a JPG.
Q: Can I compress a PNG photo to 100KB?
A: Yes, but it takes more work: resize further than you would for a JPG, and if transparency is not needed, converting to JPG first is easiest.
Q: My photo is still above 100KB after compressing. What now?
A: Reduce the dimensions in steps — from 1200 to 1000 pixels wide, for example — and compress again. Only lower quality as a last resort, and by small amounts.
Compressing an image to 100KB is mostly about order: start from the original, resize to what the form shows, save as JPG at sensible quality, and check the size before you upload. Done that way, the file passes the limit while the photo still looks like you.
Leave a Reply