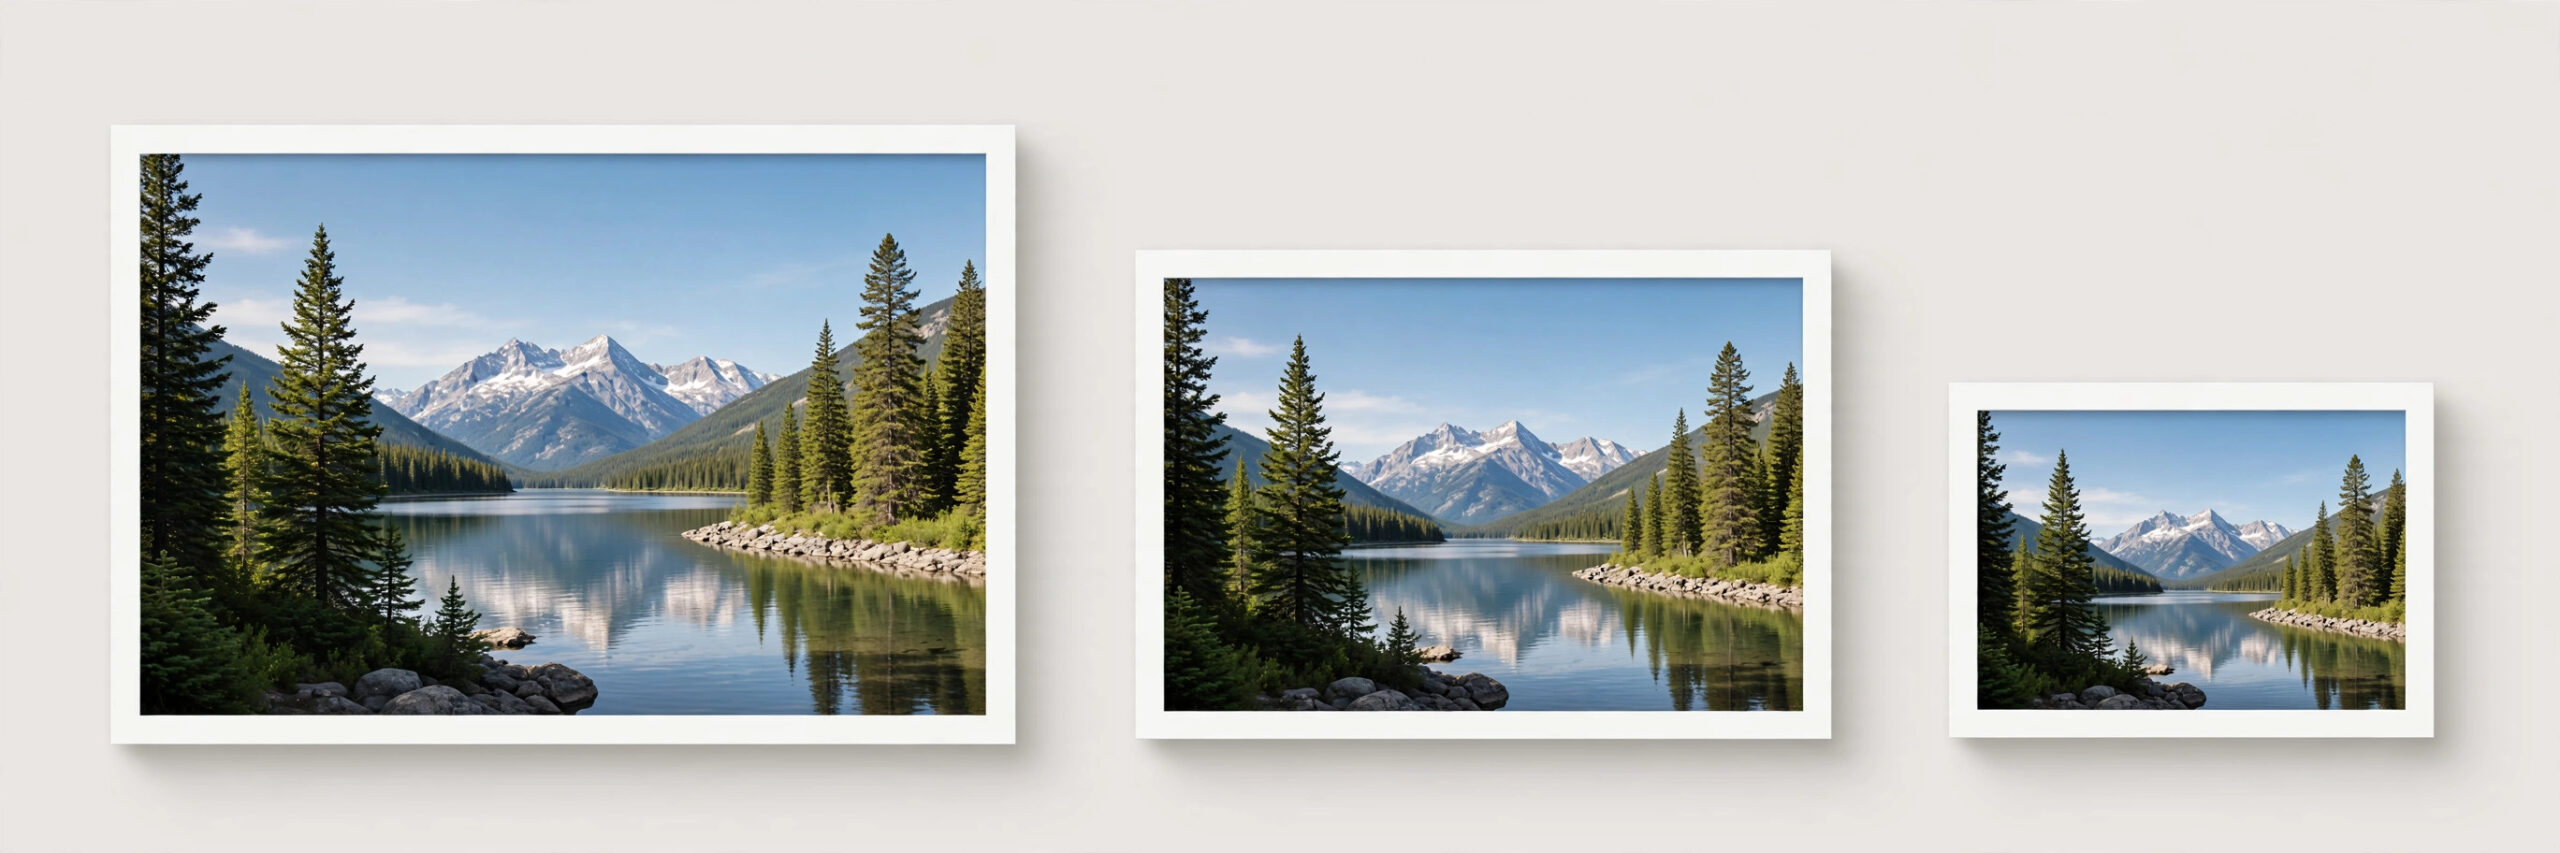
Resizing an image sounds simple — until the result comes out blurry, stretched or pixelated. Whether you are uploading a photo to a website, Instagram or an online form, the right size matters. The good news: resizing correctly is easy once you know a few basics.

What “without losing quality” actually means
Shrinking a large image almost always keeps it looking sharp, because you are removing pixels, not inventing new ones. Enlarging a small image is where quality breaks — the software has to guess the missing pixels, which causes blur. So the golden rule is: always start from the largest, original version of your image, and resize down to what you need.
Step-by-step: resize an image the right way
- Start from the original. Never resize a copy that was already compressed or resized before — every round of editing loses a little quality.
- Decide the exact size you need. Check where the image will be used (Instagram post, website banner, profile photo) and use those dimensions.
- Keep the aspect ratio locked. This stops the image from stretching. If the tool has a lock icon or “keep proportions” option, leave it on.
- Resize with a proper tool. Use an image resizer that lets you type exact dimensions instead of guessing by dragging a corner.
- Pick the right format. Use JPG for photos, PNG for graphics, logos or anything with transparency, and WebP when you want smaller files for the web.
- Compare before and after. Zoom in and check the resized image looks sharp, then download it.
Best image sizes cheat sheet
Instagram post: 1080 x 1080 pixels. Instagram story: 1080 x 1920 pixels. Profile photo: at least 320 x 320 pixels. Website hero banner: 1920 pixels wide. Blog article image: around 1200 pixels wide.
Common mistakes to avoid
Enlarging a tiny image and expecting it to stay sharp. Stretching an image to fit a space instead of cropping it. Saving a JPG again and again — each save compresses it further. And ignoring file size: a huge image slows down websites, so compress it after resizing if needed.
Final tip
Resize from the original, keep the proportions locked, choose the right format, and check the result before you use it. A small habit of checking the size first saves a lot of blurry uploads later.
Leave a Reply