
To remove background from passport photo, upload your photo to a free background remover, let it cut out your head and shoulders, and replace the background with plain white. Then check the edges, crop it to passport size, and save it as a JPG. The steps below work on mobile and PC, and you do not need photo editing experience.
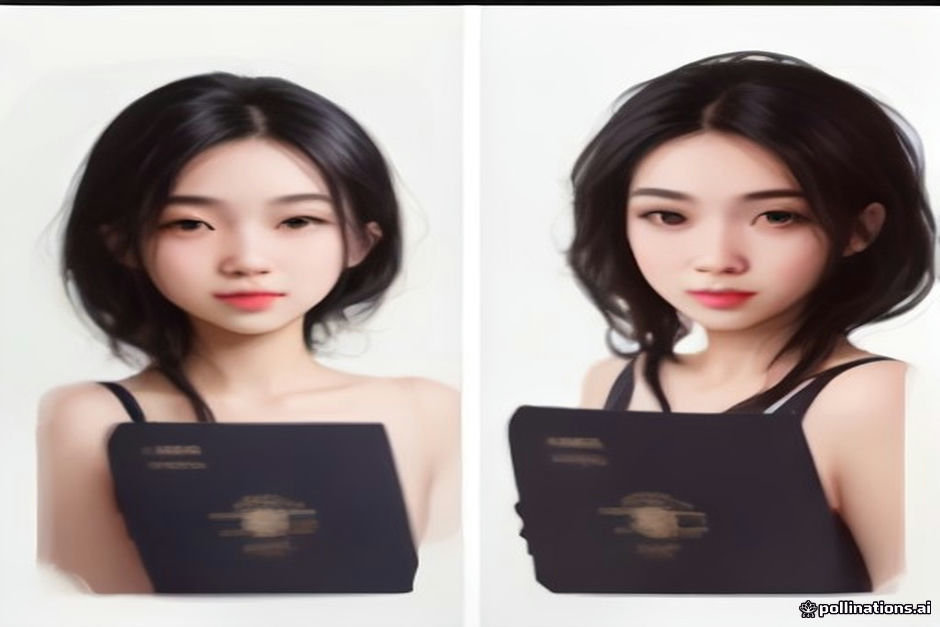
Before You Start: Take a Photo That Is Easy to Cut Out
A clean cut-out starts with a good original photo. Stand in front of a plain wall, face the camera, and keep your head and shoulders in the frame. Use even, natural light and avoid strong shadows on your face or on the wall behind you. Keep your hair away from your face where possible, and avoid hats, sunglasses, or busy patterns that can confuse an automatic cut-out tool. A sharp, well-lit photo gives you cleaner edges and saves time later.
How to Remove Background from Passport Photo on Mobile
On a phone, a free background remover app or a browser-based remover is usually the fastest route.
- Open a free background remover app or website on your phone.
- Upload the passport photo you want to edit.
- Wait for the tool to detect the person and remove the background.
- Choose white as the new background colour.
- Zoom in and check the edges around your hair, ears, and shoulders.
- Use the erase or restore brush, if the tool offers one, to tidy up any missed or extra areas.
- Save the result as a JPG, which is the format most application forms accept.
If the first result looks rough, try a different photo rather than forcing a poor cut-out. A photo with a plain background and clear contrast between you and the wall is much easier to process.
How to Remove Background from Passport Photo on PC
On a computer you get a larger preview, which makes it easier to check fine details.
- Open a free background remover in your browser.
- Upload your photo, or drag and drop it into the tool.
- Let the tool remove the background automatically.
- Set the new background to plain white.
- Zoom in to 100 percent or more and inspect the outline of your head, hair, and shoulders.
- Refine the edges with an erase or restore brush if one is available.
- Download the result, then open it to check it at full size before you use it.
If you already use a desktop photo editor, you can also remove the background by hand. Select the person, invert the selection, and delete the background, then fill the empty area with white. This takes longer, but it gives you more control over tricky areas such as flyaway hair.
Use iboxseo.org Image Tools to Finish the Photo
Once the background is white, the photo still needs to be the right size and file type for the form you are filling in. This is where the free image tools on iboxseo.org can help, in plain terms. Use an image resizer to change the width and height to the size asked for, and use an image compressor if the file is too large to upload. If a form asks for a different format, a JPG to PNG converter, or the reverse, can change the file format without changing the photo itself. Work in this order: remove the background first, then resize, then compress, and check the final photo again after each step so a small file does not become blurry.
Tips for a Clean White Background
- Keep the white truly plain. A gradient, shadow, or pattern behind you can look like a mistake in a formal photo.
- Leave a small margin around your head and shoulders. Do not crop so tightly that your hair touches the edge of the frame.
- Check the photo on a white screen background, where grey patches or leftover background are easiest to spot.
- Save a copy of the original photo before you start, so you can try again without retaking it.
- Match the photo to the requirements of the form, including size, file type, and maximum file size, before you submit it.
Common Mistakes to Avoid
- Using a blurry or dark photo and expecting the tool to fix it. A remover can cut out a photo, but it cannot add detail that is not there.
- Leaving a faint halo or coloured fringe around hair. Zoom in and clean the edges rather than accepting the first automatic result.
- Cutting off part of an ear, shoulder, or hair. A passport photo should show the full head and shoulders.
- Stretching the photo to fit a size instead of cropping or resizing it correctly, which distorts your face.
- Submitting a screenshot of the edited photo instead of the downloaded file, which lowers quality.
Frequently Asked Questions
Can I remove background from passport photo for free?
Yes. Many free apps and browser tools remove a background automatically and let you replace it with white. Free versions may limit image size or add other limits, so check the result and the download options before you rely on one tool.
What background colour should a passport size photo have?
Most passport and official forms ask for a plain white or light background. Always check the requirements of the specific form you are using, because rules can differ by country and by organisation.
What size should a passport size photo be?
The size depends on the form. Common passport sizes differ by country, so check the stated width, height, and file size on the form, then resize your edited photo to match those exact requirements.
Why does my edited photo look blurry?
Blur usually comes from a low-quality original, a screenshot, or too much compression. Start from the highest-quality original you have, save the edited photo as a JPG at a reasonable quality, and compress it only as much as the form requires.
With a well-lit original photo, a free remover, and a final check of the edges and size, you can remove background from passport photo images at home and end up with a clean, white-background photo that is ready to upload.
Leave a Reply