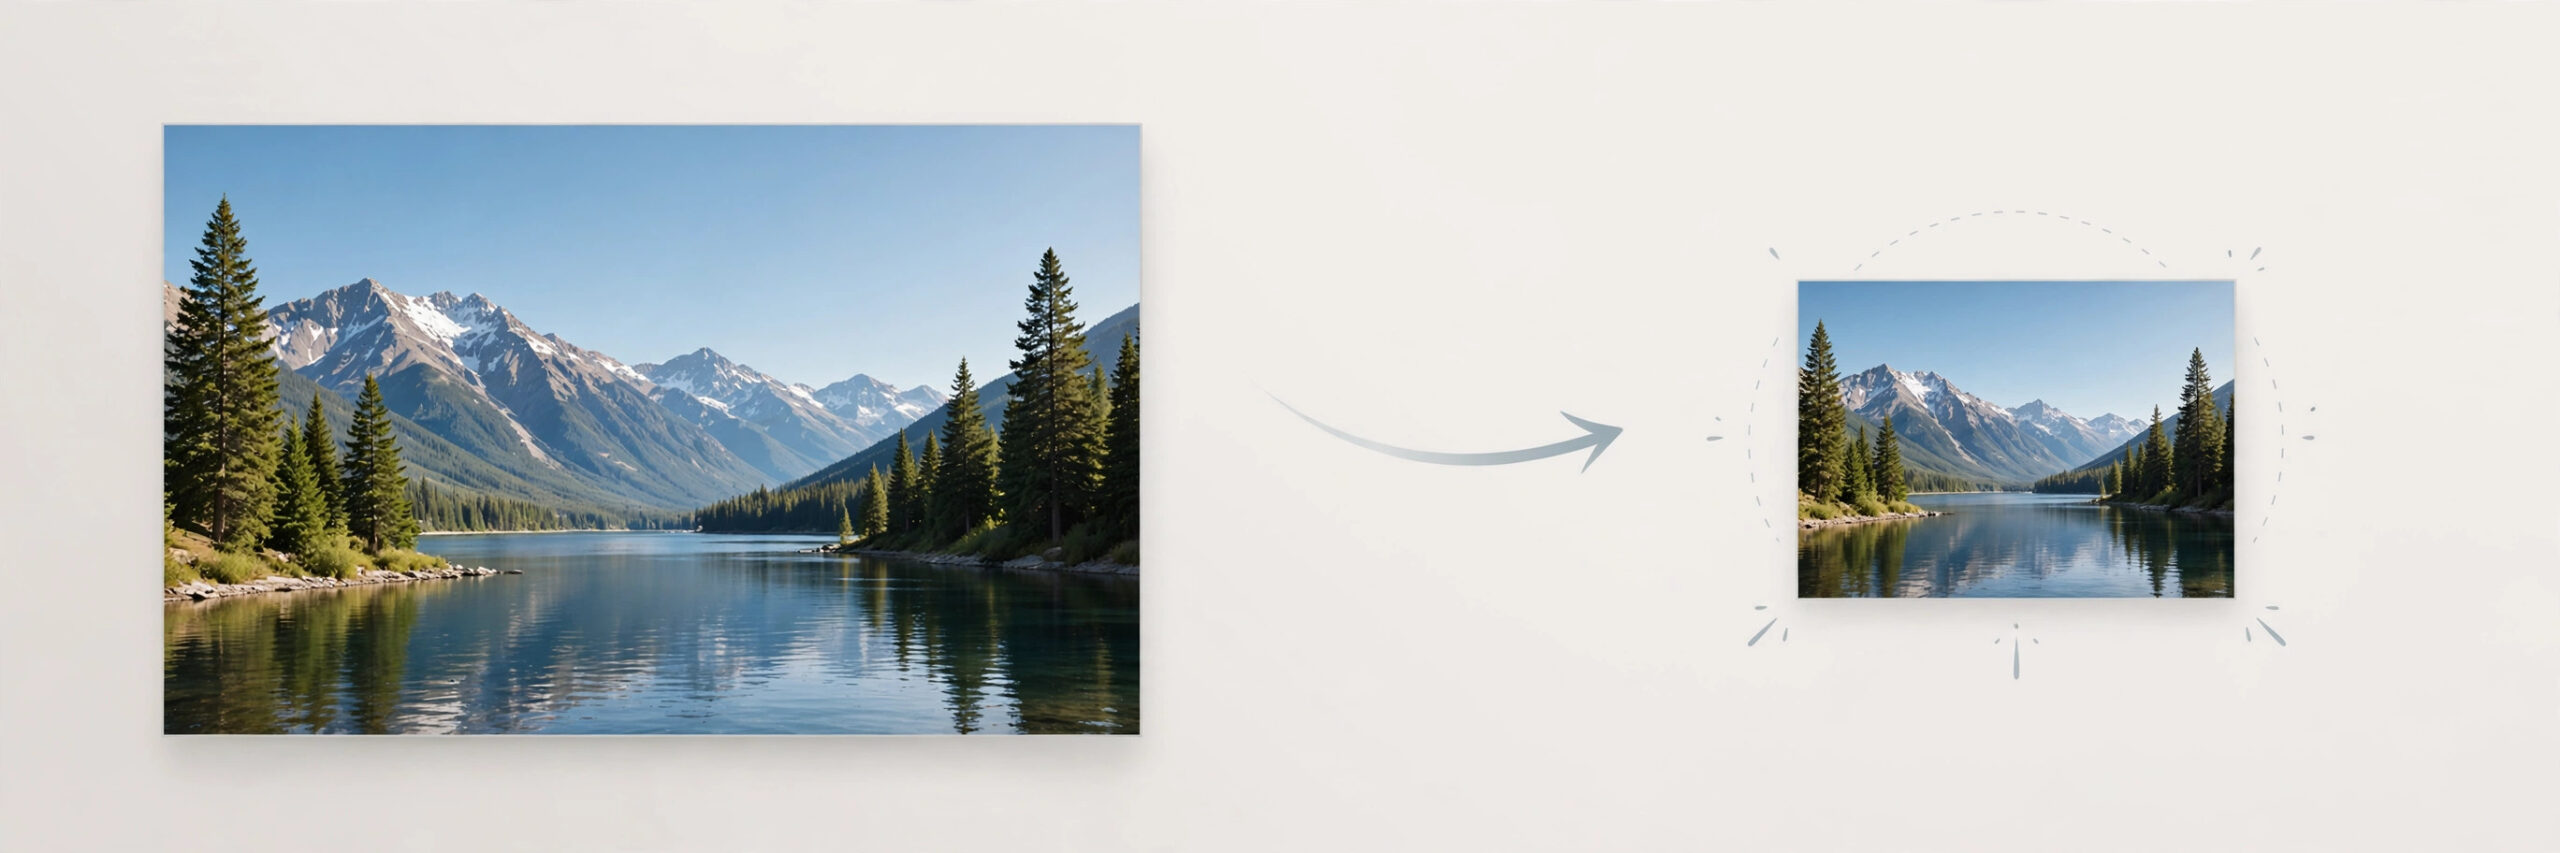
Instagram photos often look softer after uploading than they did on your phone. That is not your imagination: Instagram compresses every upload, and if your image is oversized or saved at the wrong settings, that second round of compression costs you visible detail. The trick is to give Instagram a file that is already close to what it wants, so its compression has little left to damage. This guide shows you how to compress images for Instagram while keeping them sharp, for feed posts, stories, and reel covers.
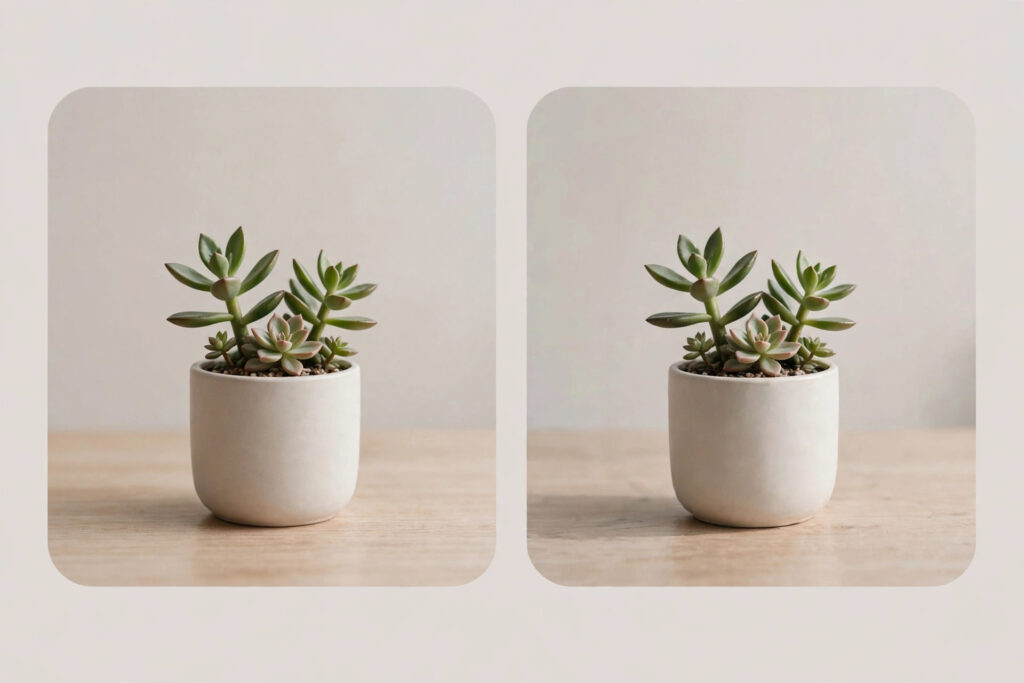
Why Instagram photos lose quality
Instagram re-processes every photo you upload. When a file is far larger than needed, the platform shrinks it aggressively, and fine textures like hair, fabric, and skin lose detail. When a file has already been compressed several times — saved, screenshotted, and re-saved — each round adds softness before Instagram even touches it. Oversized images also upload slowly and can fail on weak connections. The goal, then, is not to fight compression but to control it: prepare a sensibly sized, cleanly exported file so Instagram’s processing changes as little as possible.
Step-by-step: compress for Instagram
- Start from the original photo. Never compress a copy that has already been compressed, screenshotted, or heavily edited, because the quality lost in earlier rounds cannot come back.
- Resize to Instagram’s display width. For feed posts, 1080 pixels wide is the standard target. Resizing down to this width yourself means Instagram does less shrinking, which preserves detail.
- Export as JPG for photos. JPG is the right format for photographs, and it keeps file sizes manageable. Use PNG only for graphics with text or sharp lines, since PNG photo files get very large.
- Choose a sensible quality setting. If your editor offers a quality slider, the high-middle range usually keeps photos looking clean while cutting the file size substantially. Avoid the lowest settings, which introduce visible blocks and banding.
- Keep the colour profile standard. Exporting in the standard sRGB colour space keeps colours looking the same on Instagram as they did in your editor.
- Compress once, then check. Run the resized image through an image compressor if the file is still large, then zoom in at full size and look closely at faces, edges, and fine textures. If it looks clean, it is ready to upload.
Feed, story, and reel cover settings
Different Instagram surfaces want different shapes, and using the right one avoids extra cropping. Feed square posts work best at 1080 x 1080 pixels, while portrait feed posts suit 1080 x 1350 pixels. Stories and reel covers both use the tall 1080 x 1920 format, but for reel covers keep important text and faces near the centre, because the edges get trimmed in some views. The same compression rules apply everywhere: resize to the target dimensions first, export as JPG for photos, and compress only once. A story image that starts at the right size uploads faster and looks noticeably sharper than a huge original left for Instagram to shrink on its own.
Tips for consistently sharp uploads
Do not upscale a small photo to reach 1080 pixels wide — enlarging invents pixels and causes blur, so use the best original you have. Avoid saving a JPG over and over; keep a master copy and export a fresh Instagram version from it each time. Skip heavy filters and extreme sharpening before upload, since Instagram’s own processing can exaggerate both. If a photo still looks soft after uploading, check whether the original was sharp in the first place, and try uploading on a stable connection, which avoids the app falling back to a lower-quality upload. Finally, compare your post on another device after publishing. What looks fine on your phone screen may show softness on a larger display, and that check tells you whether your settings need adjusting.
Final word
Sharp Instagram photos come from preparation, not luck: resize to the right width, export cleanly, compress once, and let Instagram do as little work as possible. Start from your original, aim for 1080 pixels wide on feed posts, and check the result before you move on. If you need a simple way to shrink files, iboxseo.org offers a free Image Compressor tool that works right in your browser, with no login needed. Prepare it properly once, and every post will look the way you intended.
Leave a Reply