If you have ever tried to upload an iPhone photo to a website or open it on a Windows computer, only to be told the file is not supported, you have probably met the HEIC format. iPhones save photos as HEIC by default because the files are smaller than JPG while keeping similar quality. The problem is that many websites, apps and older devices still expect JPG. The good news is that converting HEIC to JPG takes less than a minute once you know how. This guide shows you the easiest methods for iPhone, Mac, Windows and Android.
What is HEIC, and why does it cause problems?
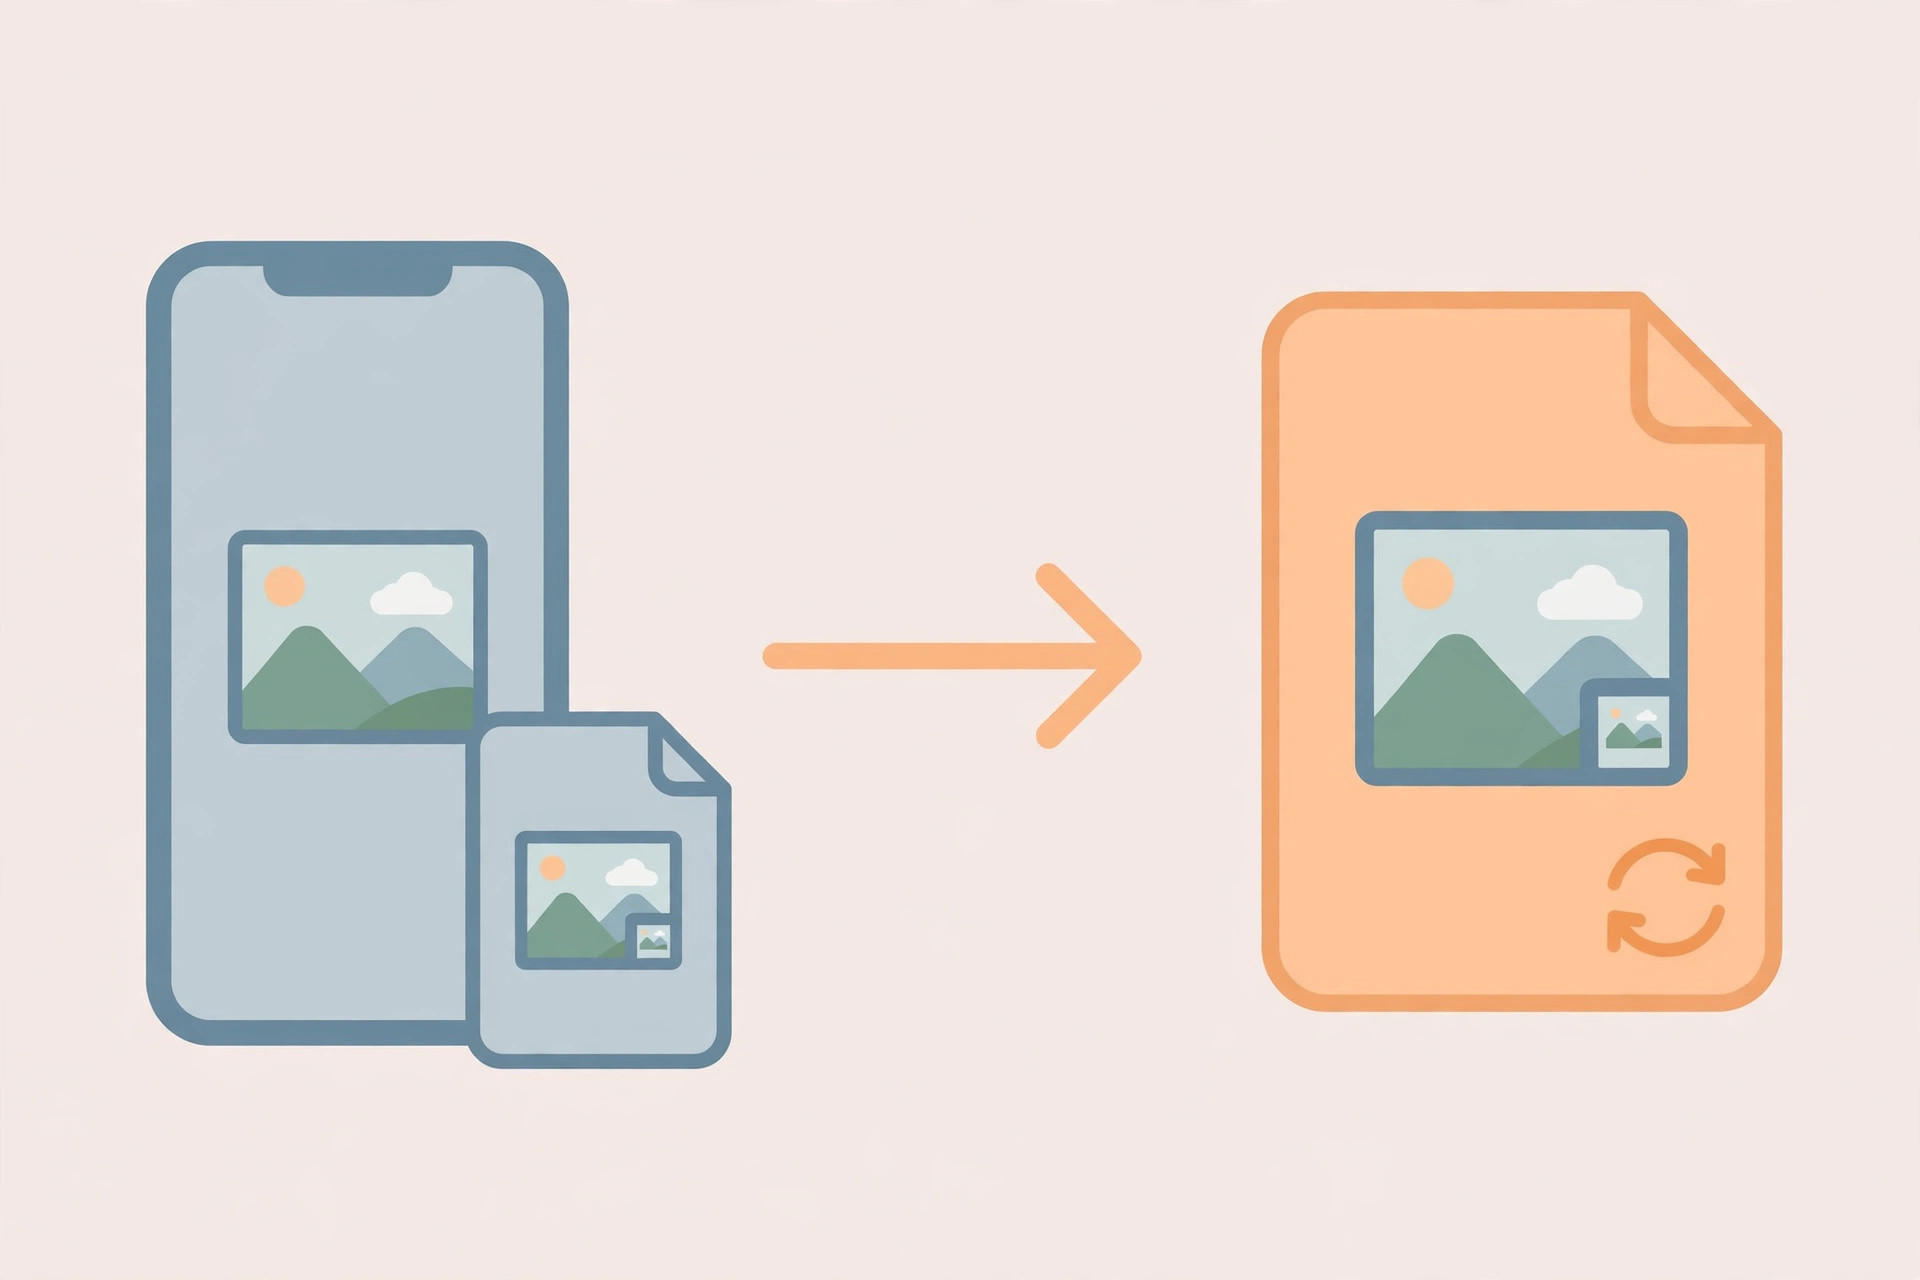
HEIC stands for High Efficiency Image Format. Apple made it the default photo format on iPhones because it stores the same quality as JPG in a smaller file, which saves storage space. The catch is compatibility: while Apple devices handle HEIC easily, many websites, online forms, older Windows programs and some Android apps do not accept it. JPG, on the other hand, works almost everywhere. That is why converting to JPG is the simplest fix whenever a photo refuses to upload or open.
Method 1: make your iPhone save JPG in future
If you would rather avoid HEIC altogether, change one setting. On your iPhone, open Settings, then Camera, then Formats, and choose Most Compatible instead of High Efficiency. From now on, new photos will be saved as JPG. Note that this does not change photos you have already taken — those stay in HEIC and still need converting with one of the methods below.
Method 2: convert existing photos with an online converter
This method works on any device and needs no install. Follow these steps:
- Open a free online HEIC to JPG converter in your browser.
- Upload the HEIC photos you want to convert. Most converters accept several files at once.
- Choose JPG as the output format if the tool asks.
- Start the conversion and wait a few seconds.
- Download the JPG versions and check that they open correctly and look the same as the originals.
Because you are uploading personal photos to a website, use a converter you trust, and avoid uploading sensitive pictures to unfamiliar sites.
Method 3: convert on Mac or Windows
On a Mac, open the HEIC photo in Preview, choose File, then Export, select JPEG as the format, pick a quality level, and save. The photo is now a JPG and will open anywhere.
On Windows, first install the free HEIF Image Extensions from the Microsoft Store so the Photos app can open HEIC files. Once installed, open the photo in the Photos app and use the save or export option to create a JPG copy. If your version of Photos does not offer a JPG export, the online converter method above is the quickest alternative.
What about Android?
Most Android phones can already open HEIC photos, so you may not need to convert at all. If yours cannot, or if you need to send a photo to a website that only accepts JPG, use the online converter method above. Some Android apps and camera settings also let you choose JPG as the saving format, so it is worth checking your camera settings first.
Tips for the best results
Always keep a copy of your original HEIC files, especially if you are editing or printing them later. If a JPG looks noticeably worse after conversion, the converter may have used too much compression — try a different tool or a higher quality setting. And if you often share photos with people on Windows or older devices, keep your iPhone set to Most Compatible so you rarely need to convert at all.
Common mistakes to avoid
The most common mistake is uploading a HEIC file to a website that only accepts JPG and assuming it worked. Another is converting a photo and deleting the original straight away — if the JPG turns out to be low quality or rotated, you will wish you had kept the HEIC. And do not use a converter that adds a watermark or charges a fee for a basic conversion; plenty of free options do the job properly.
Final tip
HEIC is a good format, but JPG is still the most widely accepted one. Whether you change your iPhone settings, use an online converter, or export from Preview or the Photos app, converting a HEIC photo to JPG is a quick job — and your photos will open and upload anywhere after that.
Leave a Reply